
Satisfactory: What You Unlock in Tier 4
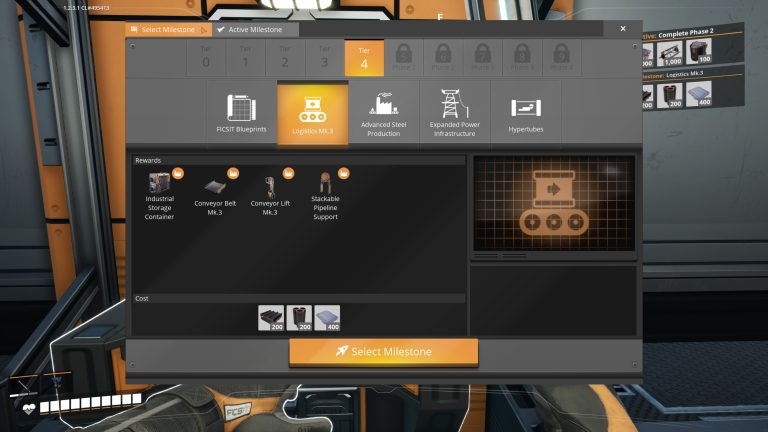
Finishing Phase 1 at the Space Elevator opens two tiers at once, Tier 3 and Tier 4, and you work them in whatever order you like. Tier 3 gets most of the early attention because Coal Power and steel are…
Finishing Phase 1 at the Space Elevator opens two tiers at once, Tier 3 and Tier 4, and you work them in whatever order you like. Tier 3 gets most of the early attention because Coal Power and steel are…
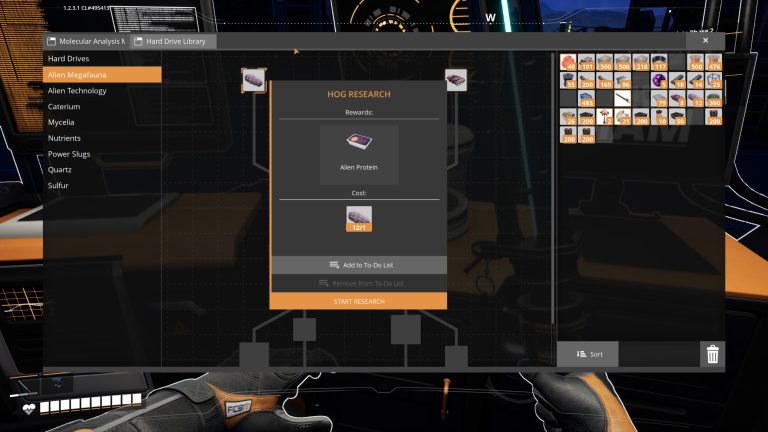
The Alien Megafauna tree is the MAM research line built around the hostile wildlife you run into. Most of it deals with the Remains that Hogs and Spitters drop when you kill them, turning that leftover into Protein, and then…
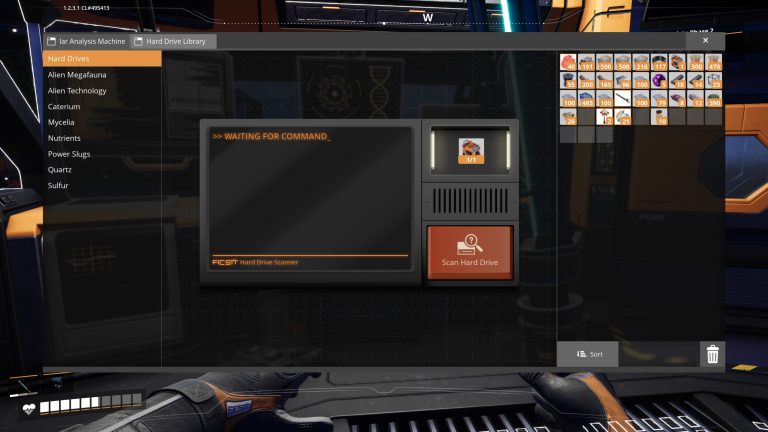
Alternate recipes are tweaked versions of a standard recipe. Some make a part cheaper or faster to build, and some let you build it out of materials you already have spare. Unlike milestone and MAM-tree unlocks, alternate recipes are locked…
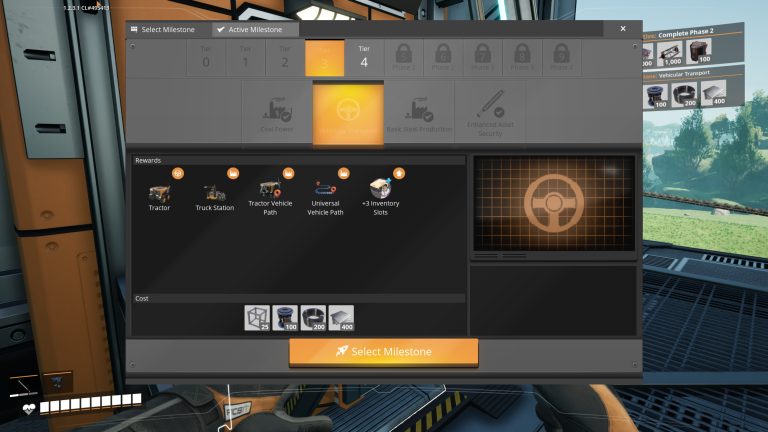
Vehicular Transport is the Tier 3 milestone that gets you hauling by vehicle instead of on foot. It unlocks your first drivable vehicle, the Tractor, along with the Truck Station and the vehicle paths that let the Tractor run a…
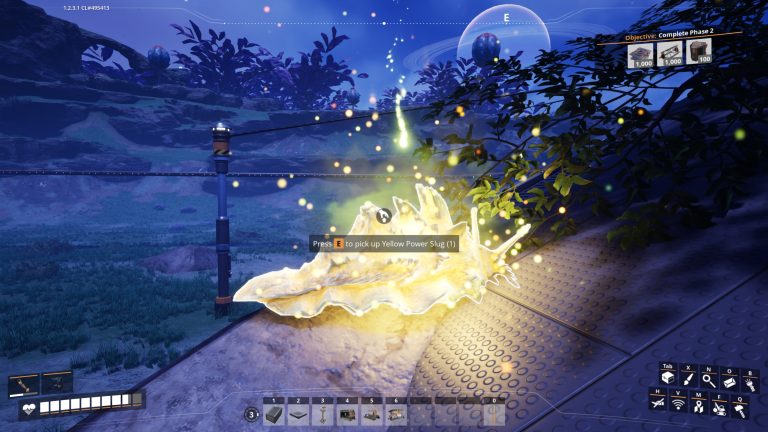
While you’re already in the MAM working the Caterium tree, queue up the Power Slugs tree too. Its first node unlocks the Power Shard, the item you use for overclocking, and researching that first node costs a single Power Slug.
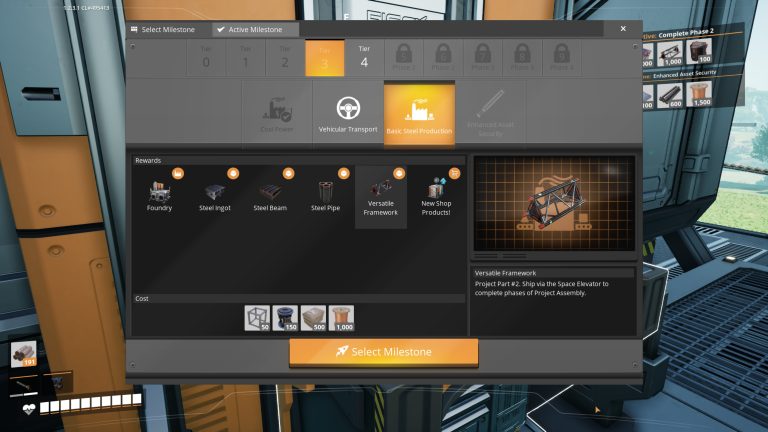
Basic Steel Production is the Tier 3 milestone the rest of the tier depends on. Steel is the first material that needs both iron and coal, and it comes out of a brand-new machine. It also unlocks a lot of…
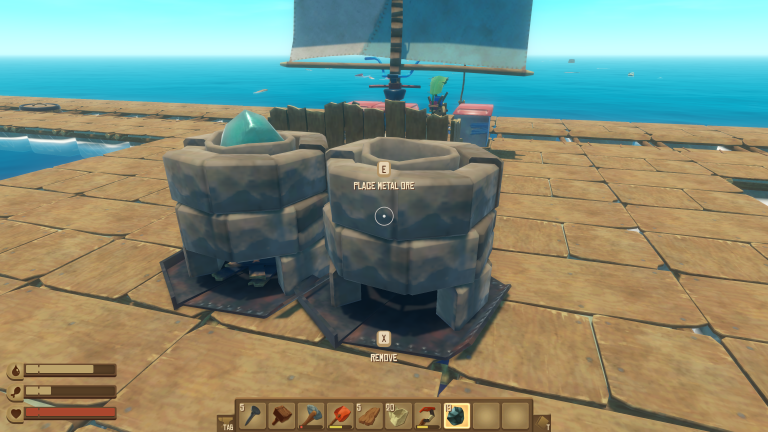
Back at the raft: bricks, then a Smelter Once your foundations are built out enough to have some spare deck space, you can start setting up the stations that produce your gear. First is the Smelter, which is what the…
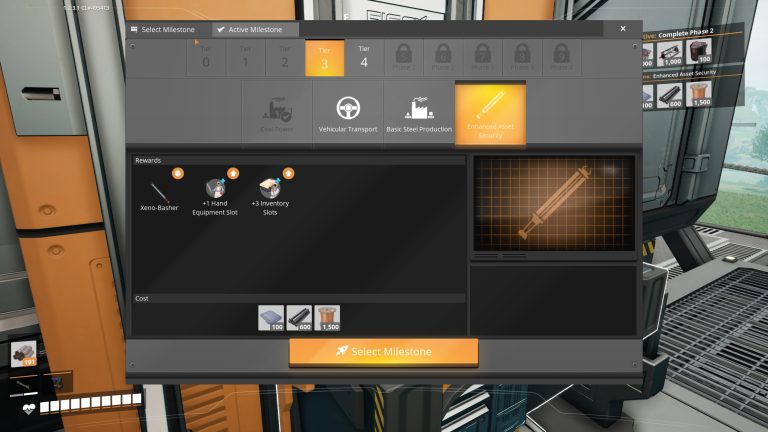
Enhanced Asset Security is one of the four Tier 3 milestones, and unlike the other three, it doesn’t add anything to the factory. Instead it upgrades the pioneer, handing over a new melee weapon plus a bit more room to…
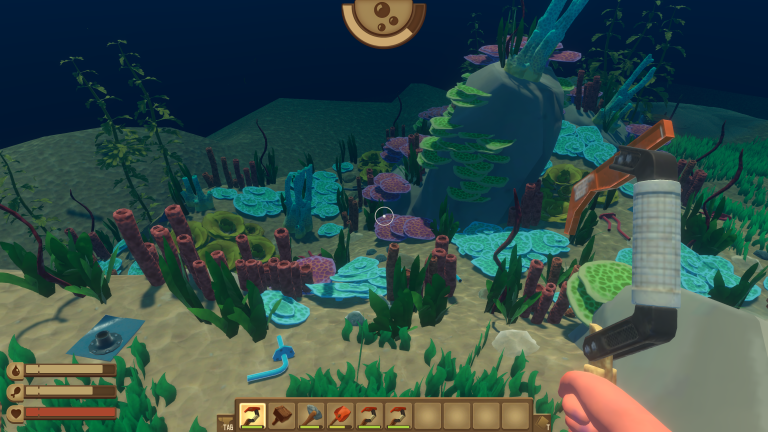
Running low on scrap? Anchor at an island Scrap comes in from crates, and once you’ve built a wall of nets they pull in a little more on their own, though slowly. So when your rope is piling up faster…
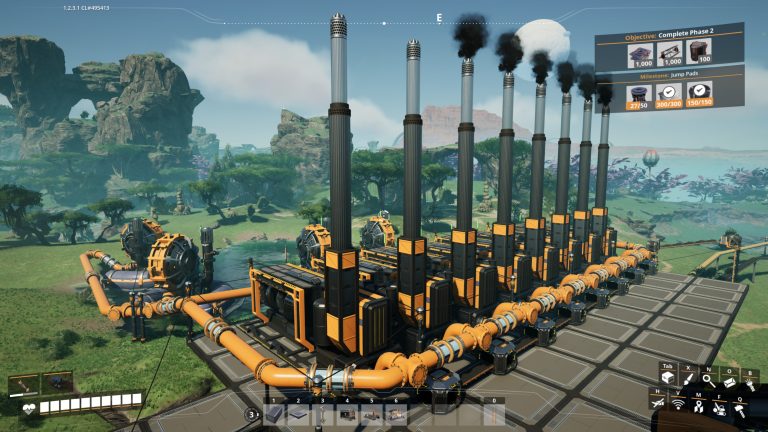
Completing Phase 1 at the Space Elevator opened Tiers 3 and 4. This guide starts working through Tier 3 with Coal Power, the first generator you can leave running on its own.
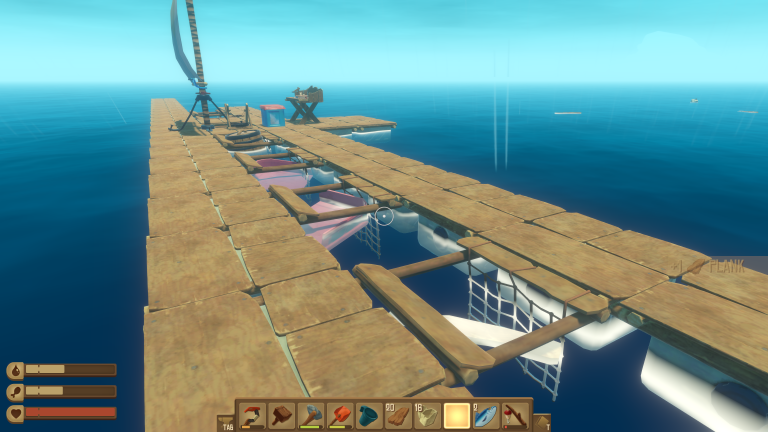
The Research Table The build you should not skip in this stretch is the Research Table (fourteen planks and two scrap, under the Other tab), which unlocks most of the crafting tree. In the game it’s “used to research new…
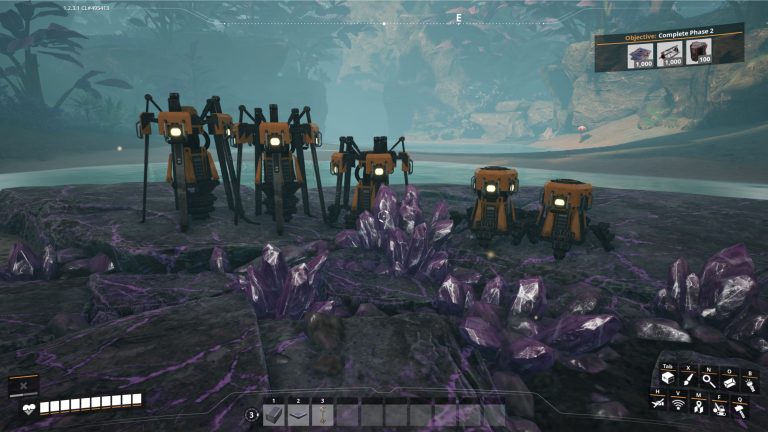
Blade Runners are an early movement upgrade: they boost run speed, double your jump height, and soften fall damage. They come out of the MAM, the research building, but not from the Caterium tree most people go up for them.…
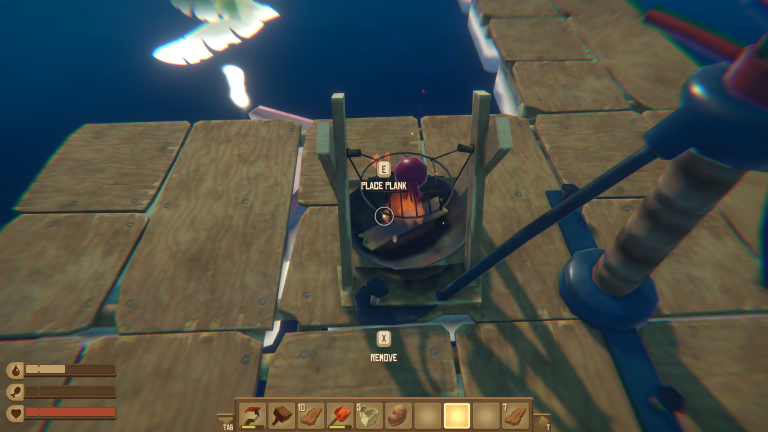
Cooking food: the Simple Grill Eventually your food meter starts flashing, and you need to start cooking. The Simple Grill handles it: six planks, one scrap, and three rope, tucked under the Food/Water tab. It “can cook a piece of…
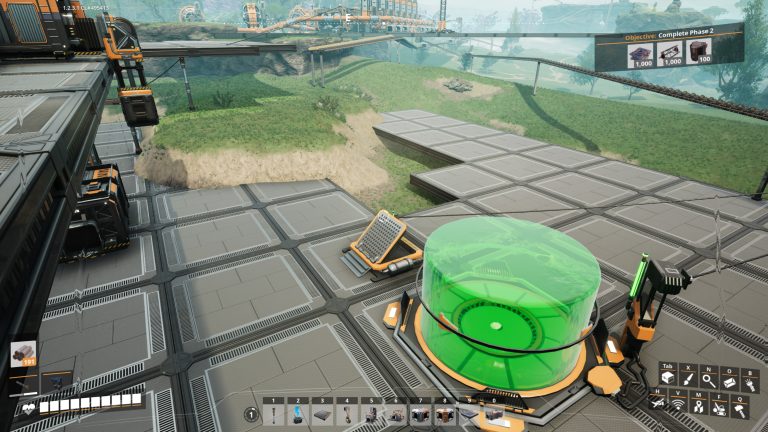
The Jump Pads milestone is a Tier 2 unlock that gives you two buildings that make getting around vertically a lot easier: the Jump Pad, which launches you up or across a gap, and the U-Jelly Landing Pad, which catches…
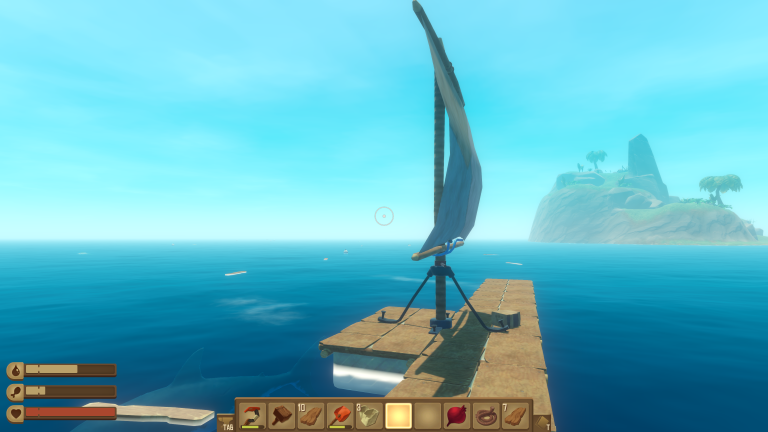
Steer around small islands (for now) In the very early game you want to avoid the small islands you drift toward, not aim for them. You’ve no real way to steer or reorient the raft yet, and if you run…