The Underwater Islands biome holds the next important piece of Aurora wreckage. Most notably, this outing will net us the Prawn Suit Drill Arm, Cyclops Engine, and Stasis Rifle blueprints.
Key Blueprints
In addition to various decorative items, these blueprints can be found at the wreck:
- Prawn Suit Drill Arm – This upgrade allows the Prawn Suit to drill large metallic and crystalline resources. It is critical to have this for rapidly gathering materials in mid to late game.
- Cyclops Engine – One of the 3 blueprints required in order to build the Cyclops submarine.
- Stasis Rifle – An powerful weapon that will allow you to suspend creatures in place.
- Prawn Suit Propulsion Arm – Just like having a propulsion cannon, but for your Prawn Suit. Not really a critical blueprint, and I only found 1 fragment at this wreck.
- Swim Charge Fins (not very useful)
Keep in mind that fragment spawns are somewhat randomized so you may find more or fewer of them, and in different locations.
Gearing Up
The main thing to prepare for on this trip is the Bone Sharks that will harass your vehicle. Having a Seamoth Perimeter Defense module installed is useful for fending them off, but not required. It’s usually easy enough to avoid the sand sharks, and park the Seamoth somewhere out of the way where they’re unlikely to damage it.
Another option is to bring your Prawn Suit instead. It’s quite a bit slower so your travel will take a while, but the suit’s Claw Arms can be used to punch the sand sharks. 4 punches will kill the shark, and it’s possible to do this with just 2 punches where both arms are activated at the same time.
Finally, don’t forget your Laser Cutter if you want to be able to enter all of the rooms in the wreck (not really necessary if you already have the Prawn Suit.)
Getting to the Underwater Islands Biome
The first challenge is to find the biome itself. It’s a relatively small biome and it can be easy to pass by without noticing it.
Starting at your Lifepod
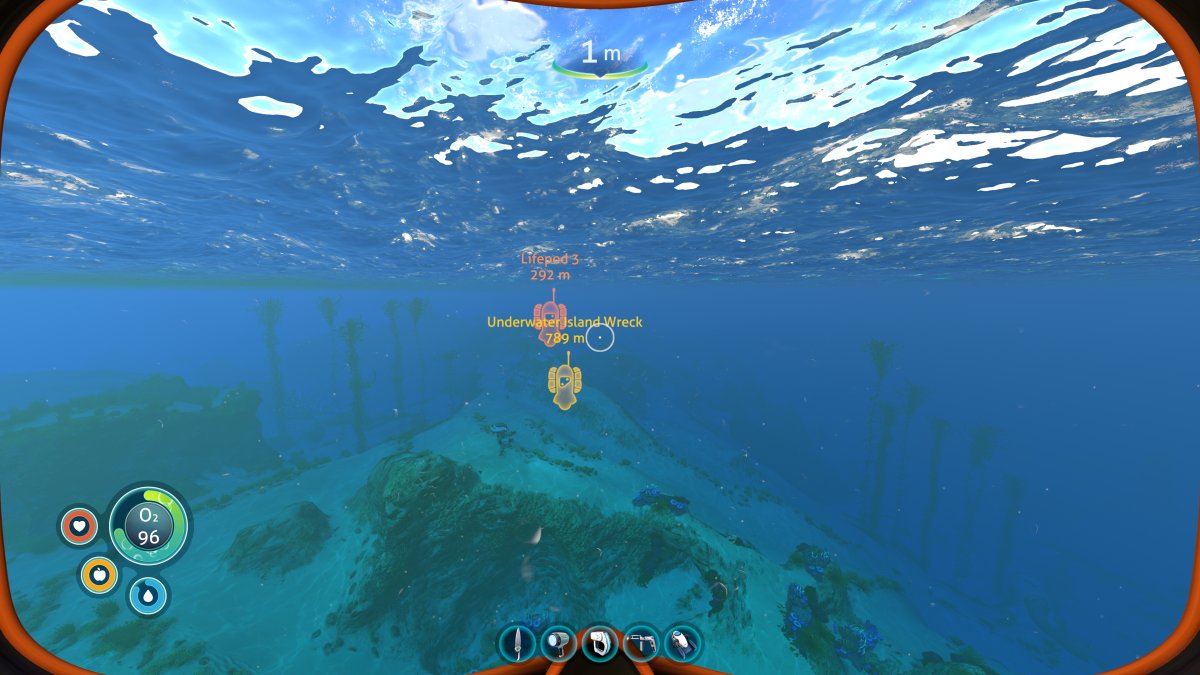
To help illustrate the location of the wreck from our lifepod, I’ve placed a Beacon at the center of the wreck. I’ve also placed a Beacon inside of Lifepod 3, because it happens to be along the path out to wreck.
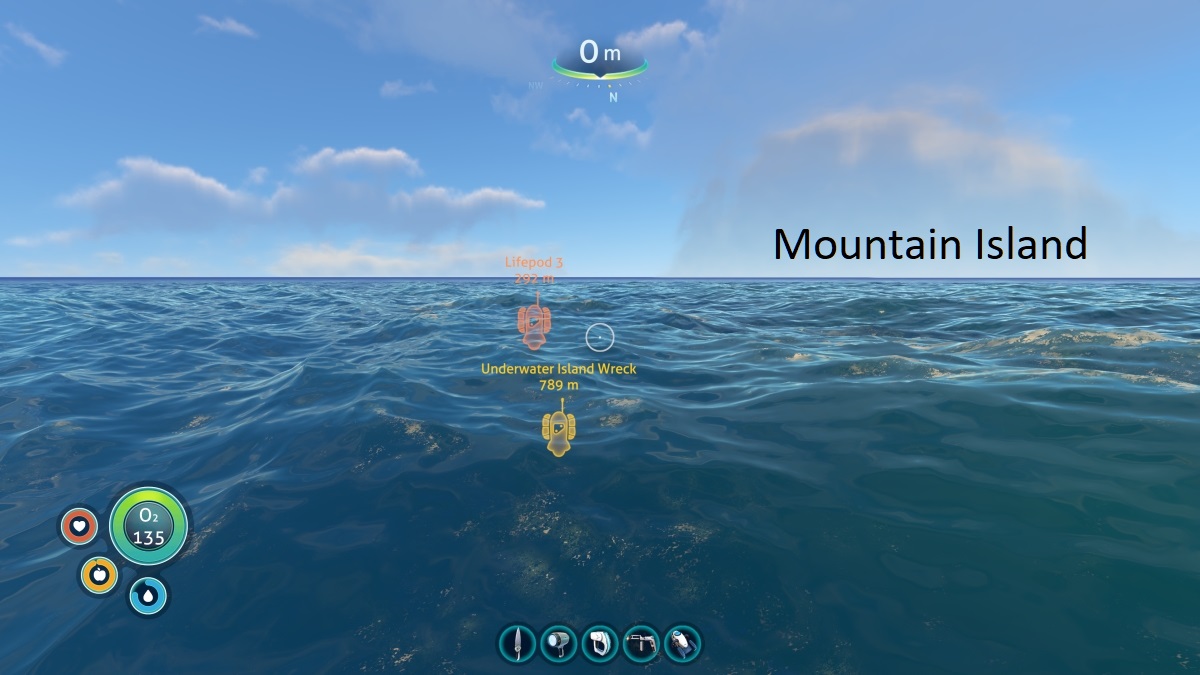
Viewed from above the surface, you can see that the wreck is located just to the left of the Mountain Island if you’re looking at it from your lifepod. If you head toward the left edge of the big cloud, you should eventually find the drop down into the Underwater Islands biome.
Starting from Lifepod 3
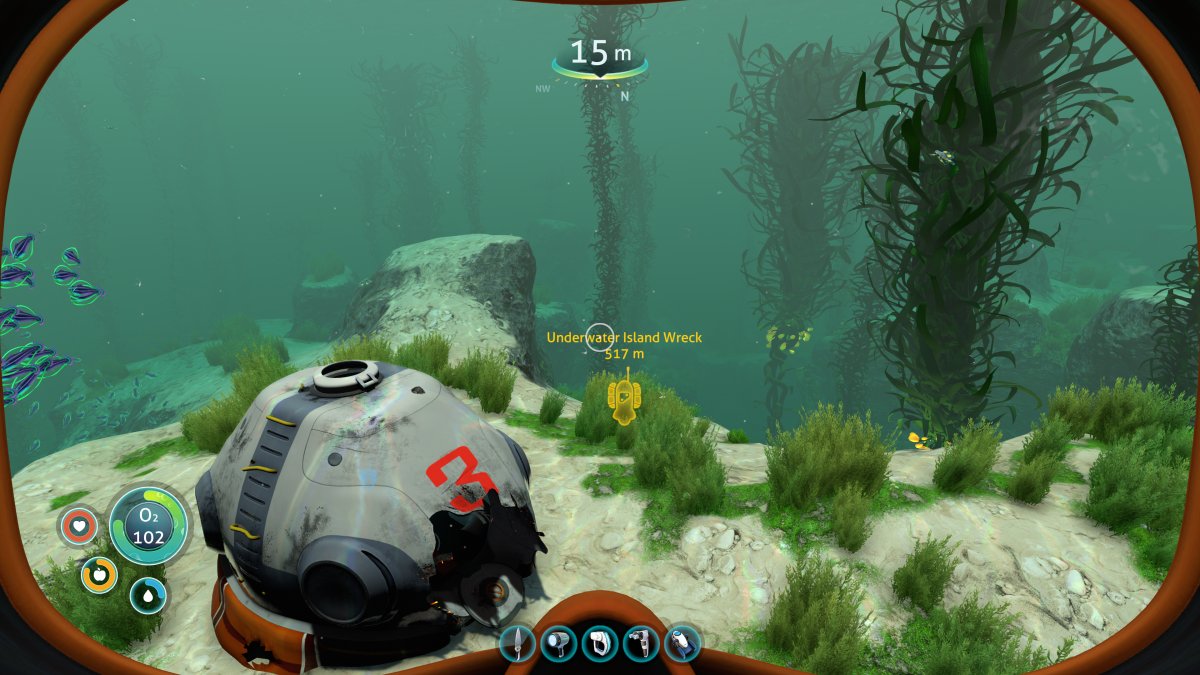
Keep heading in this direction as you pass Lifepod 3.
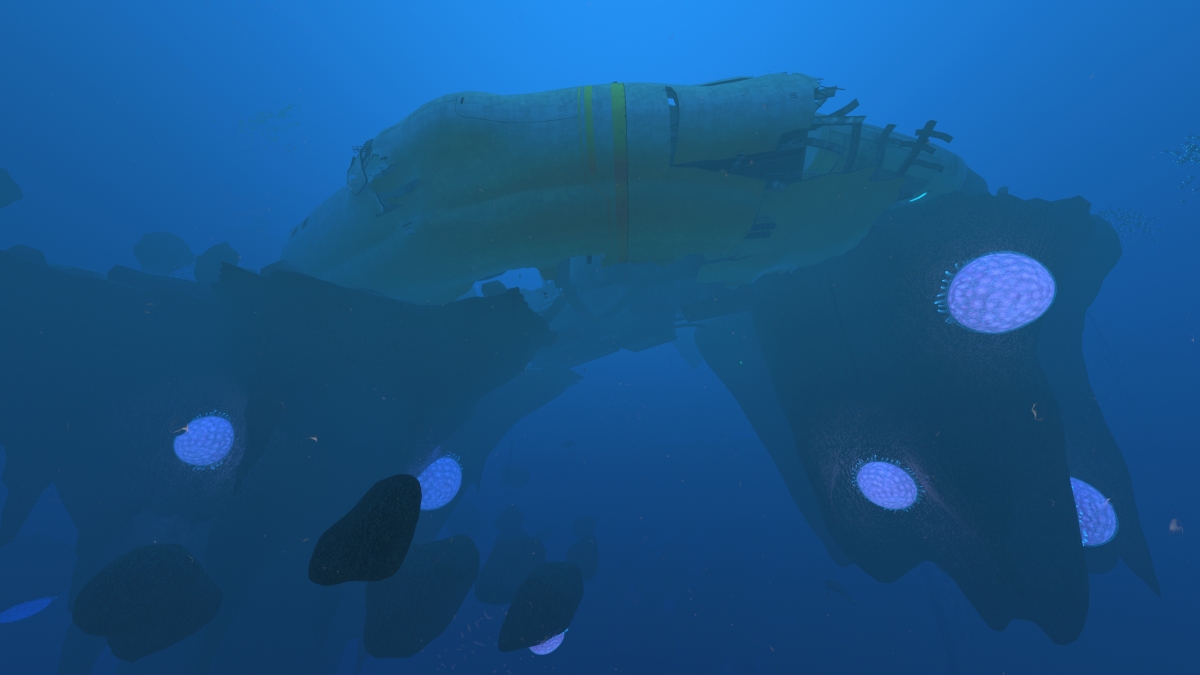
Reaching the Underwater Islands Biome
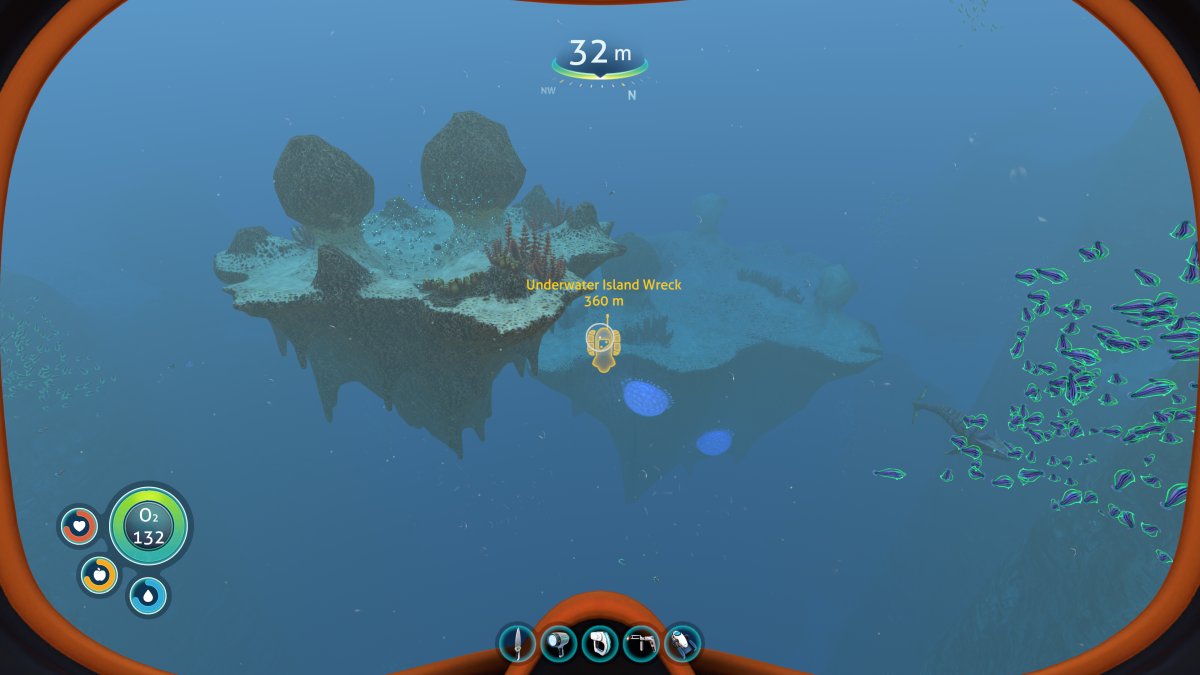
If you see weird floating islands with big pink glowing objects on their undersides, you’ve found the biome. Follow the trail of islands, they will lead you down like stairs to the wreckage below.
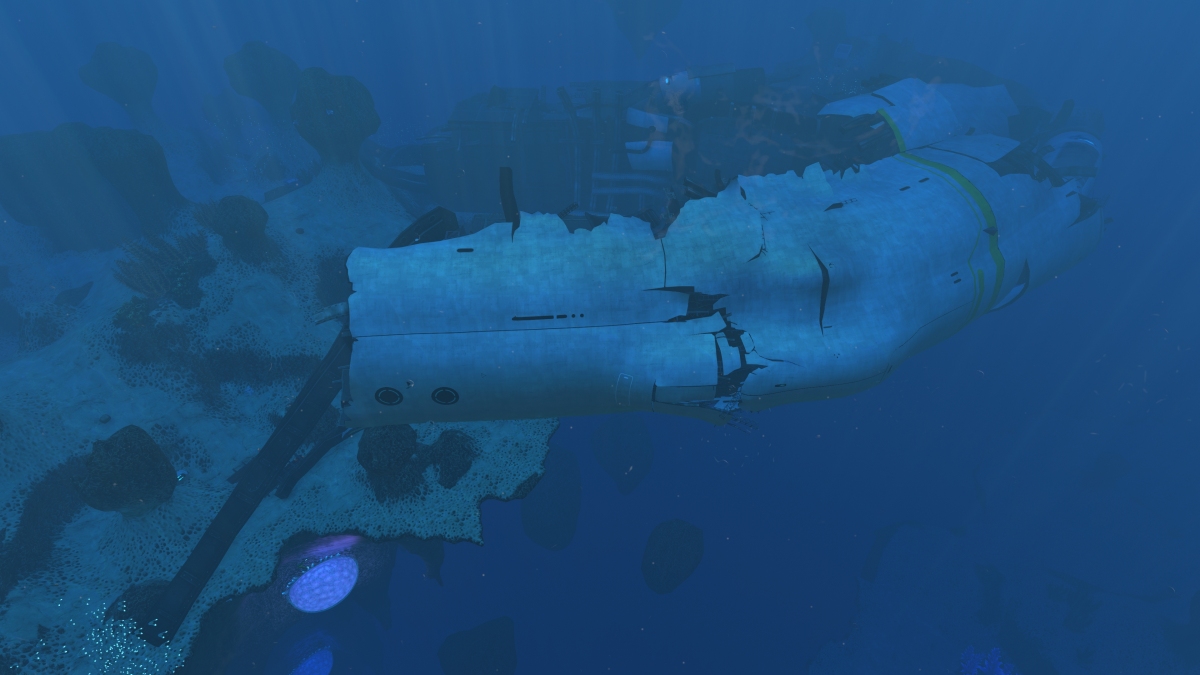
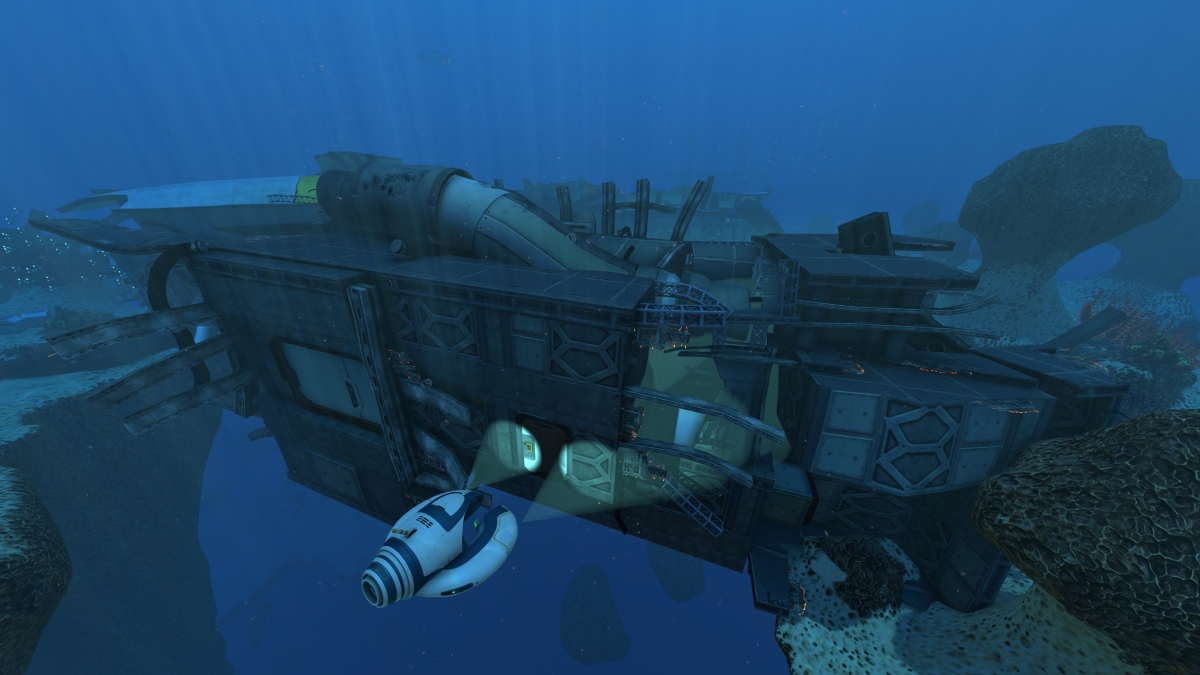
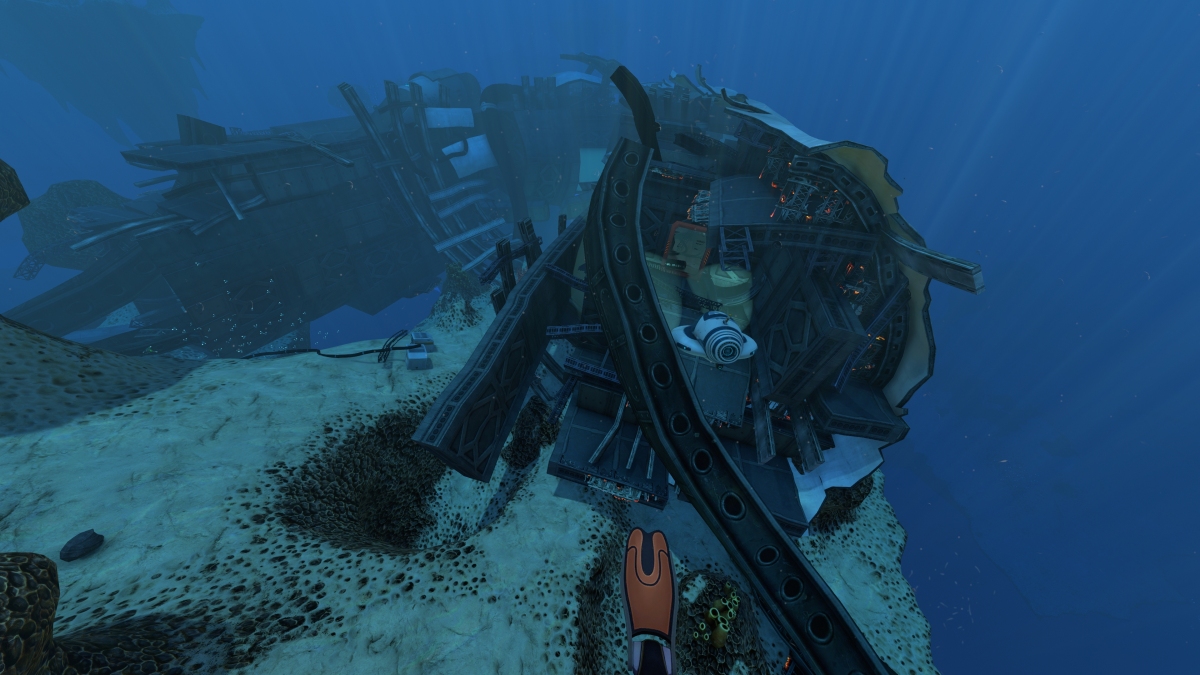
Arriving at the Underwater Islands Wreck
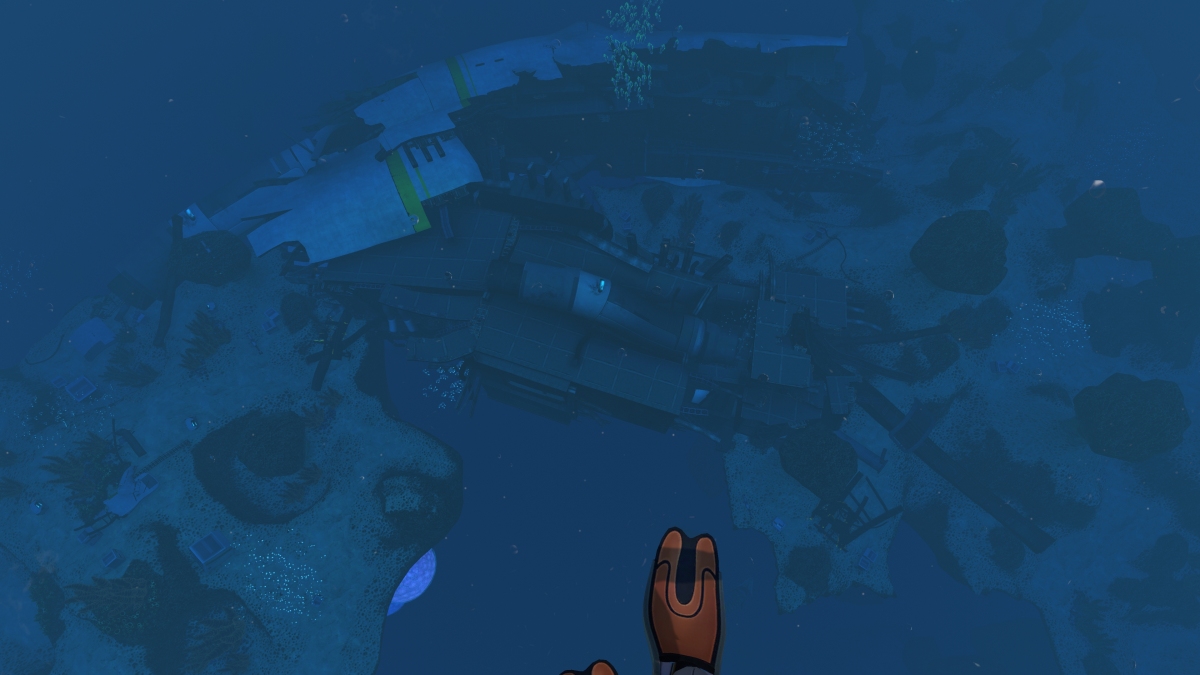
This huge piece of wreckage has come to rest on top of two underwater islands.
Blueprint Fragments Outside the Wreck
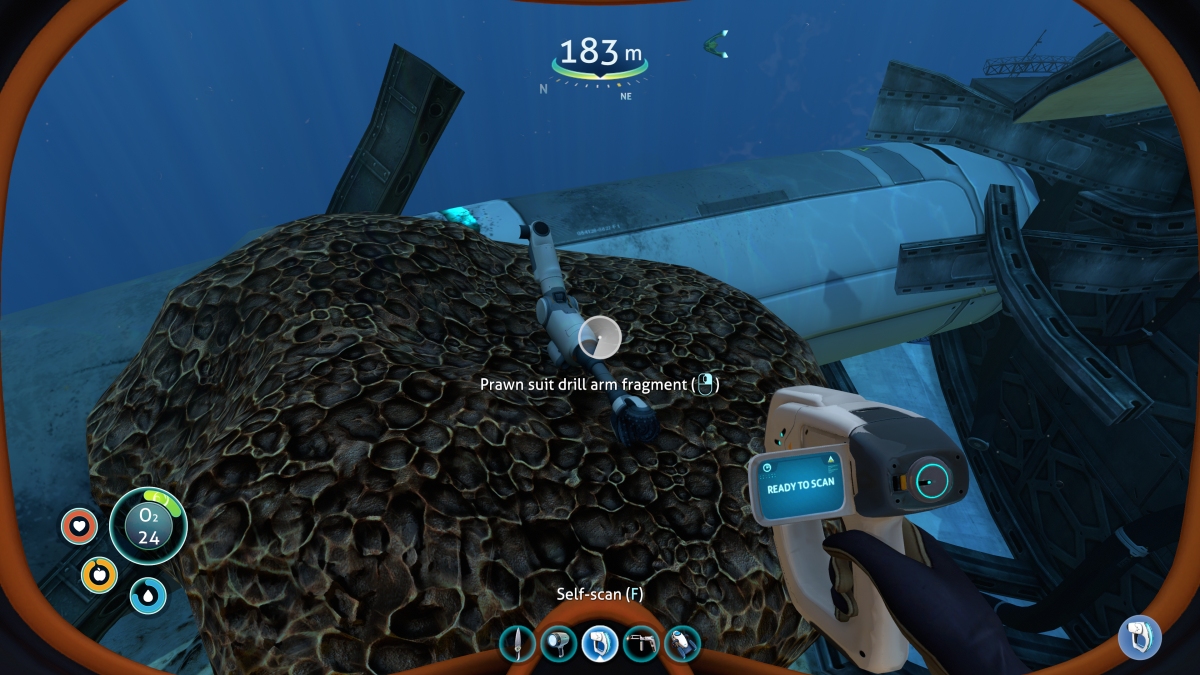
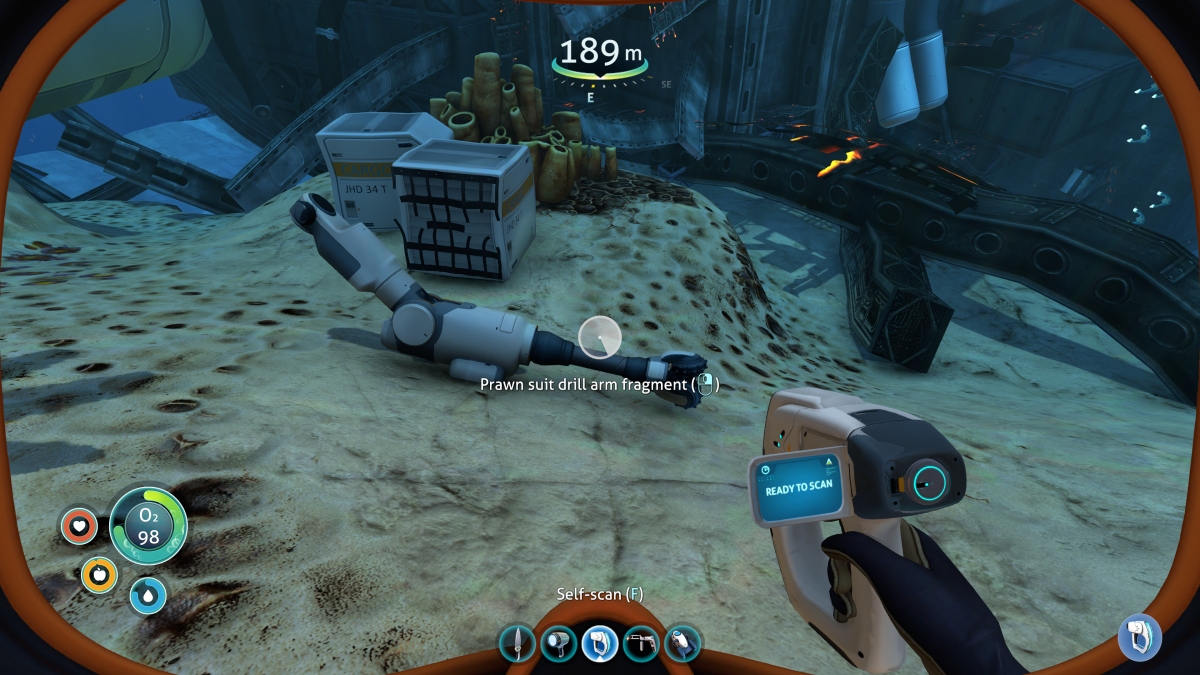
Prawn Suit Drill Arm Fragments
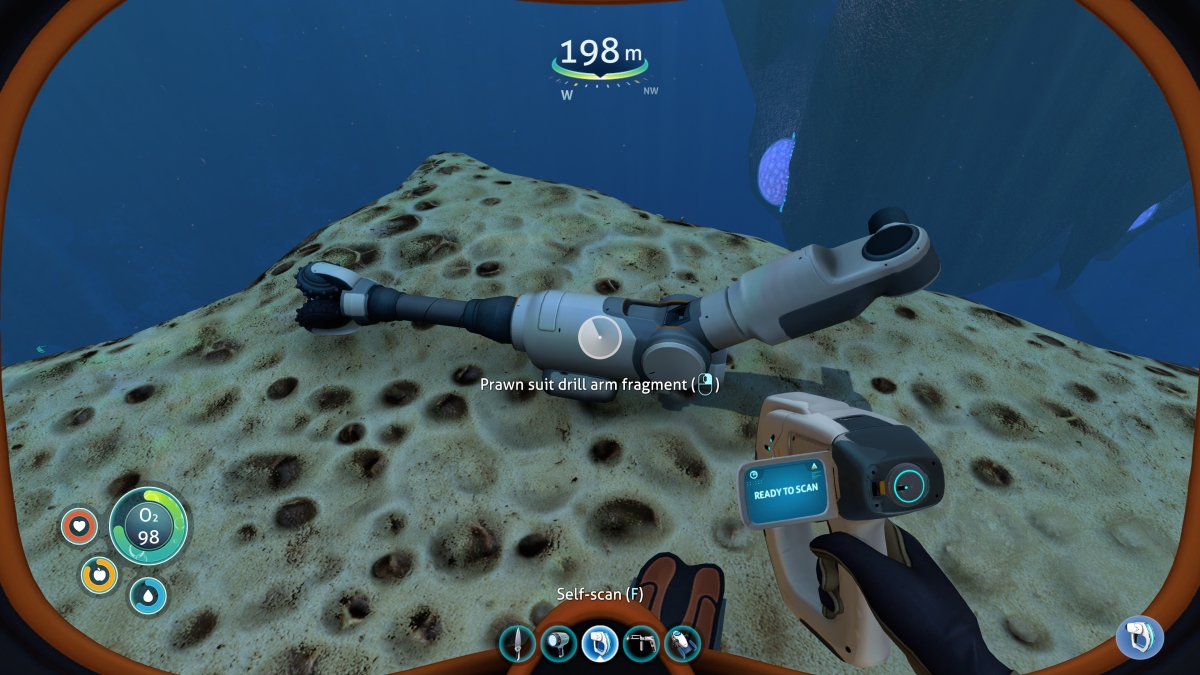
Several Prawn Suit Drill Arm fragments are scattered around outside the wreck. This is one of the most important items found at this wreck. It will enable you to rapidly harvest metal resources using your Prawn Suit.
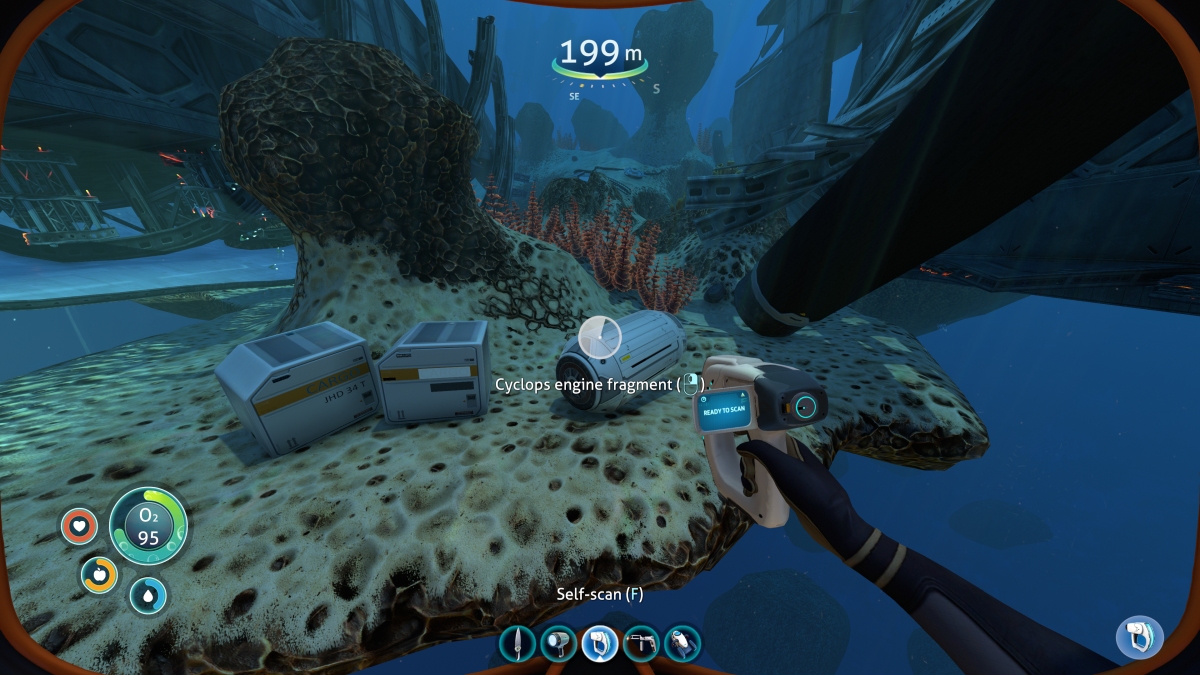
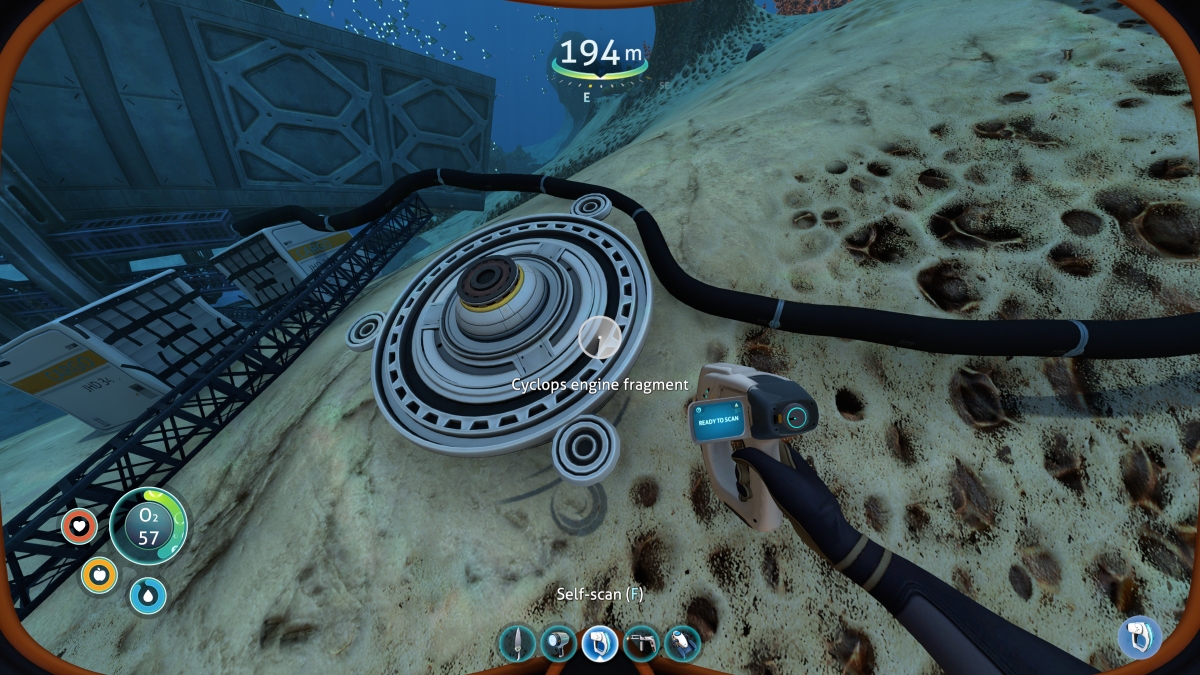
Cyclops Engine Fragments
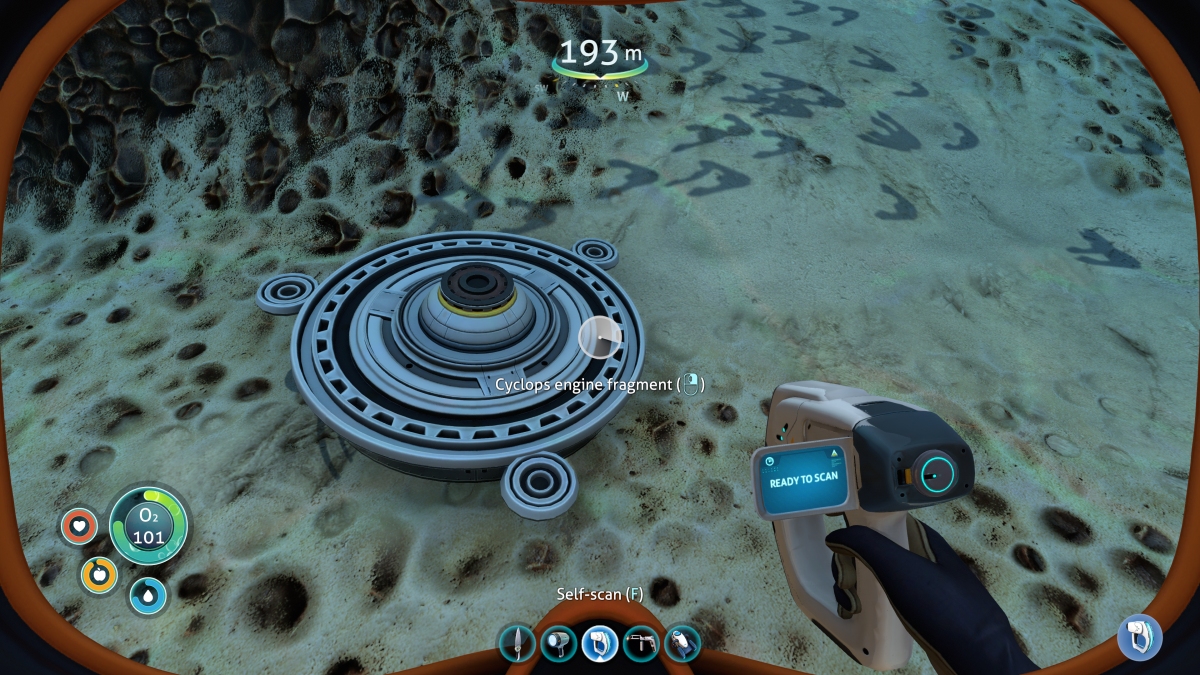
Also plentiful outside of the wreck are Cyclops Engine fragments. There should be enough here to complete the blueprint.
Stasis Rifle Fragments
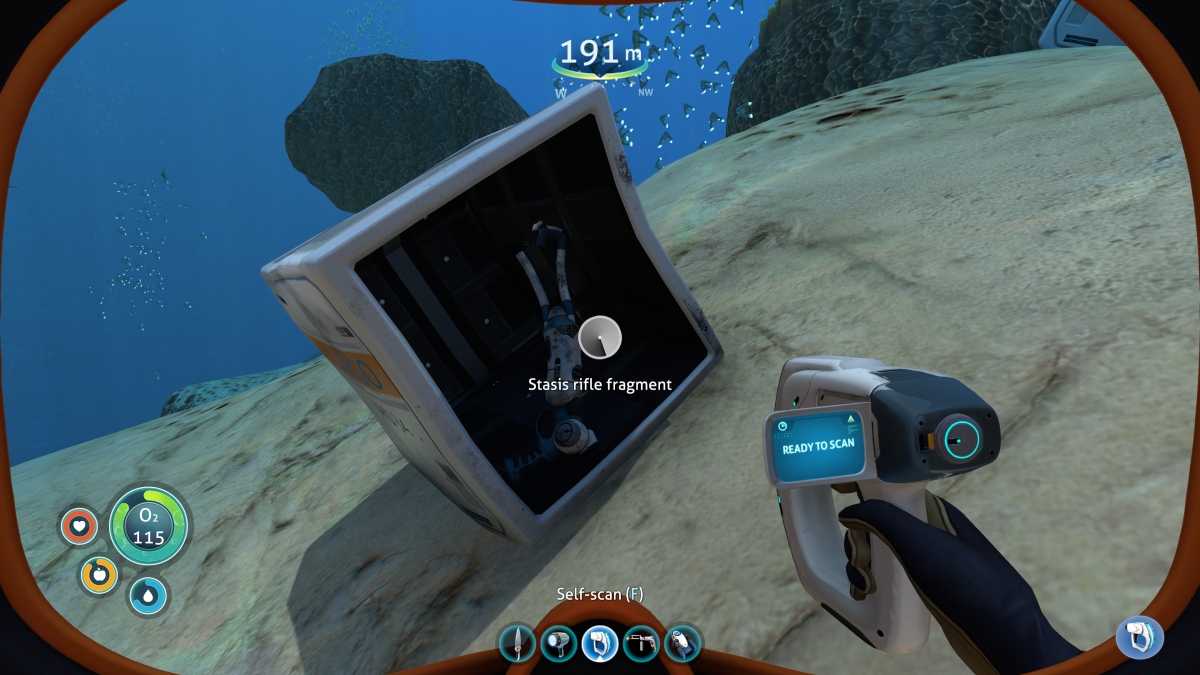
If you still have not completed your Stasis Rifle blueprint, you will find more than enough of them on these islands (as well as inside of the wreck) to finish it.
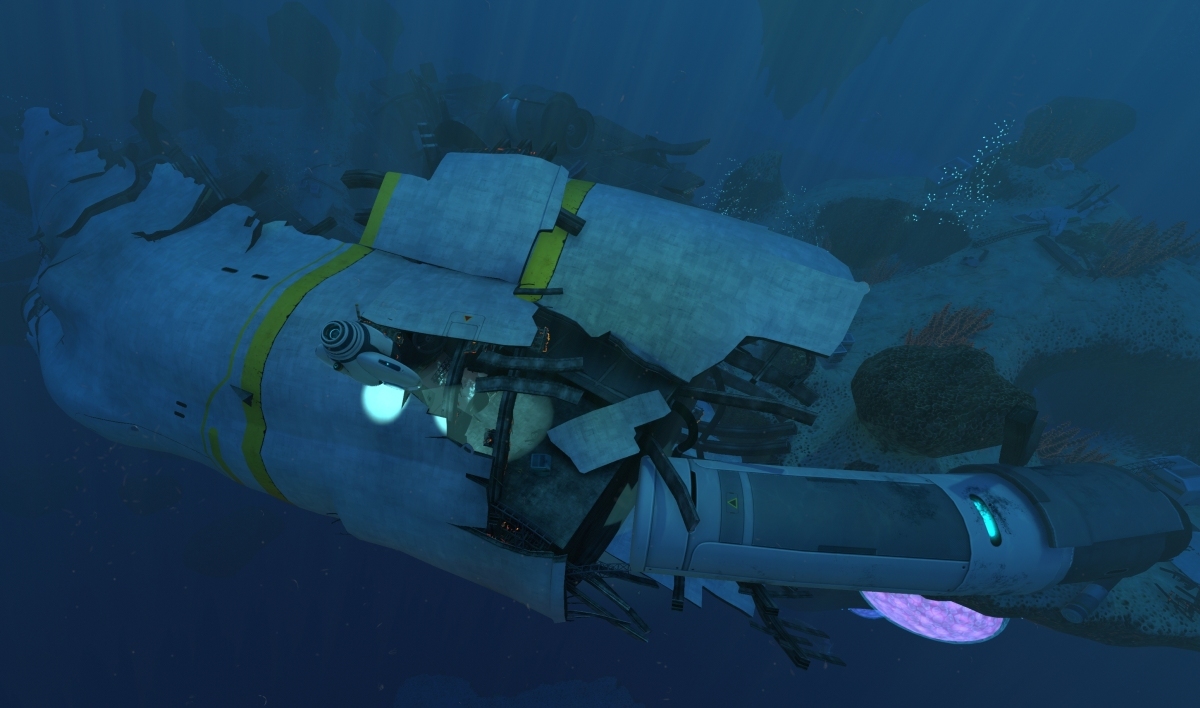
Exploring the Wreckage
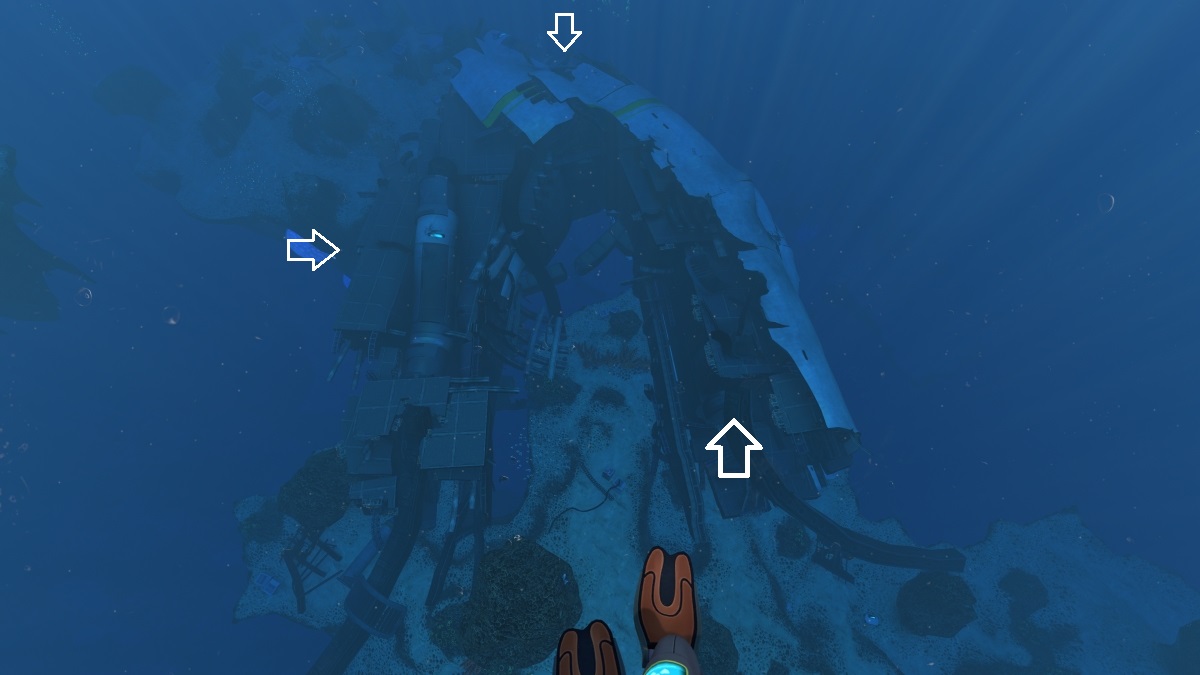
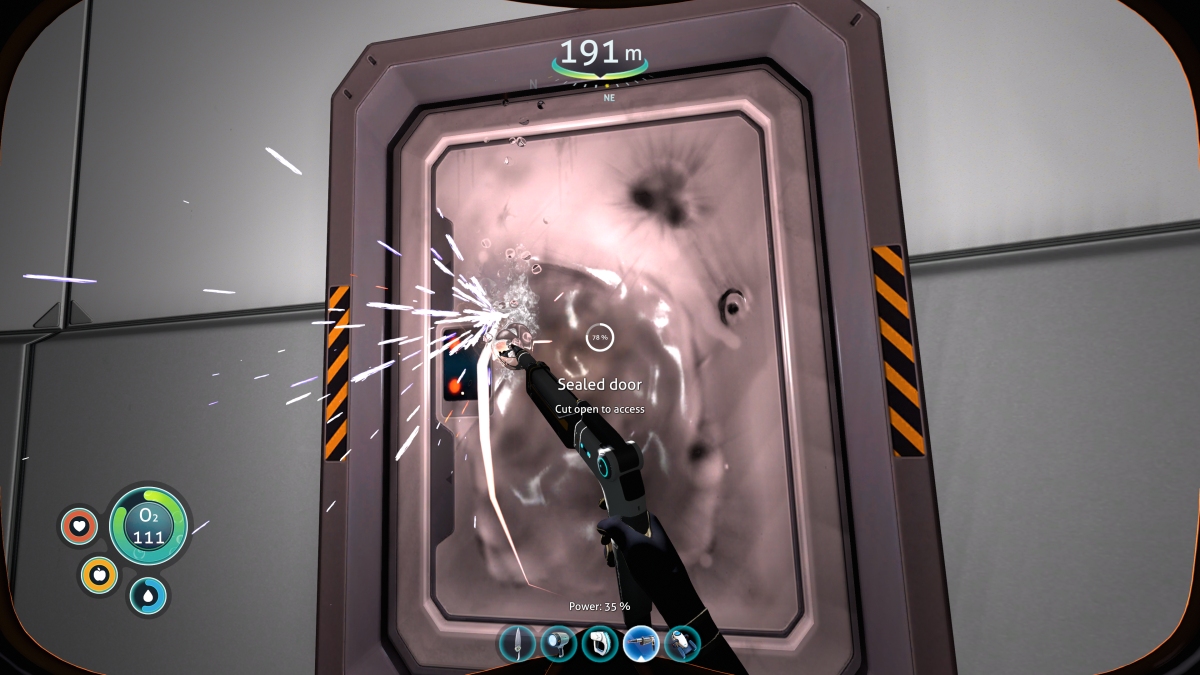
This large, U-shaped piece of wreckage is divided into 3 main sections. There is a sealed room at the bend of the U that can only be accessed by cutting through a Sealed Door using the Laser Cutter. On either side of that room are the legs of the U, each of them consisting of a few connected rooms in a line. There are Sealed Doors on both sides of the room in the center, so only one of them needs to be cut open in order to access it. Also, unless you didn’t already complete the Prawn Suit blueprint while exploring the Prawn Bay in the Aurora, it’s not necessary to open up the center room as it only contains Prawn Suit fragments. The 3 white arrows in this screenshot indicate the locations of the 3 entrances into the wreck.
Exploring The Left Side
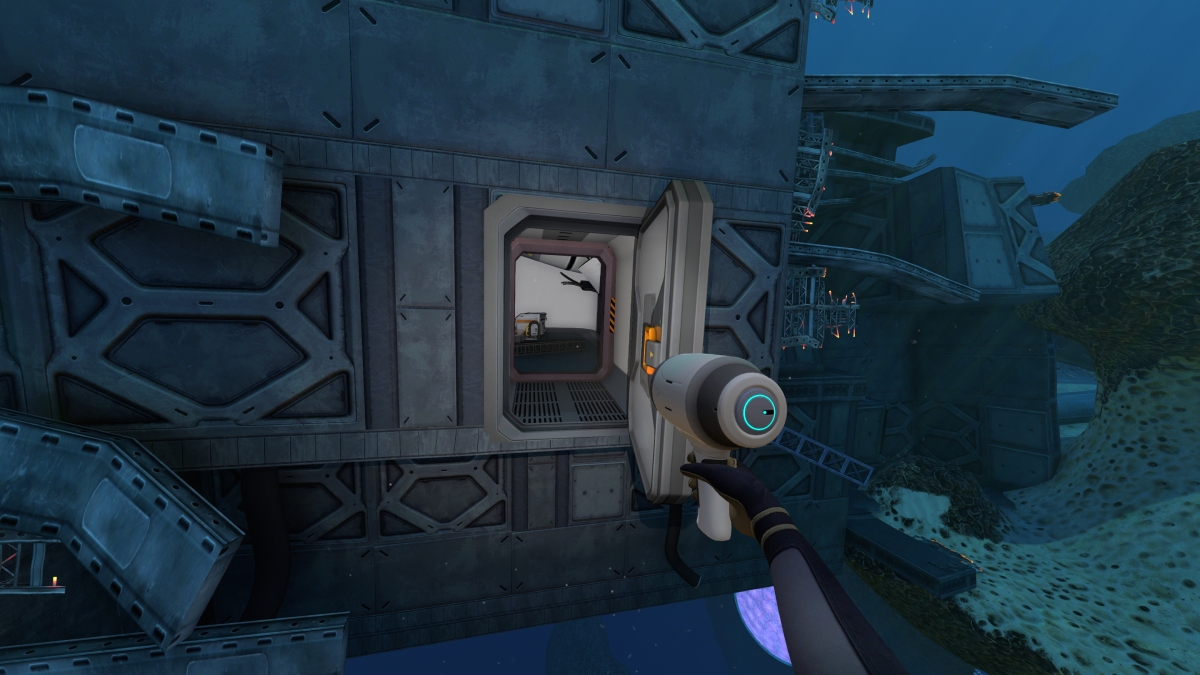
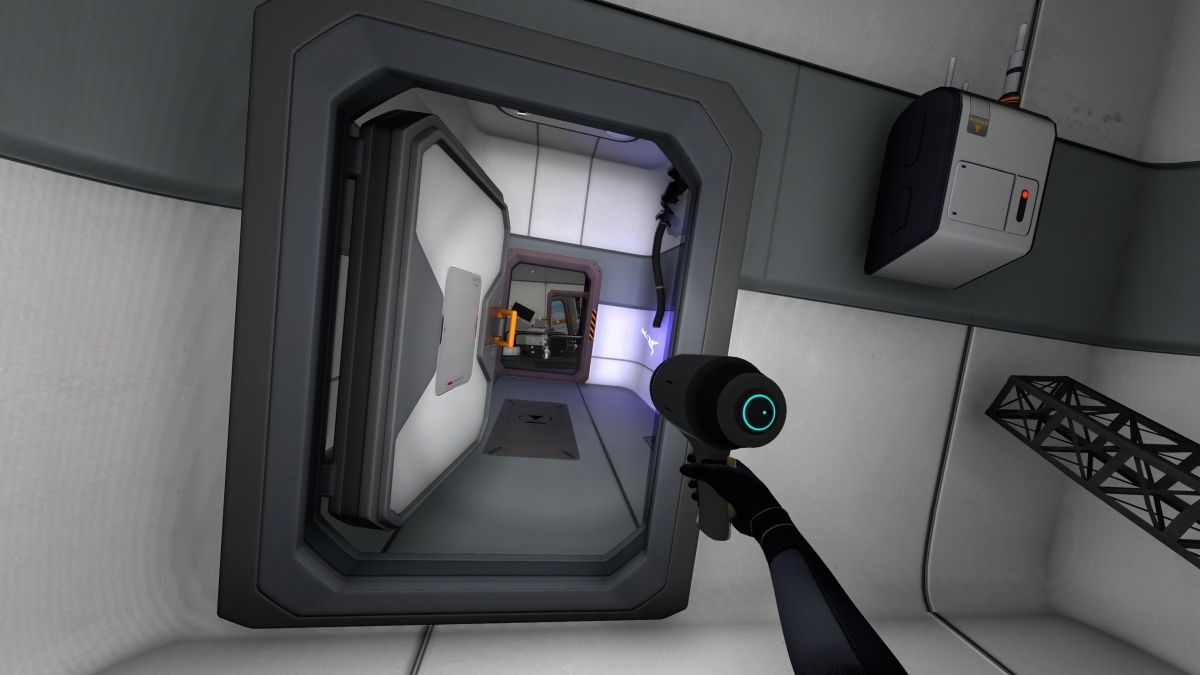
The entrance to the left side of the wreck is through this door.
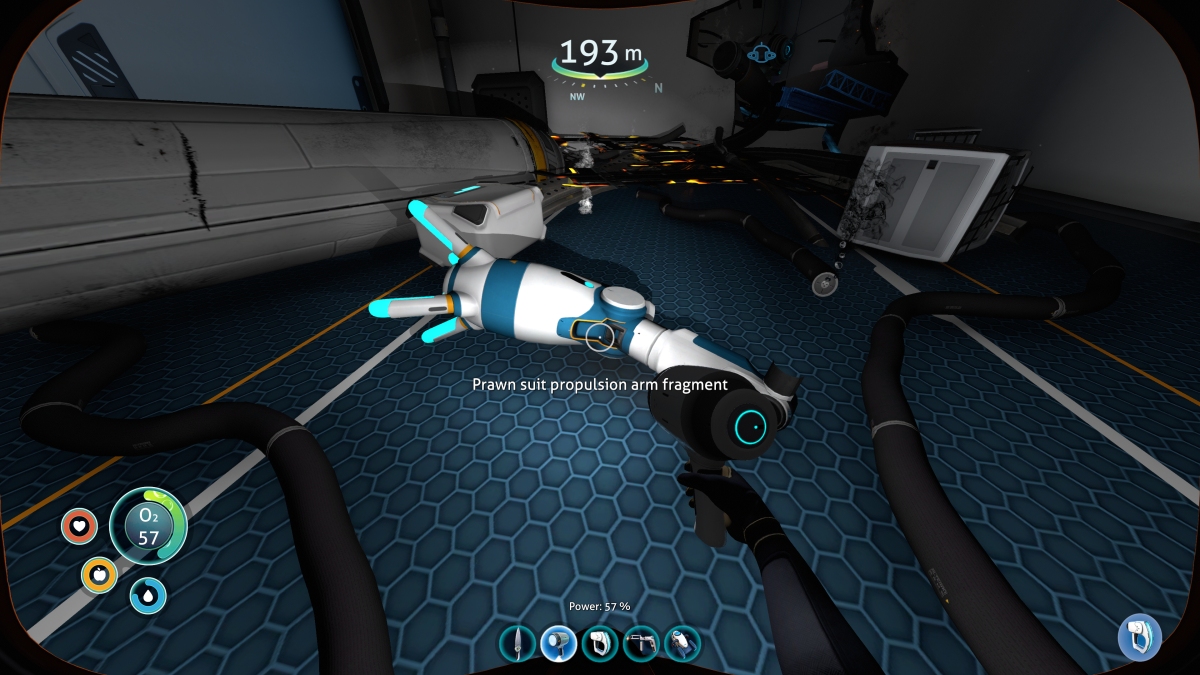
In the first room: Another Stasis Rifle fragment, and a Prawn Suit Propulsion Arm fragment.
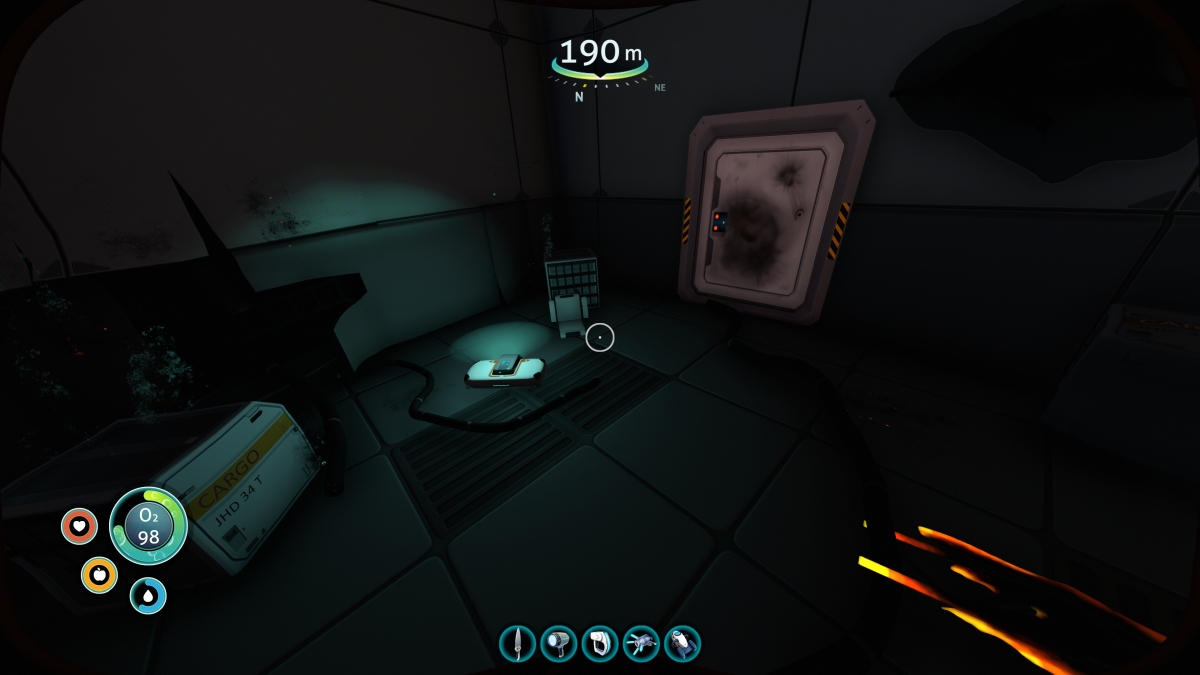
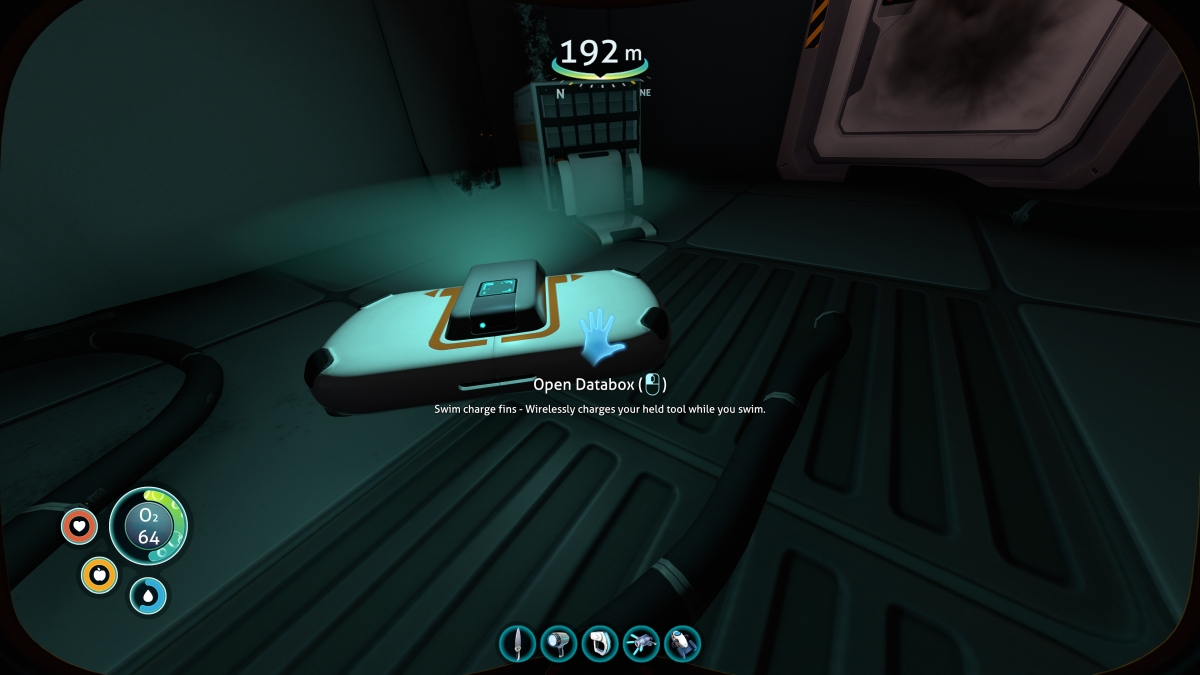
In the next room is the databox containing the Swim Charge Fins blueprint. These gimmicky fins will charge up the battery of your held item as you swim – not a terrible feature in its own right but considering that you’d have to sacrifice swim speed compared with using the Ultra Glide Swim Fins, not to mention that it’s easy enough just to carry a spare battery around, it’s probably not advisable to ever fabricate these fins.
The Prawn Suit Fragment Room
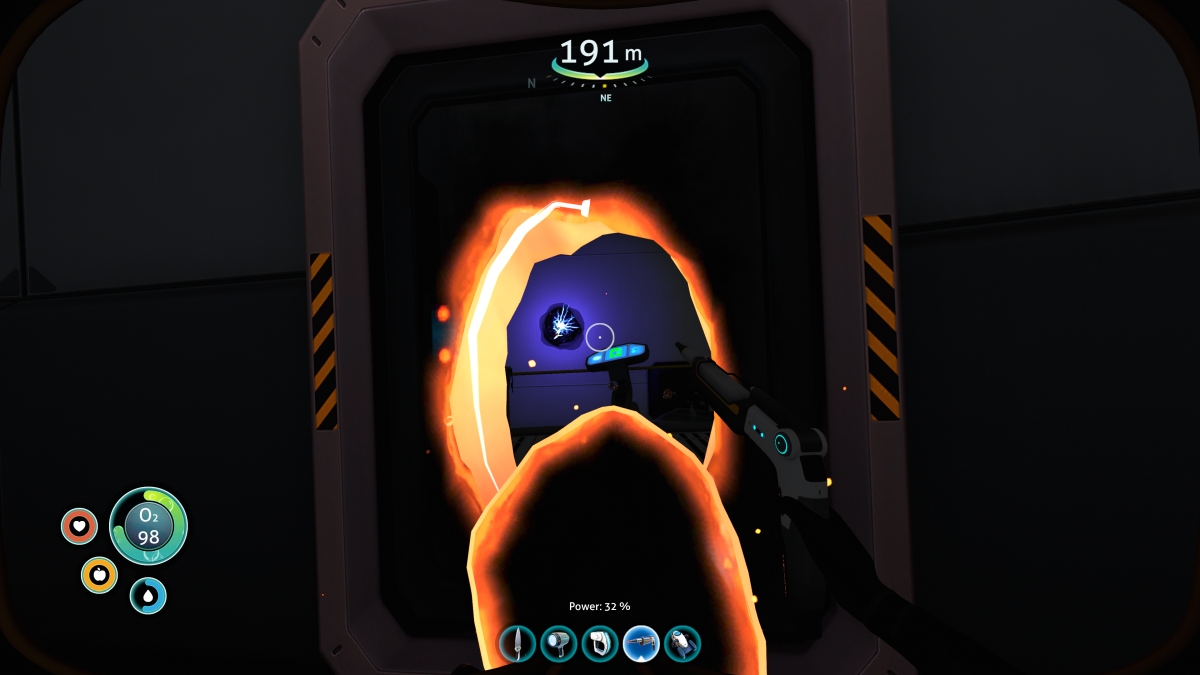
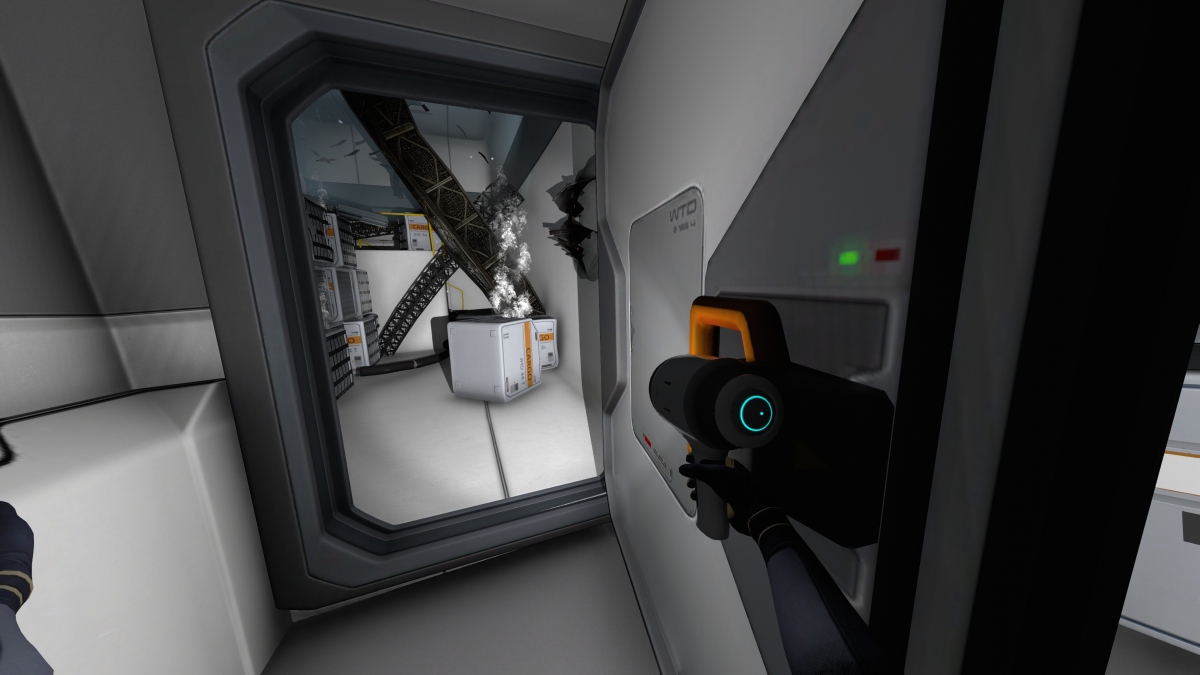
Next to the Swim Charge Fins databox is one of the Sealed Doors leading into the Prawn Suit fragment room.
As you might have guessed by the name I gave it, this room has Prawn Suit fragments inside.
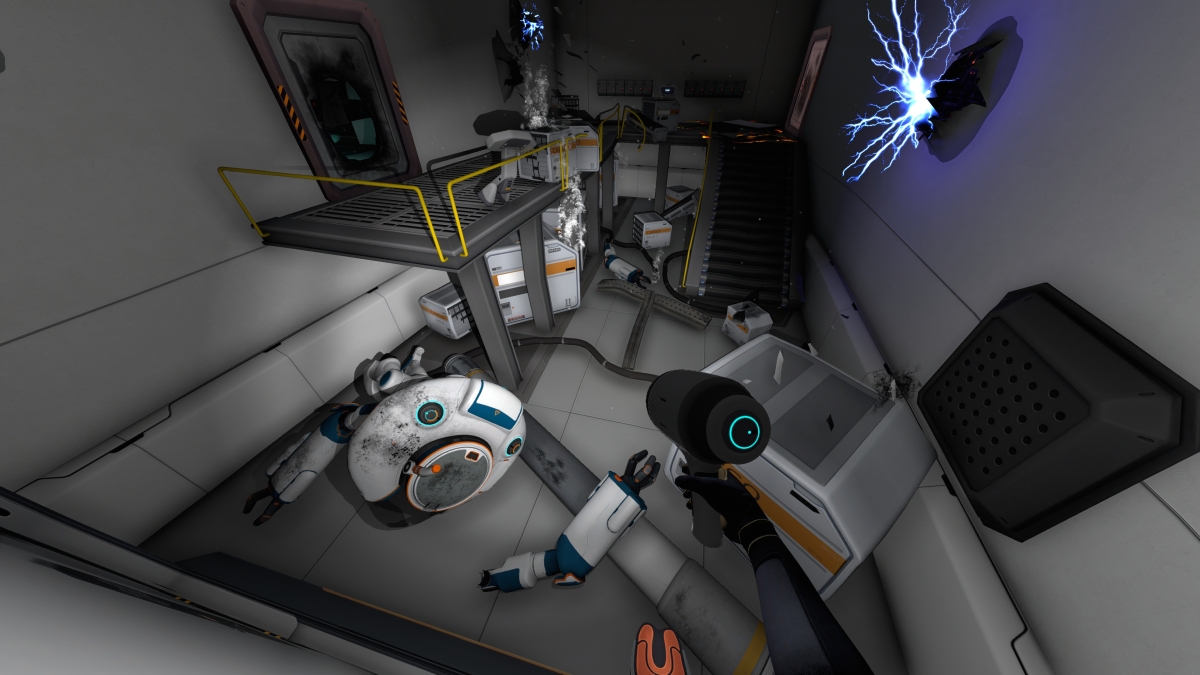
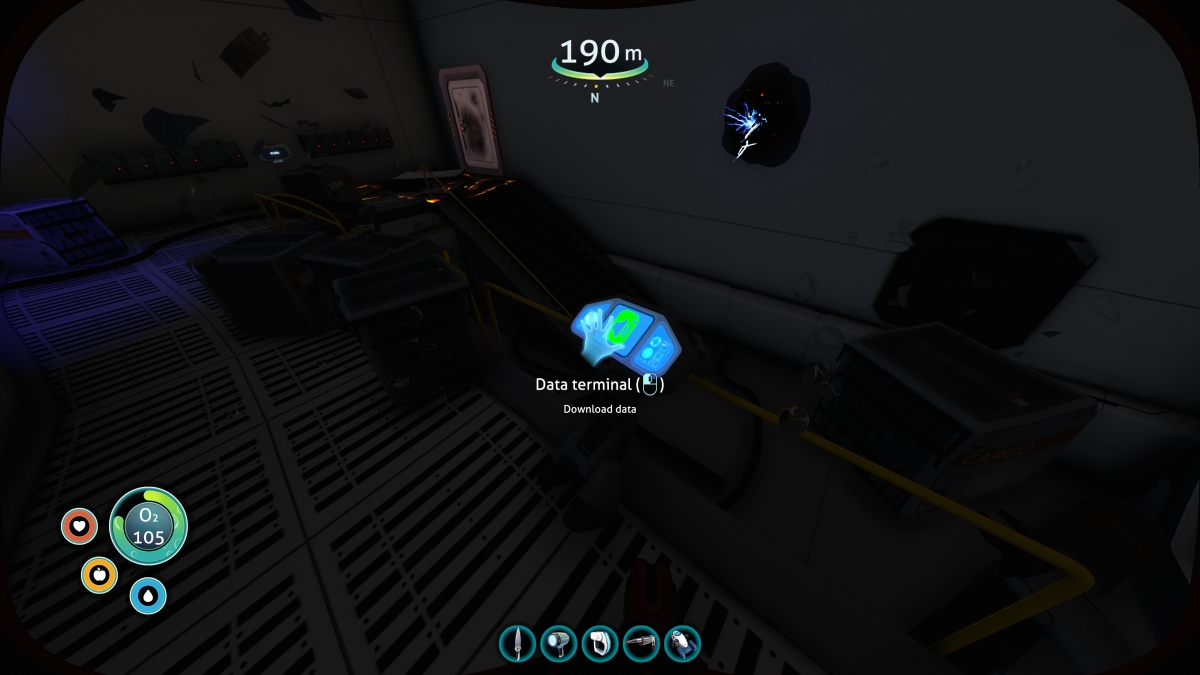
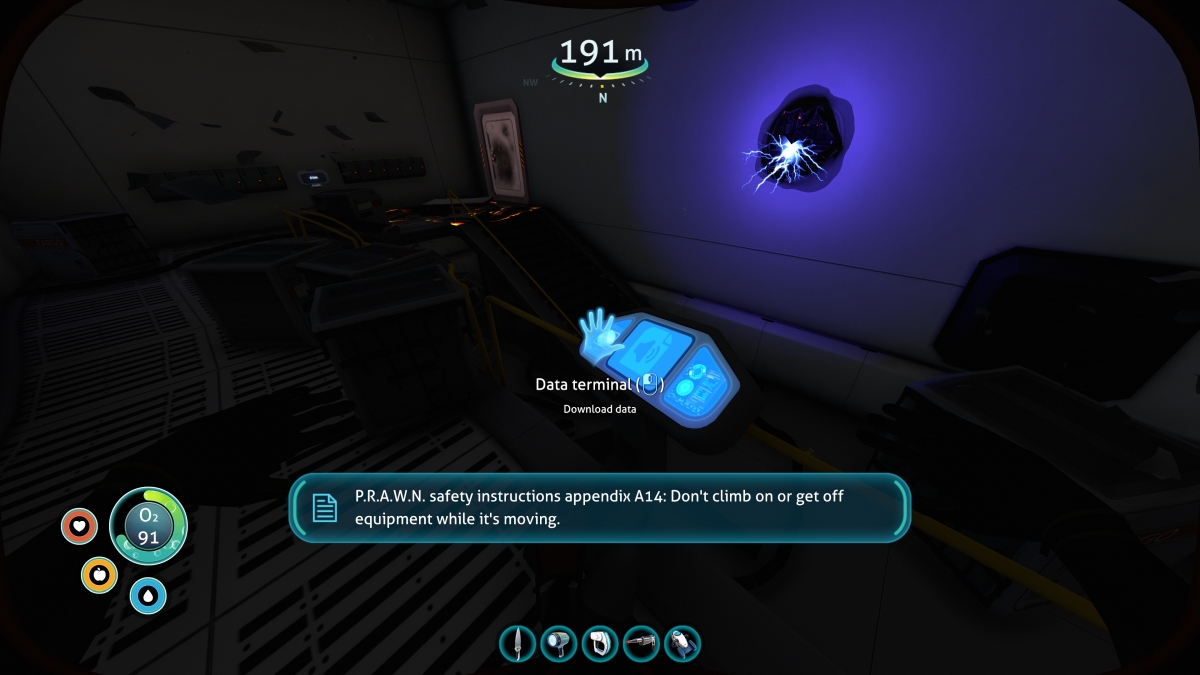
There is also a Data terminal that plays back a message when activated.
Exploring The Right Side
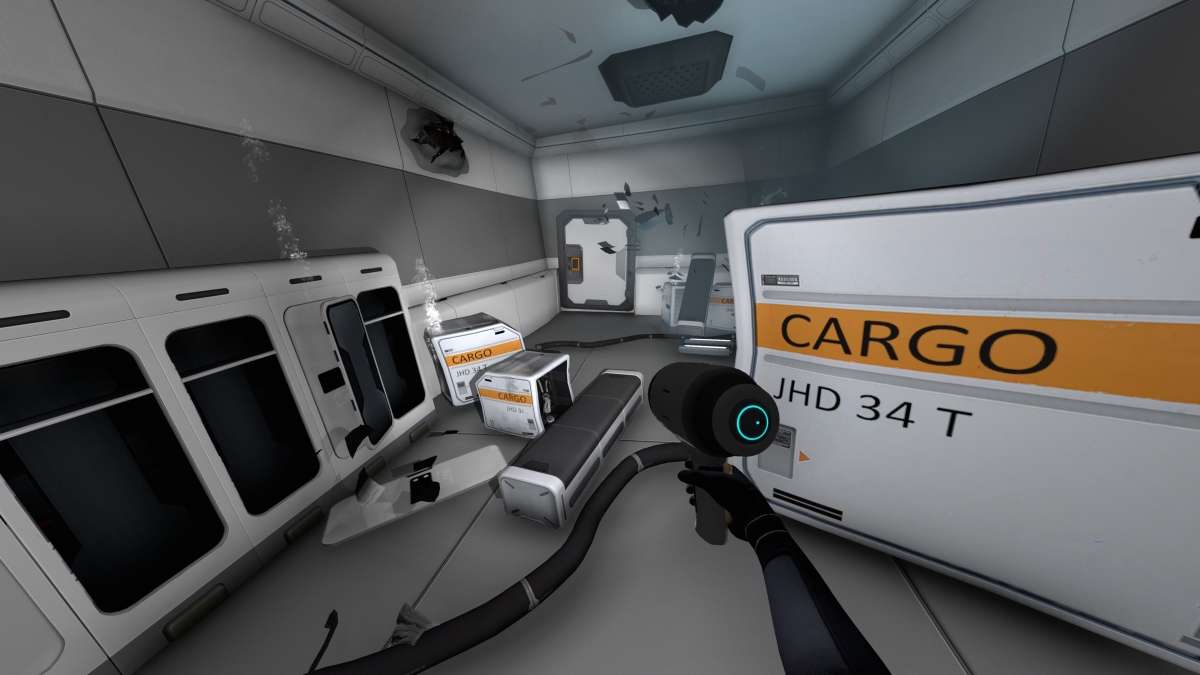
The entrance to the right side of the wreck is an open doorway at the far end.

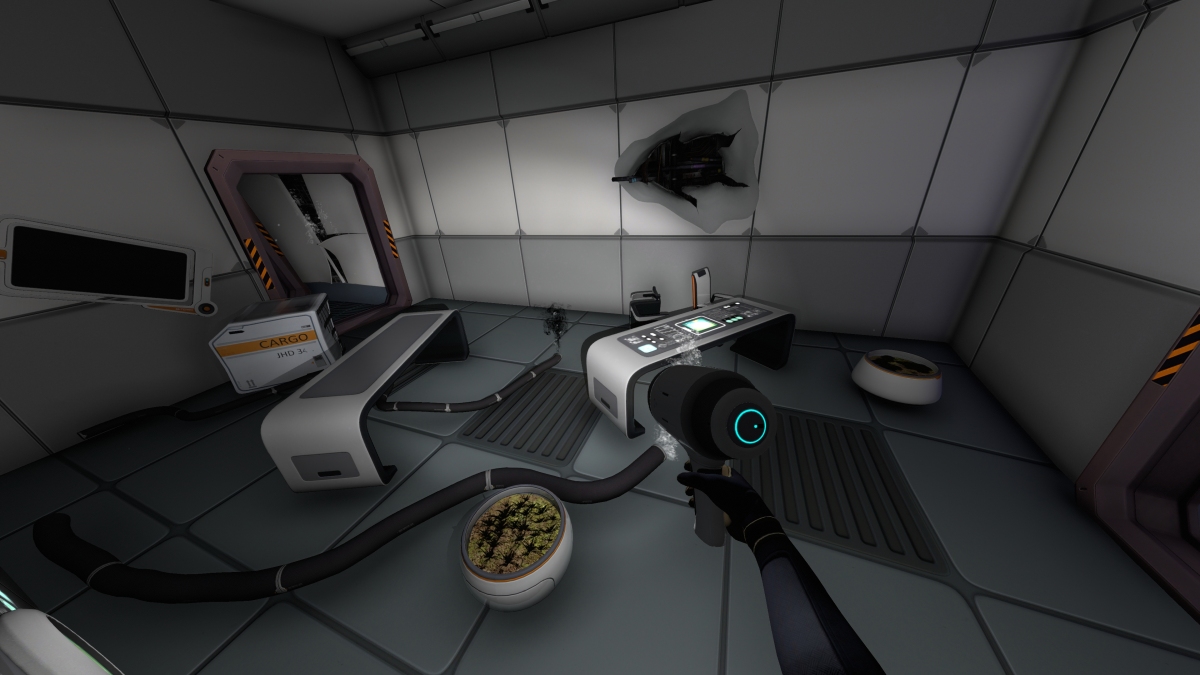
Inside, a door can be opened, leading into the next room which contains a 2 different styles of plant pots as well as a picture frame and other office furniture.
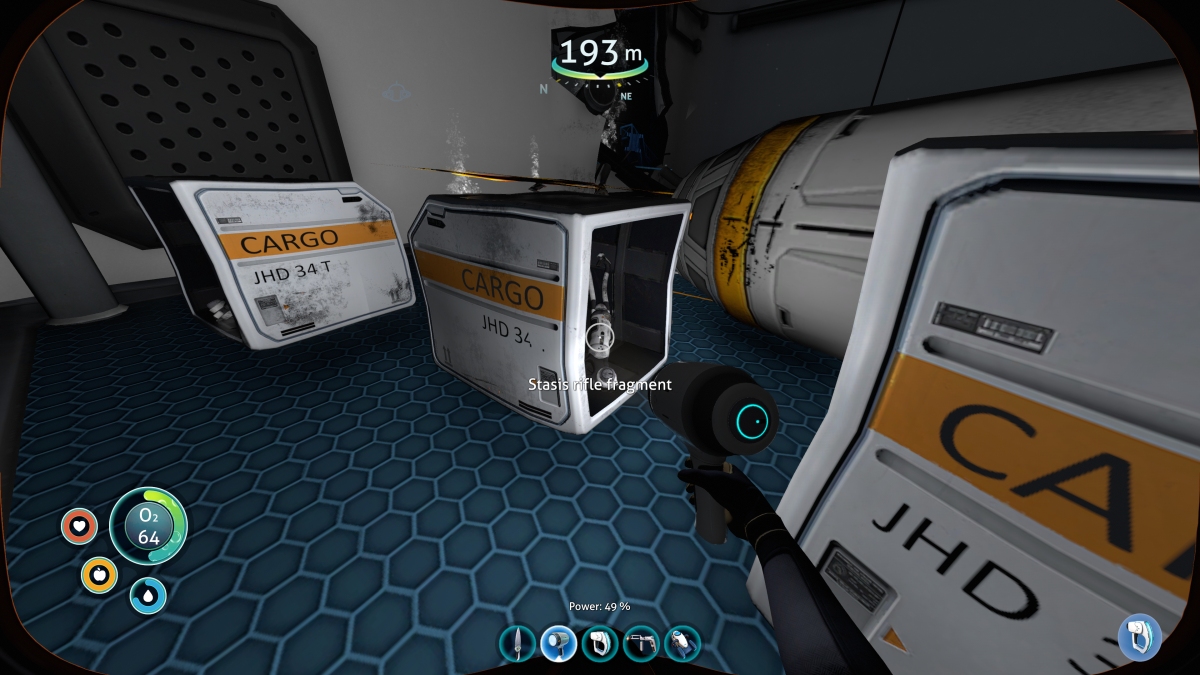
The next room contains a Stasis Rifle fragment and has yet another yellow handled door to open in order to reach the next and final room on this side.
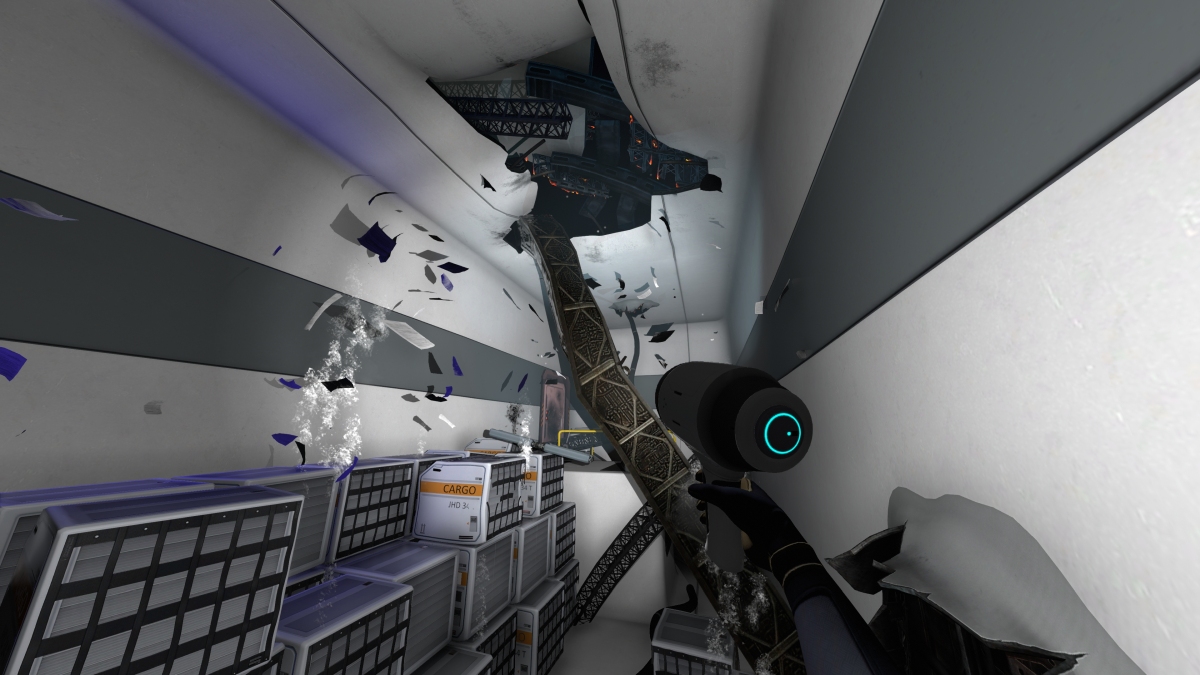
The last room has an entrance torn through the ceiling, and a Sealed Door leading back to the Prawn Suit room that we visited earlier.
The ceiling entrance can be seen here from outside the wreck.