Once you’ve acquired the Seamoth, a run to the Floating Island should be your first road trip as it is key to unlocking your ability to farm your own food, which also helps reduce your need to drink bottled water.
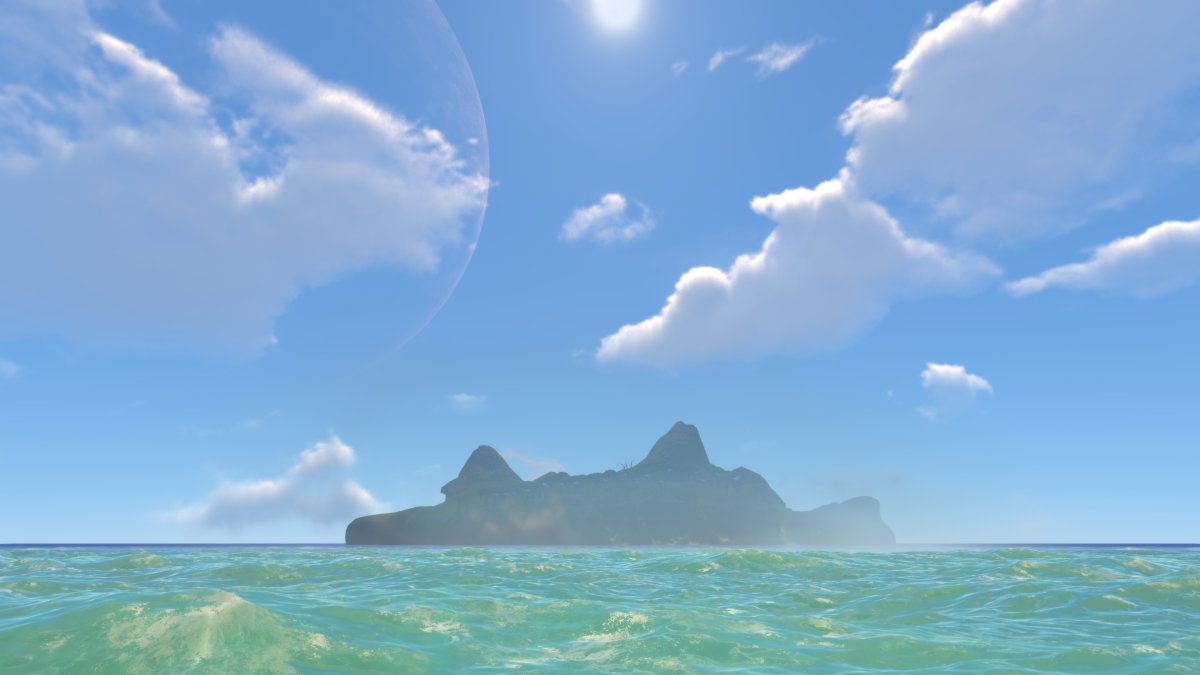
Looking around from your Lifepod, there are no islands in sight – but the Floating Island is only about 1200m from your Lifepod. It could easily be seen from your starting location except that it’s been carefully obscured by a facade of clouds.
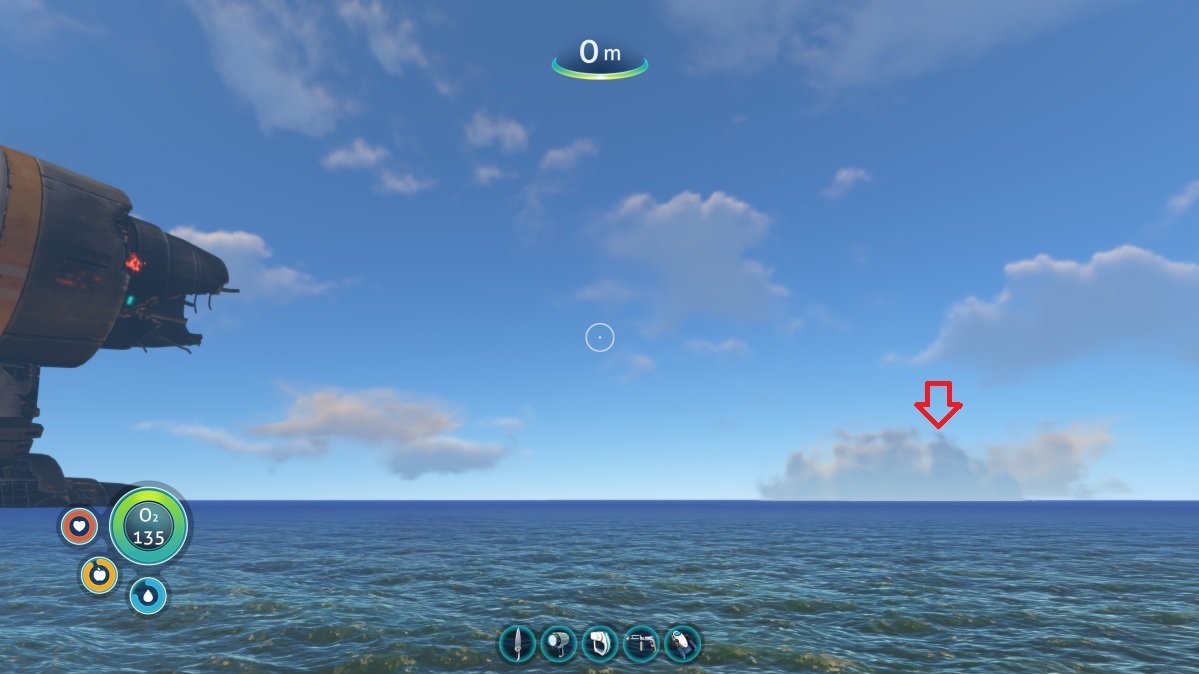
Climb to the top of your Lifepod and look out past the rear thrusters of the crashed Aurora. You’ll see a cluster of clouds that touch the horizon and never move left or right. That’s where the Floating Island is hidden.
Gearing Up for the Trip
Getting to the island doesn’t take too long, but exploring it tends to take a while. It’s a good idea to bring a few bottles of water and cured fish (Cured Peepers are ideal.) Once you’re on the island, Food and H20 can be replenished by harvesting edible plants, so don’t worry about bringing too much with you. Also, while you won’t be facing any fearsome threats on the island, the local wildlife will pick away at your health so it’s a good idea to bring around 3-4 First Aid Kits.
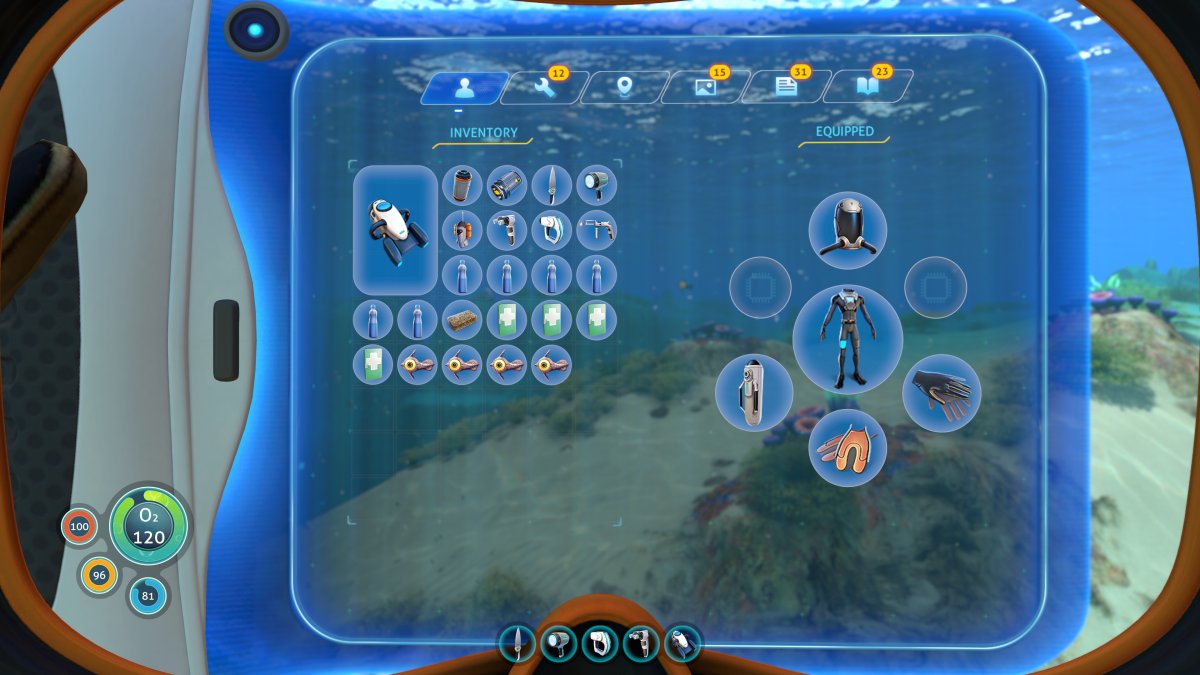
Also make sure to bring the following tools with you:
- Handheld Scanner – This item is critical for your trip as one of your primary objectives is to capture blueprints with the Scanner.
- Survival Knife – Also mission-critical because you need the knife to acquire seeds from edible plants that will become the basis of your food farm.
- Flashlight – There are some dark areas that you’ll want to explore, also the sun could set while you are still exploring.
- Spare Battery and Power Cell (optional but recommended) – You’ll be scanning a lot of things and using your flashlight. It’s a good idea to always keep a spare Battery and Power Cell in your backpack.
- Repair Tool (optional) – This is a very easy trip and most likely your Seamoth will not be exposed to significant damage along the way. But just in case, it can be a good idea to keep the Repair Tool on hand.
- Beacon (optional) – While not critical, it can be helpful to drop a beacon next to the island for navigation purposes.
Make sure to leave everything else at your Lifepod or Seabase because you’ll need that inventory space for stuff you’ll be bringing back from the island.
Traveling to the Floating Island
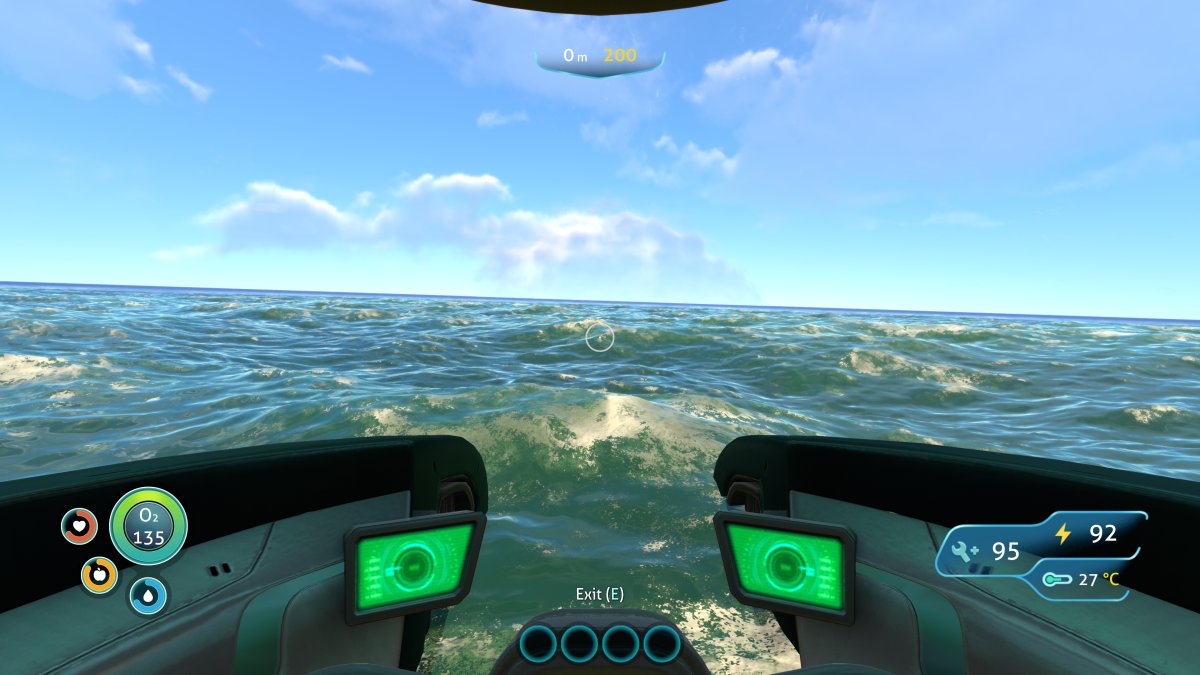
With your supplies assembled, climb into the Seamoth and start driving toward the suspicious group of clouds that hides the Floating Island.
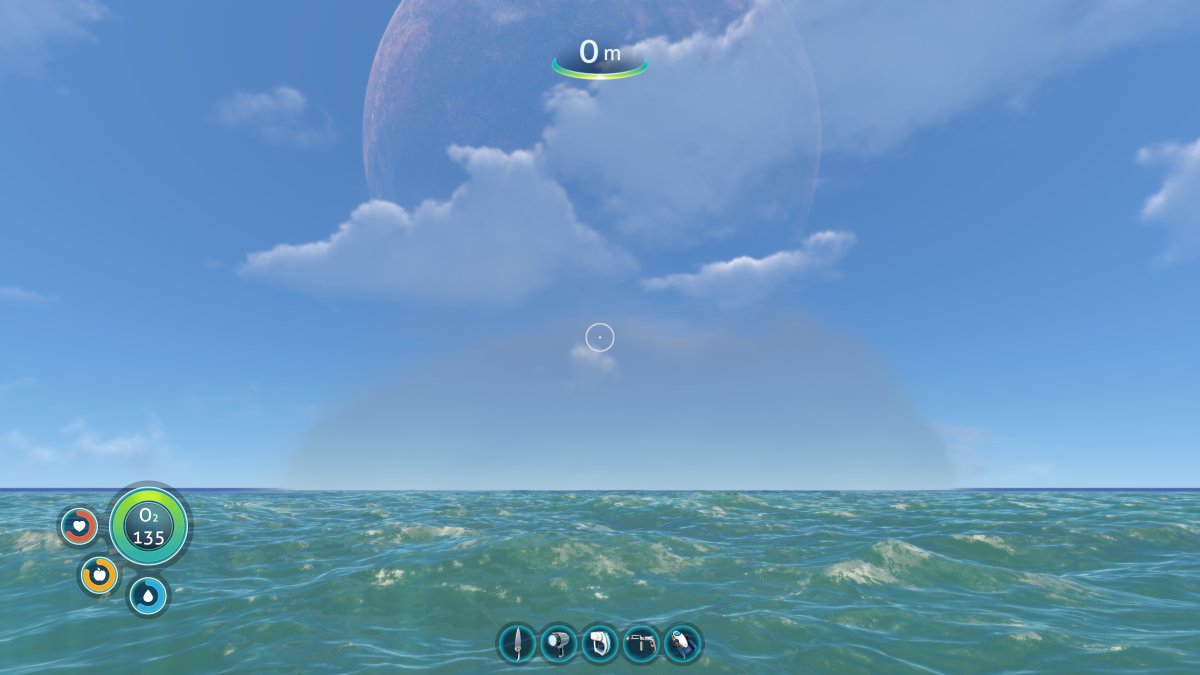
As you approach the cloud it will start to look a lot more different from the clouds in the sky.
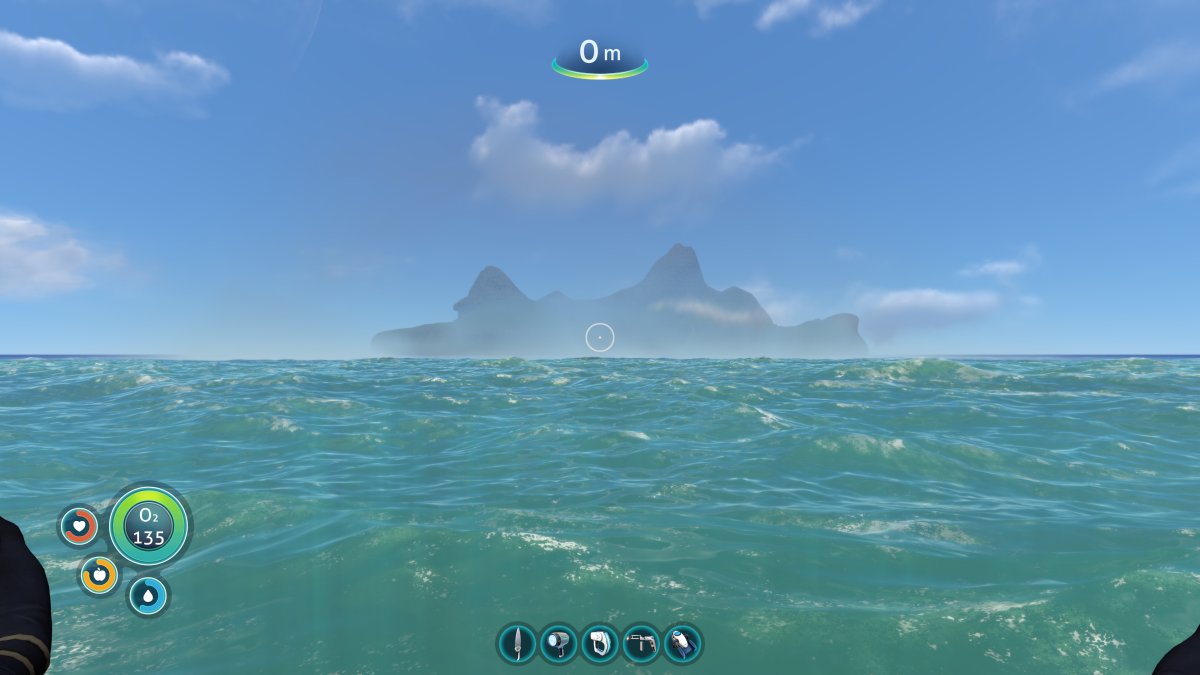
When you’ve almost reached the island it can be seen behind the cloud facade.
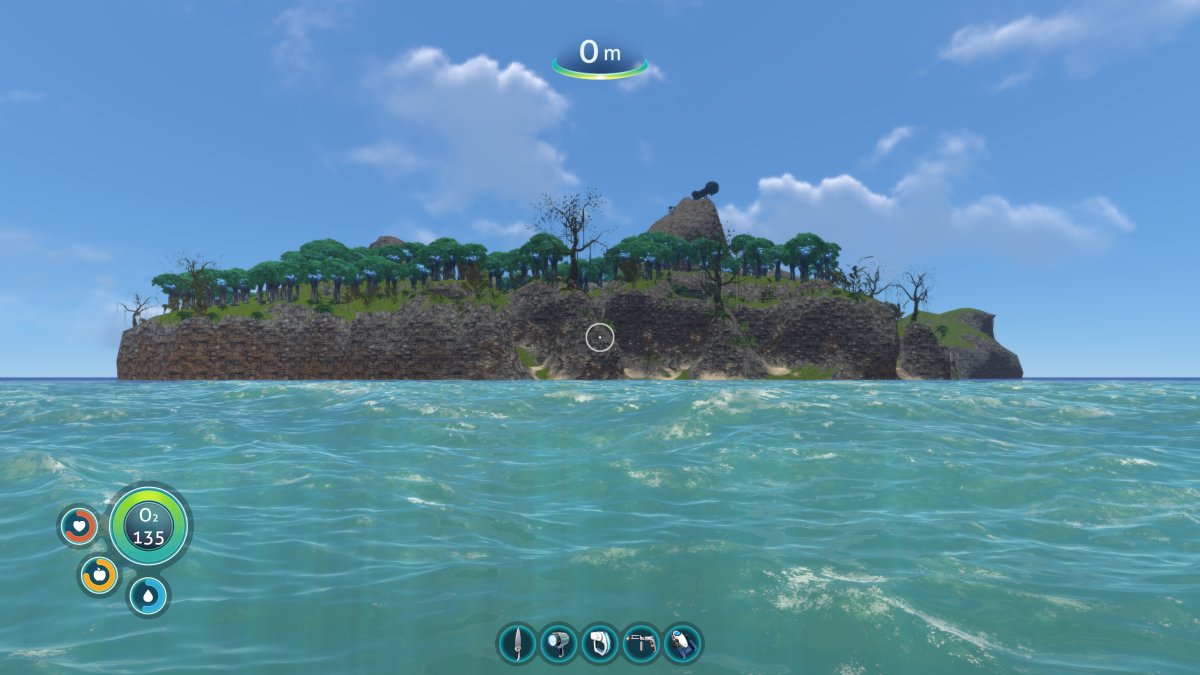
Finally, the floating island is in view. Drive up to one of the nearest beach landings and park your Seamoth a few meters away from the edge of the island. Don’t park the Seamoth on the beach as it can get stuck, and it’s not advisable or necessary to drive the Seamoth around to the back side of the island.
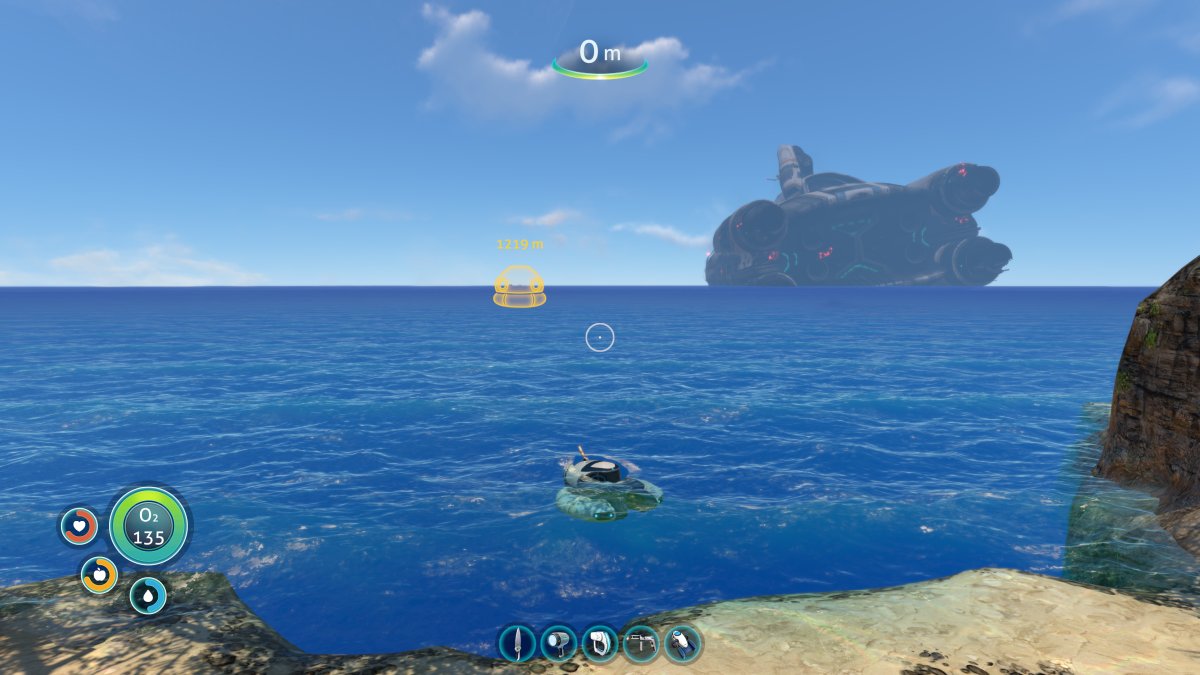
Looking back toward the wreck of the Aurora, my Lifepod’s beacon indicates that it’s about 1200m away.