
Once you’ve finished crafting your Habitat Builder, you can use it to start building your first Sea Base.
Fabricating Your Seabase
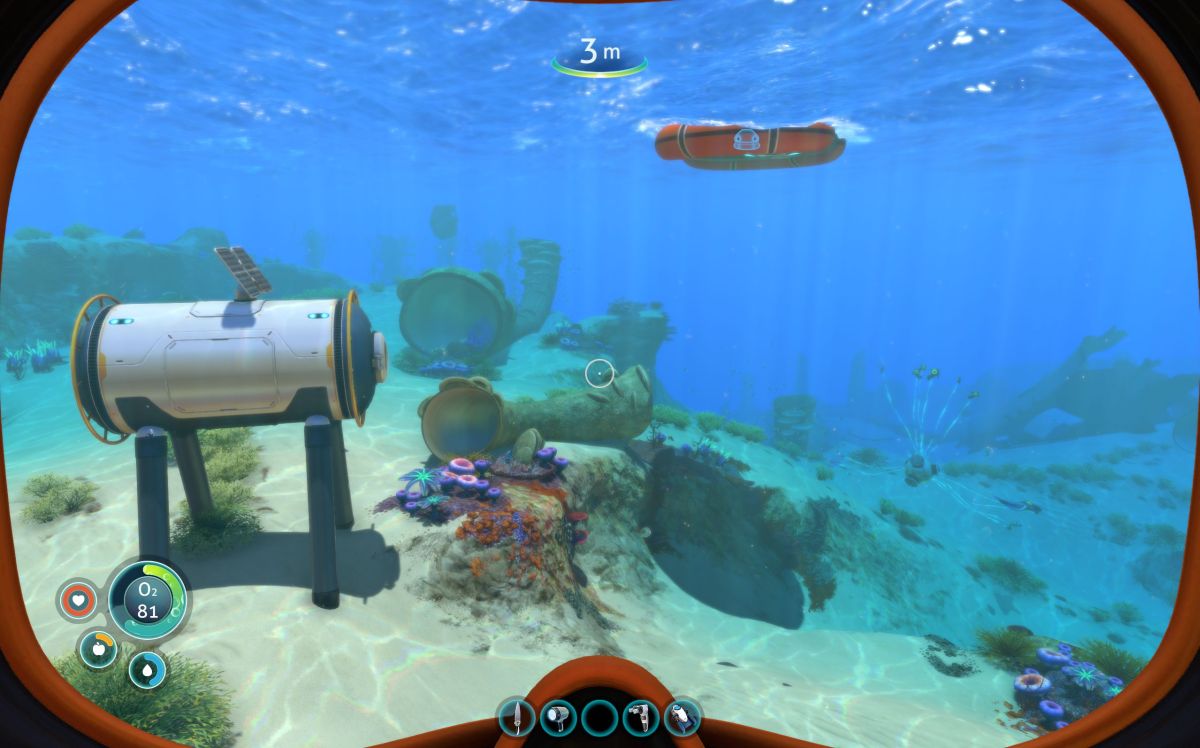
For your first Seabase, you may want to consider placing it in close proximity to your Lifepod so that you can continue to take advantage of the features of the Lifepod – namely the Radio, the Fabricator, and the Medical Kit Fabricator. While all 3 of these items can also be constructed in your Seabase, they do cost resources, and the Medical Kit Fabricator in particular is costly to build.
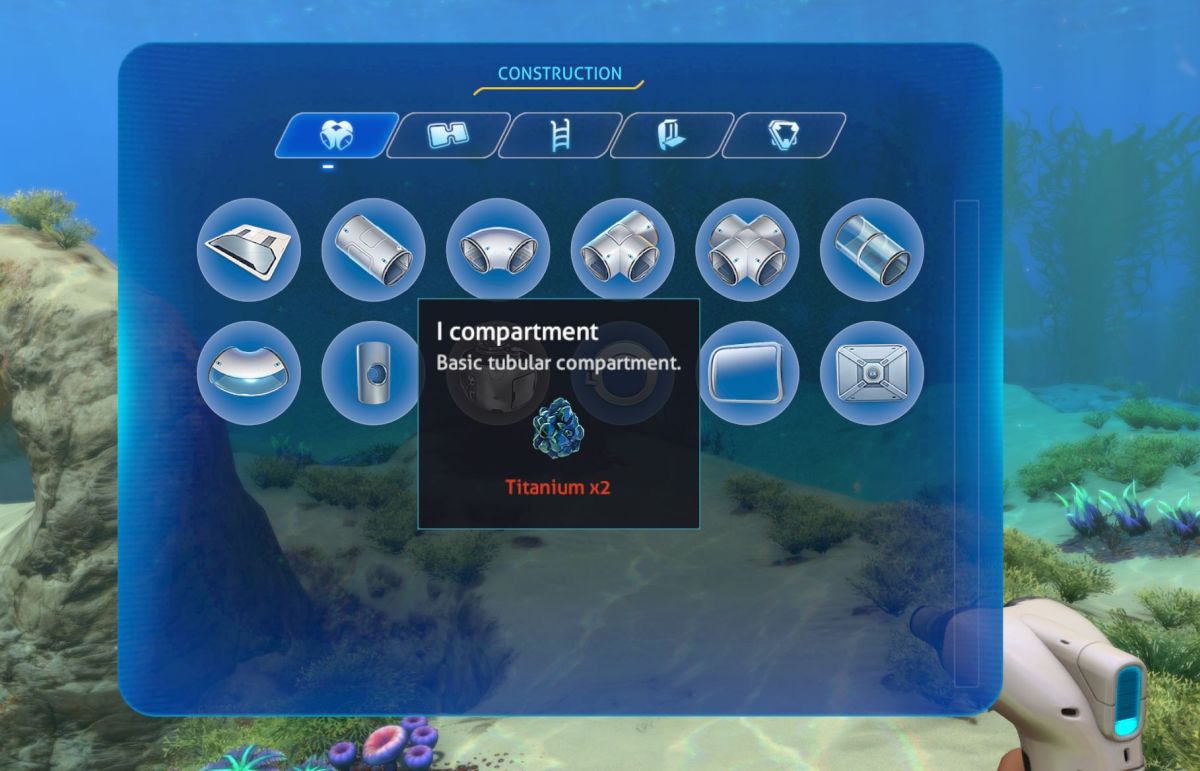
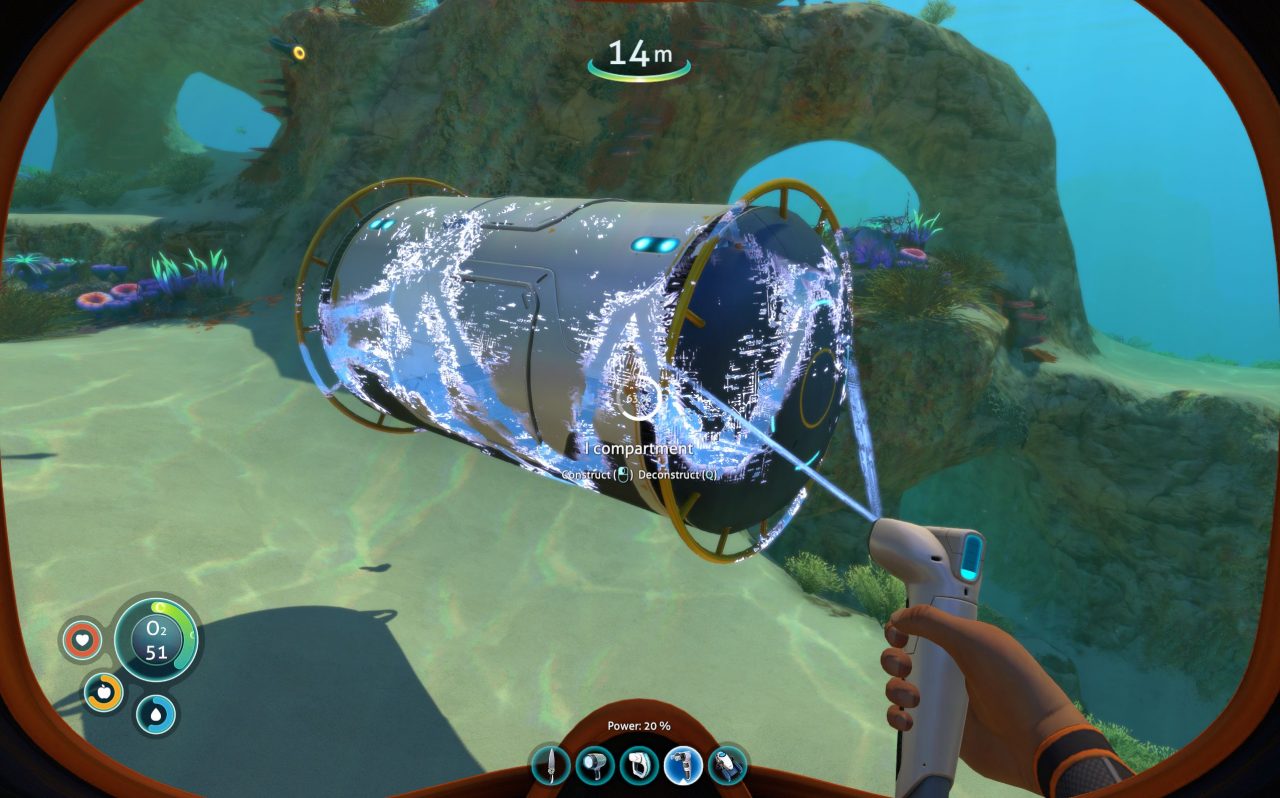
To start building your Seabase, equip the Habitat Builder and activate it with the Right Hand button (Right-click on PC, controllers will vary.) This will bring up a tabbed menu of pieces that can be built as parts of your Seabase. We’ll start with the leftmost tab, which is called Base Pieces. This tab contains outer hull pieces for your base, and you must be outside of the Seabase in order to construct these pieces. We’re going to build this minimalist Seabase using a single I-Compartment at a cost of just 2x Titanium.
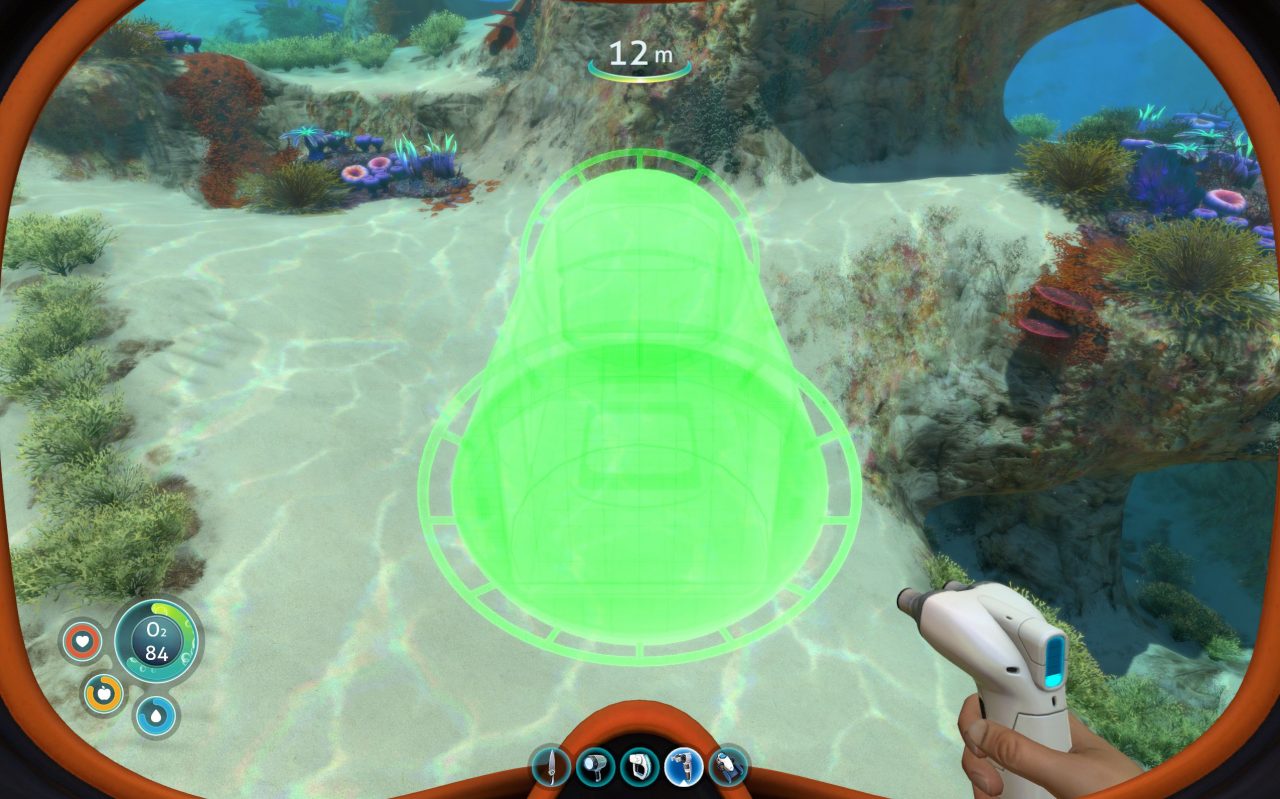
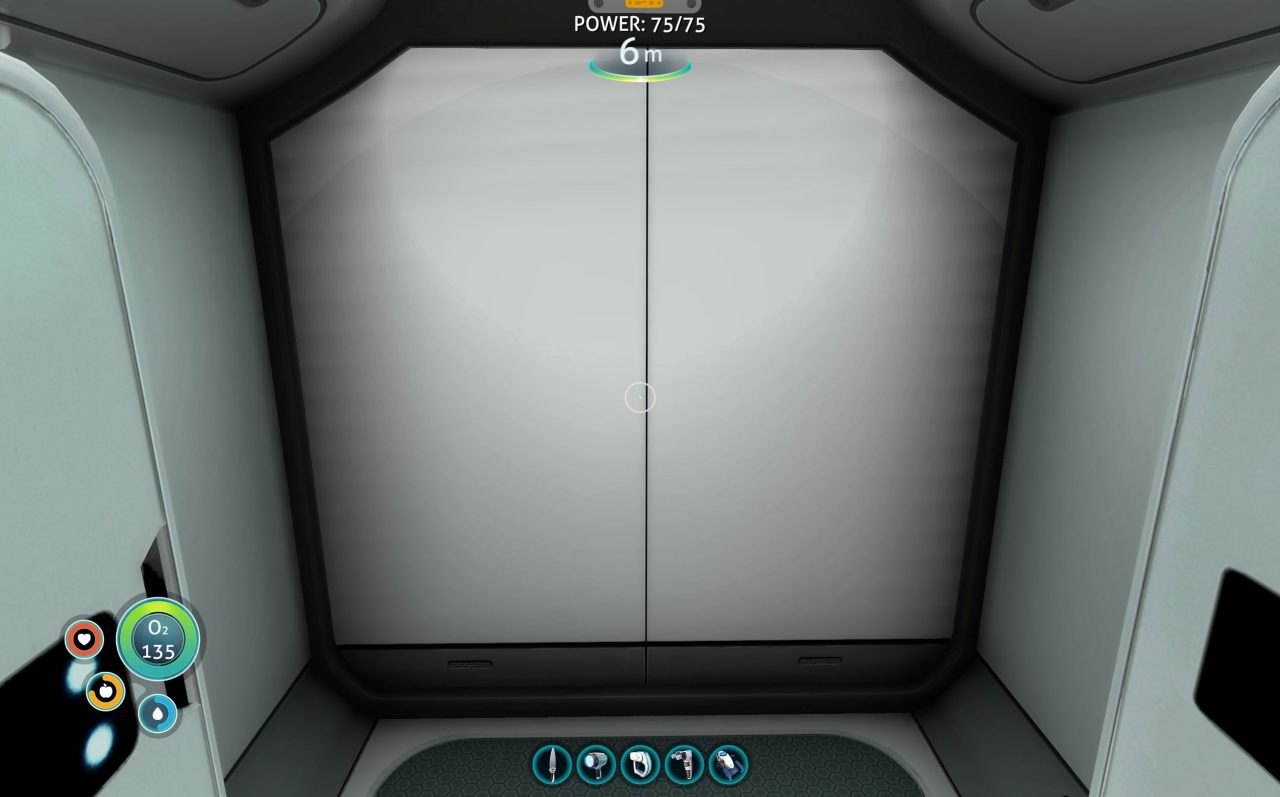
After selecting the base piece that I want to use, I can see a preview of its location in front of me. I can move it around by moving or turning, and I can rotate it in place using the “[” and “]” keys on the keyboard (Controllers will vary.)
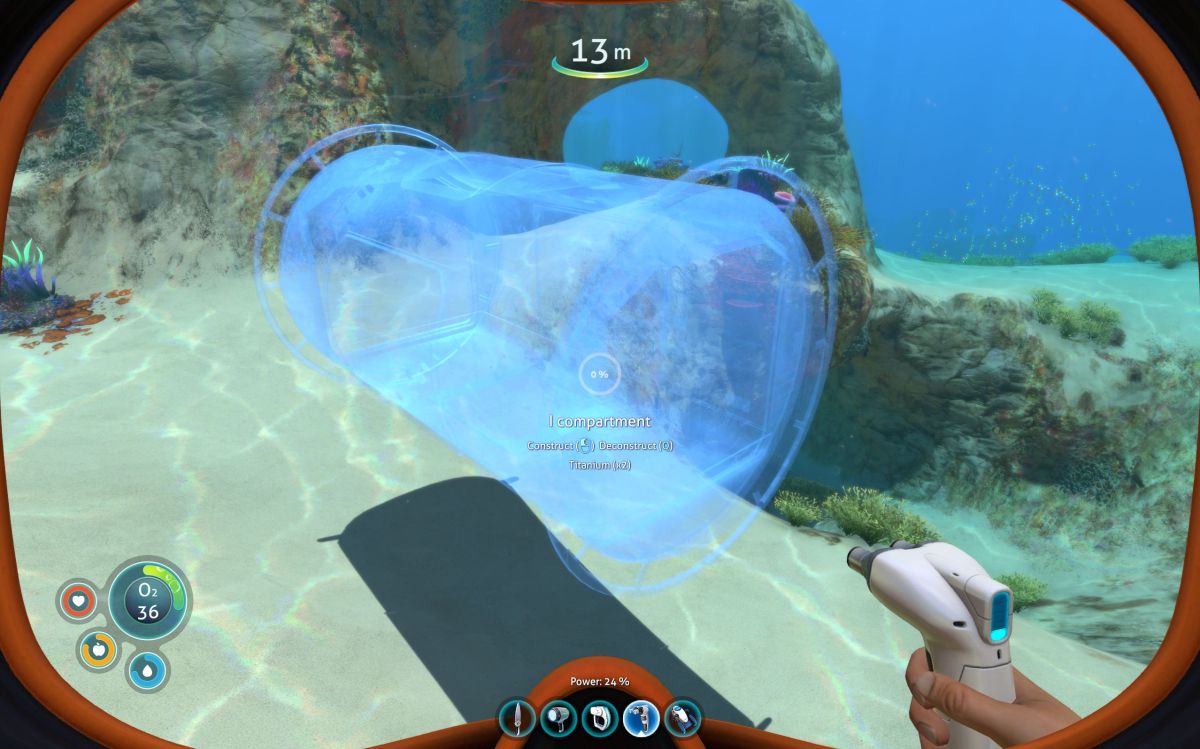
Even if I don’t have the materials needed to build this piece of my Seabase, I can still create a holographic placeholder for it by attempting to build it. In the tooltip text it is telling me the materials that I need to have in my inventory in order to complete this piece – in this case 2x Titanium.
After retrieving the 2x Titanium needed to build it, I’m able to come back and complete this piece of the Seabase.
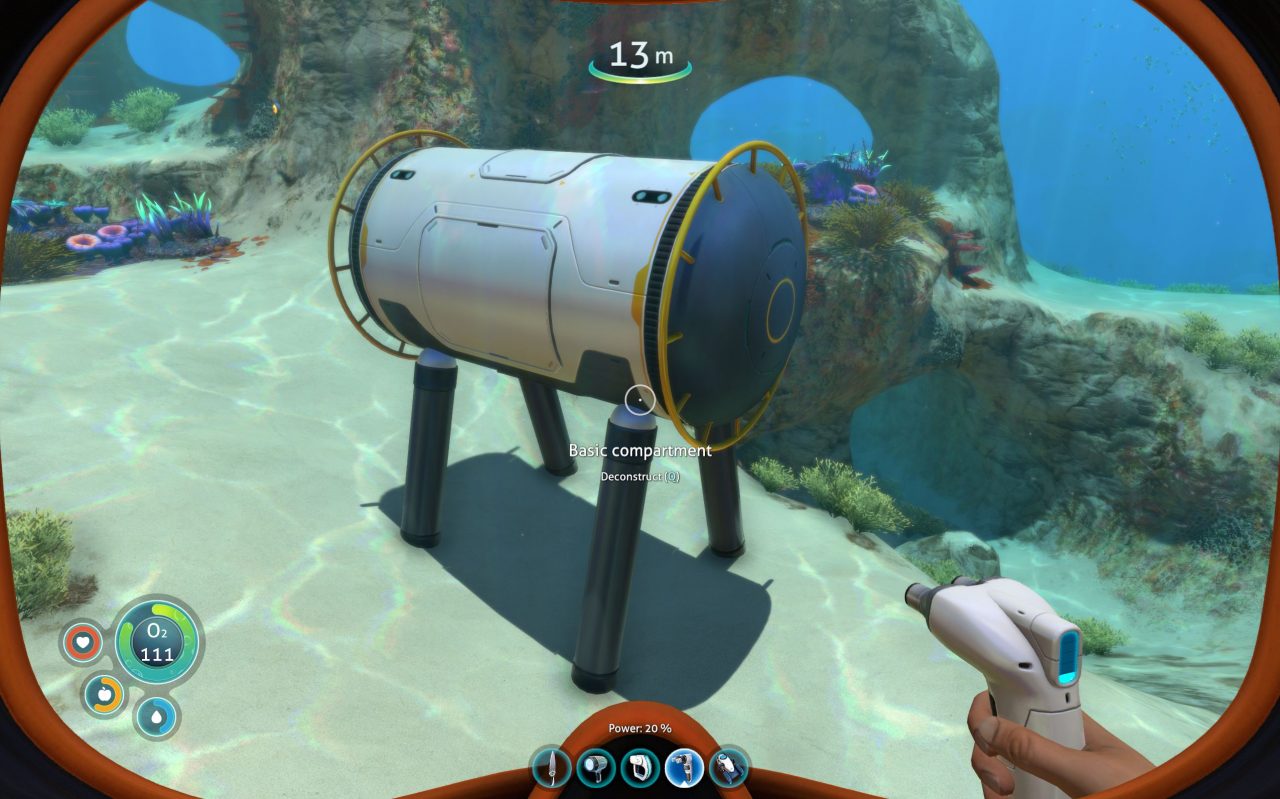
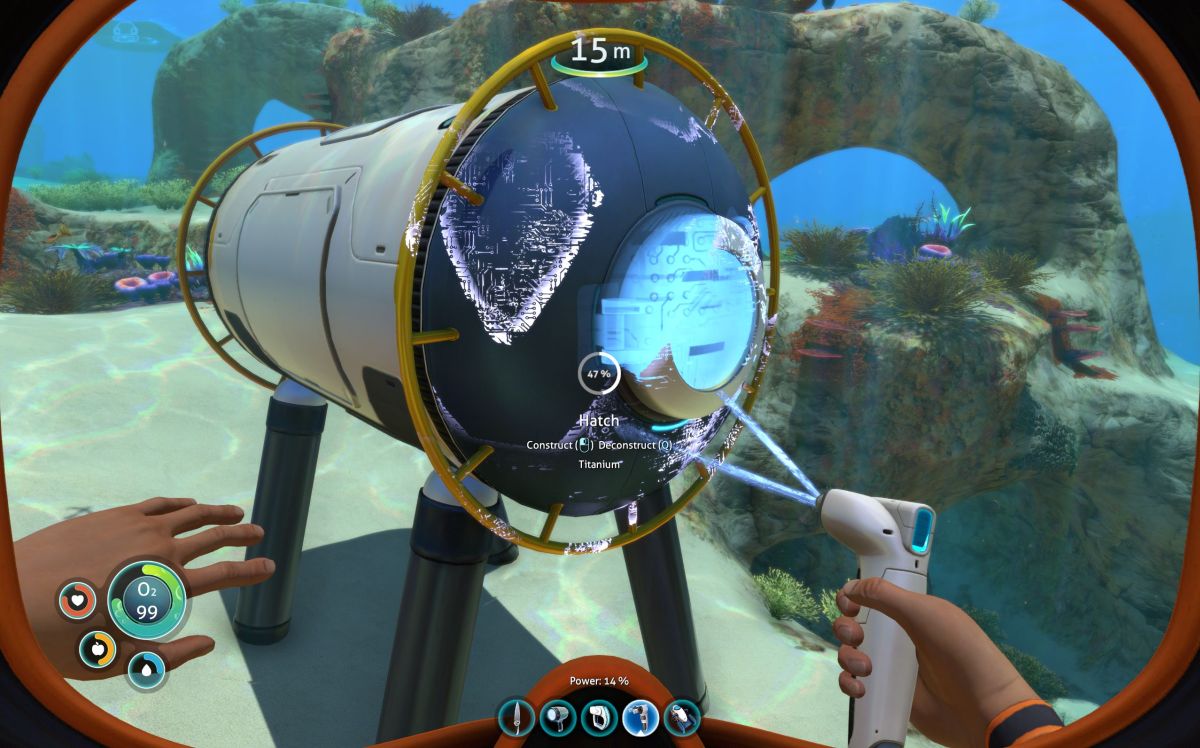
At this point, I have a Seabase but no way to get inside of it. I’m going to need to build a Hatch.
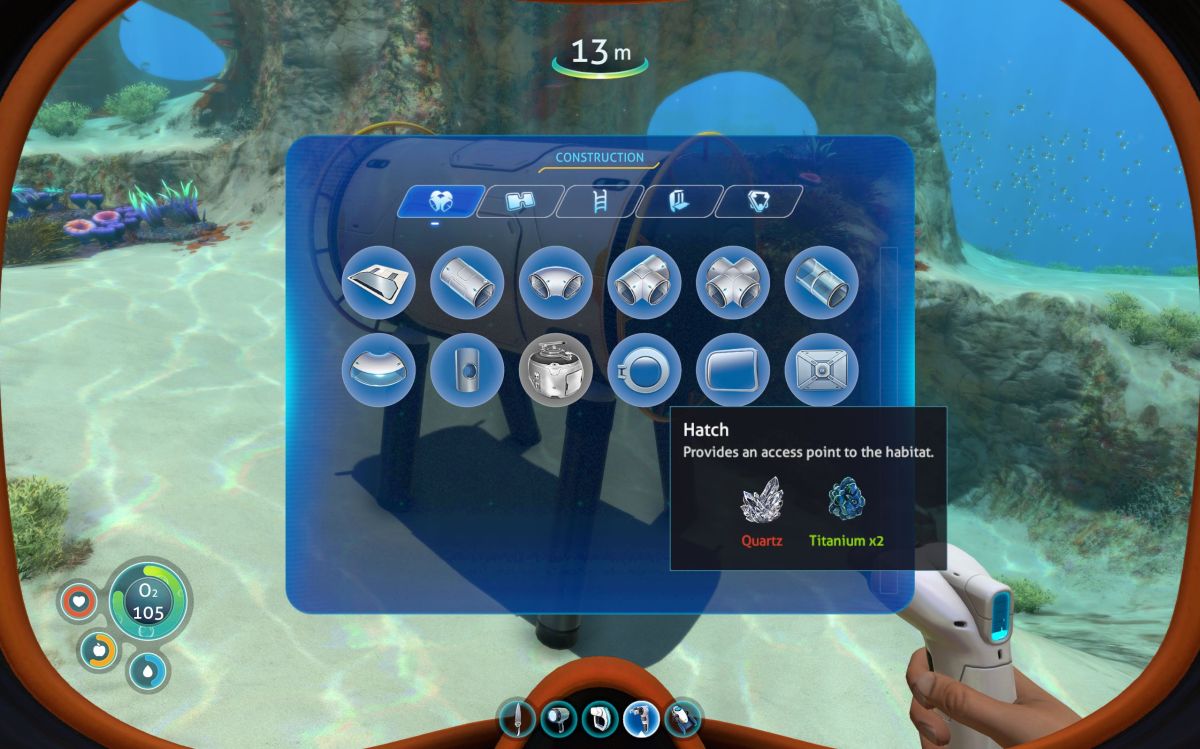
The Hatch is also found in the Base Pieces tab. In addition to 2x Titanium, I’ll need to find 1x Quartz to complete the Hatch.
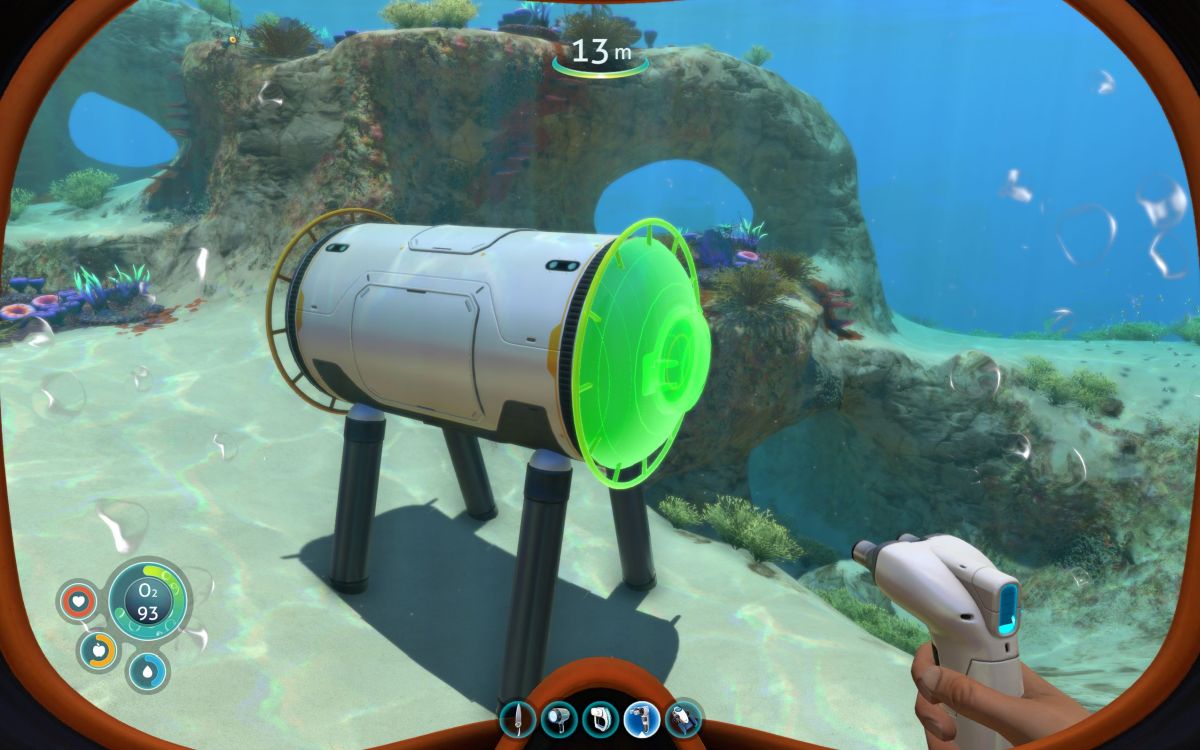
The hatch can be placed at either end of the I-Compartment.
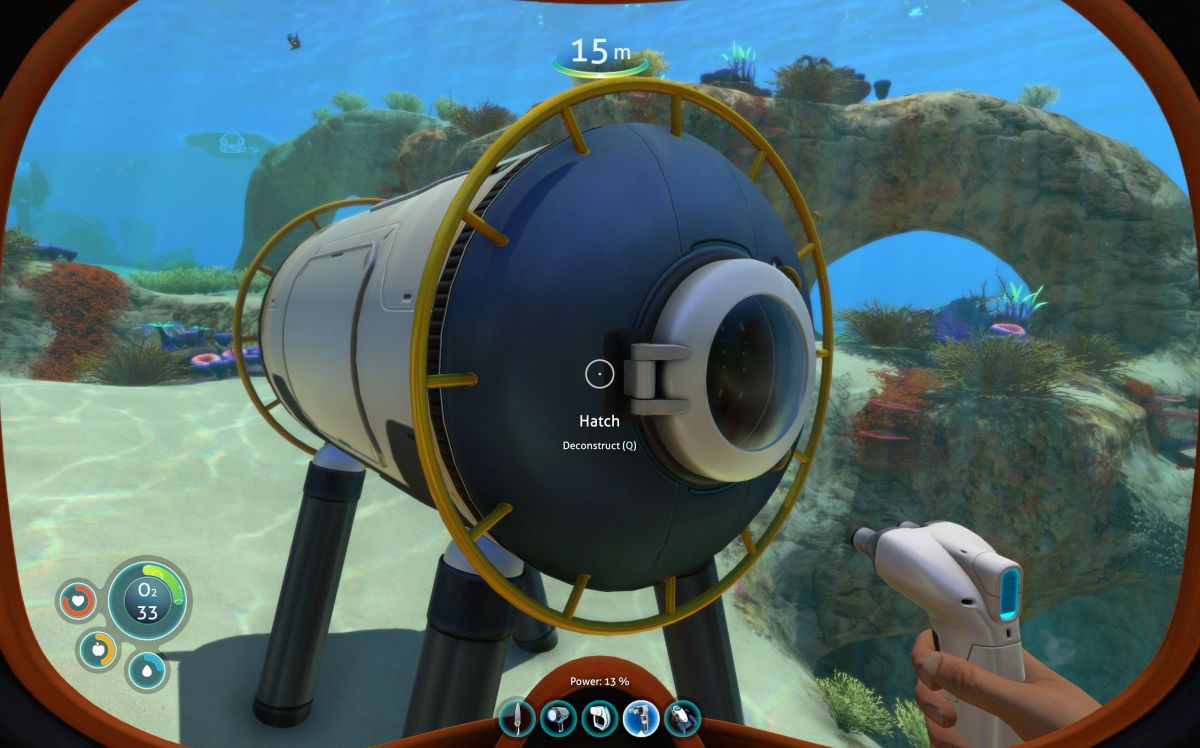
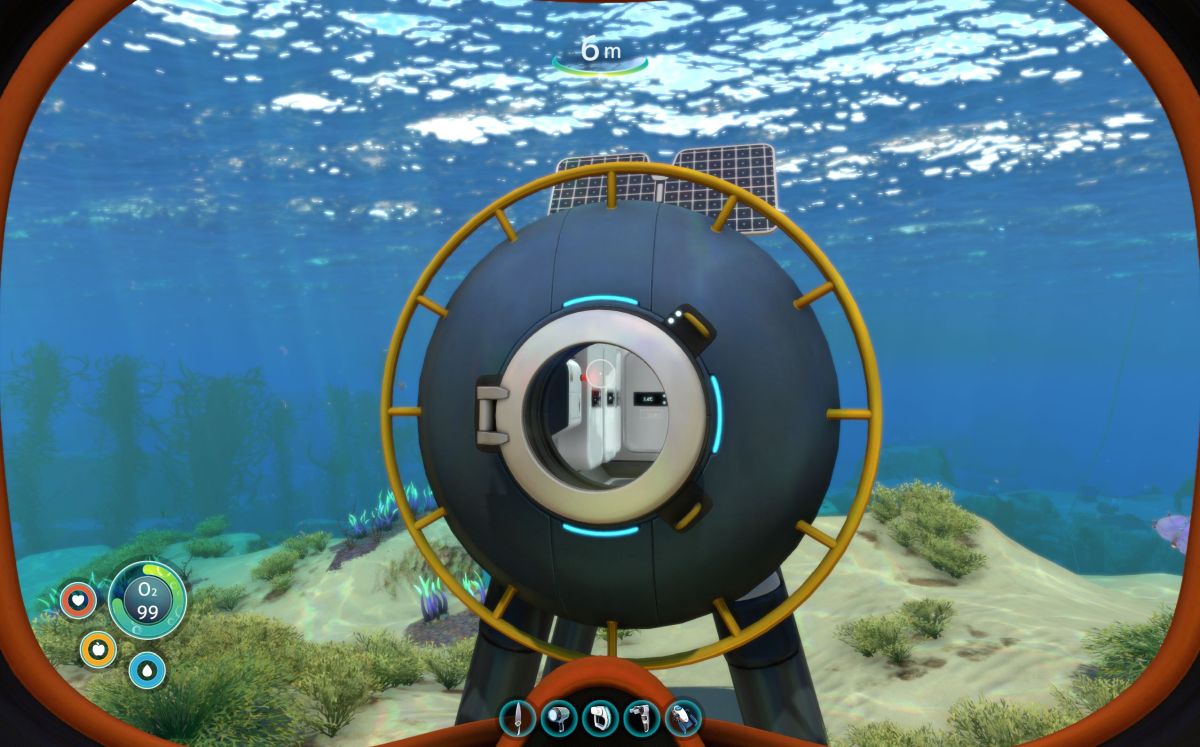
I’ve fabricated the Hatch, and now I can go inside the Seabase – however at this point is has no power source, so the lights will be off and it’ll be full of water instead of breathable air.
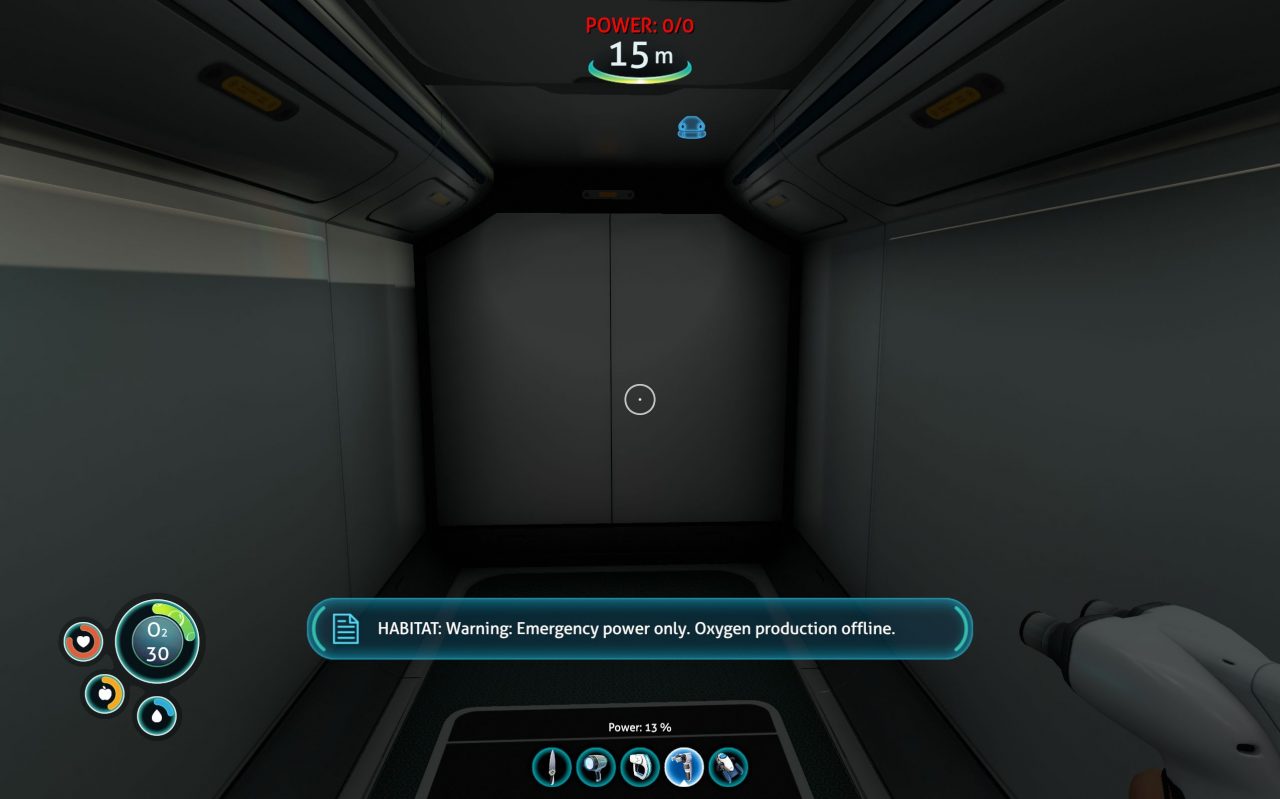
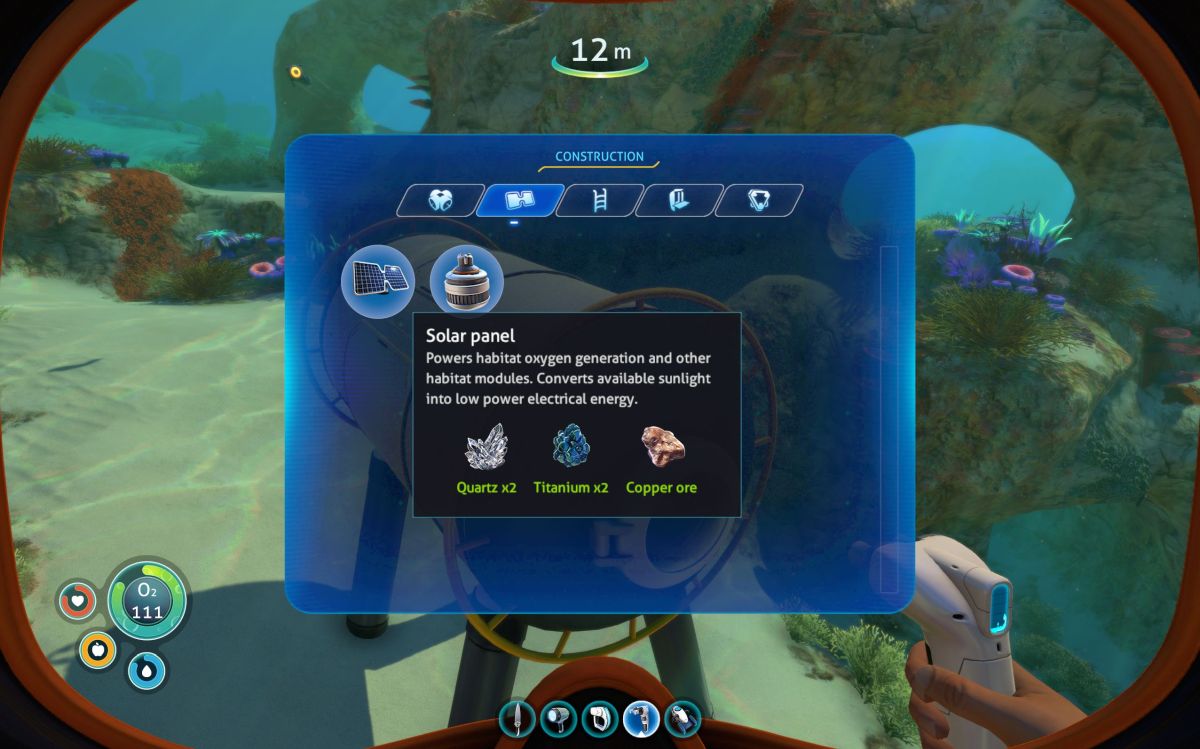
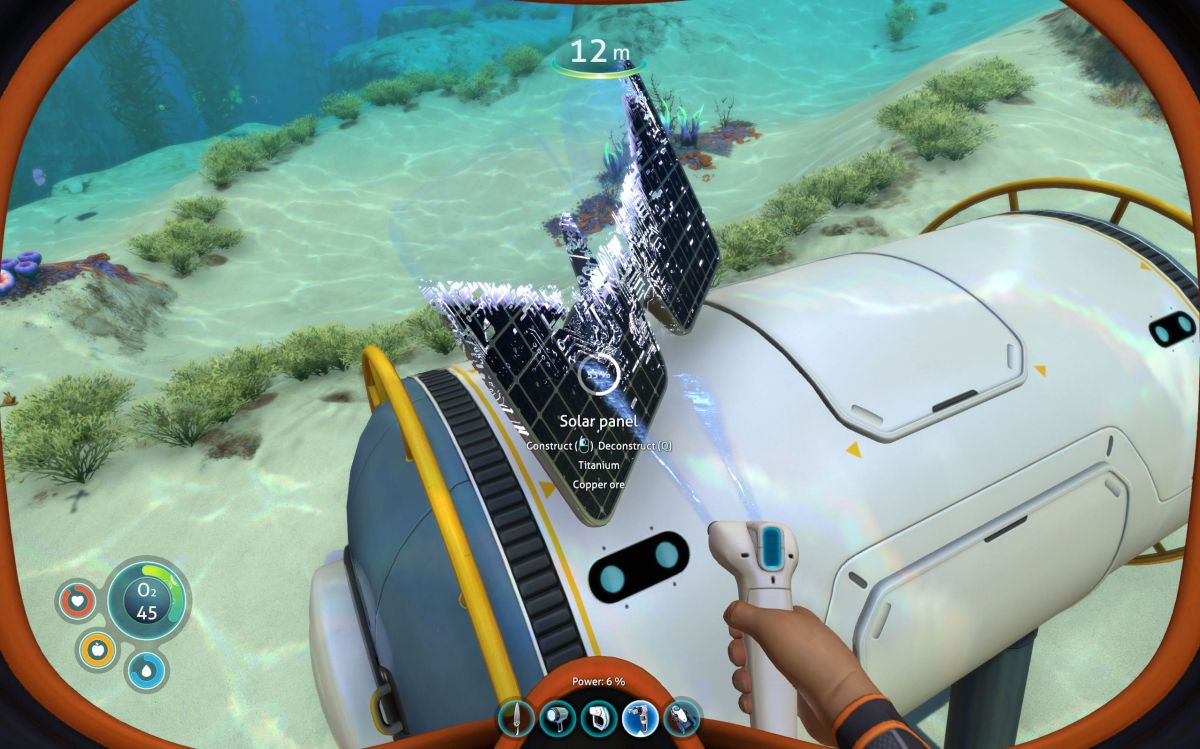
At this stage of the game, the only power source available to my Seabase are Solar Panels. For this tiny Seabase, a single Solar Panel will provide all the power it needs. The Solar Panel can be found under the 2nd tab – Exterior Modules.

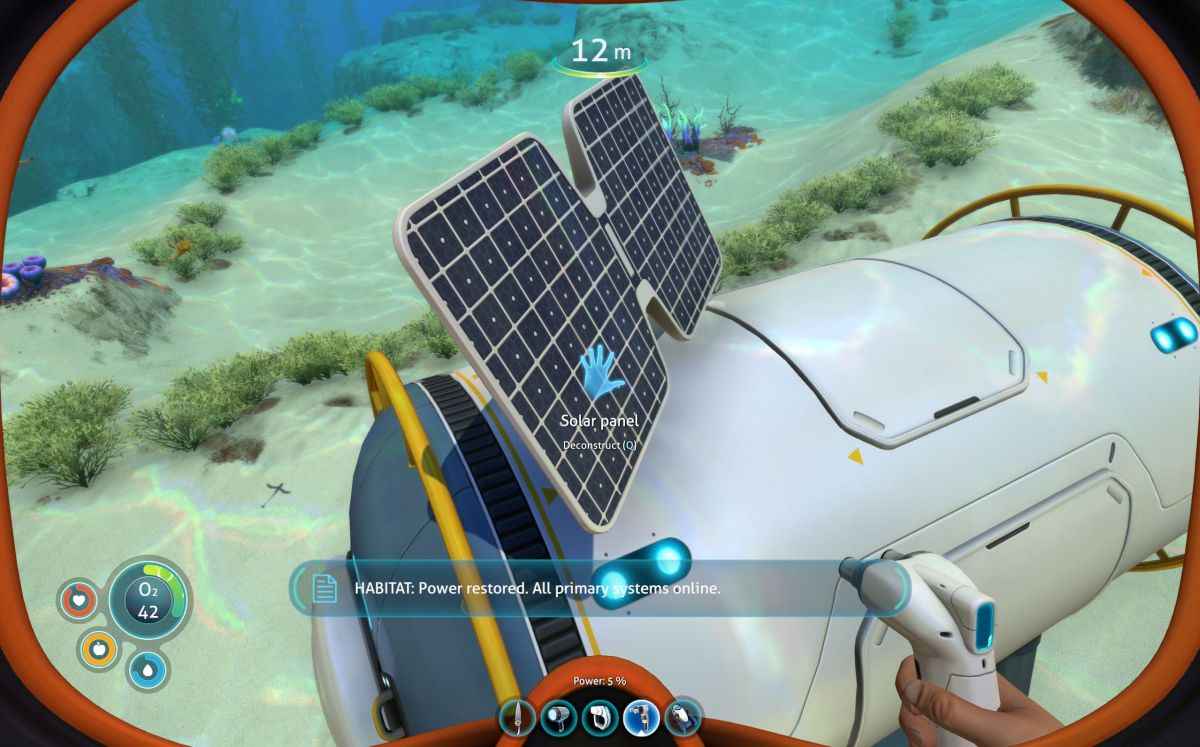
The Seabase notifies me that power has been restored.

Back inside the Seabase, we can see that lighting is functional and there is air to breathe. It’s time to start adding Interior Modules to the inside of the base.
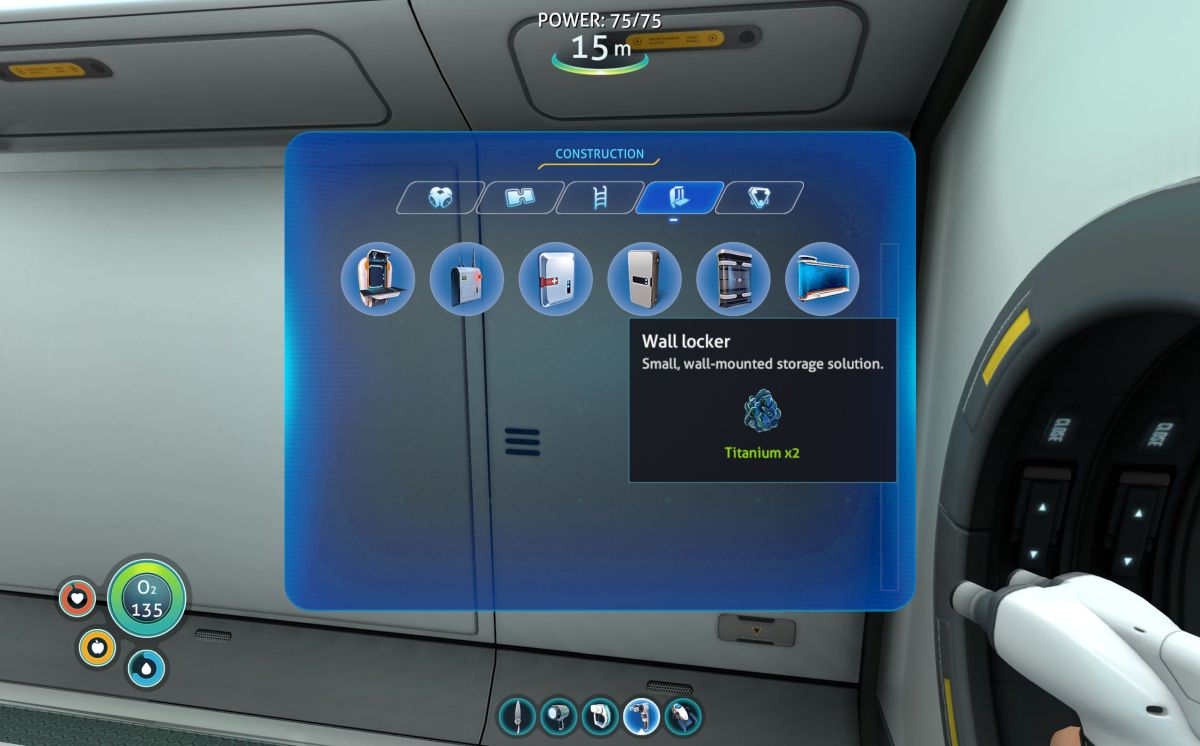
The Wall Locker works out well because of its low profile, low cost, and generous storage capacity. This tiny I-Compartment can fit a dozen lockers on its walls.
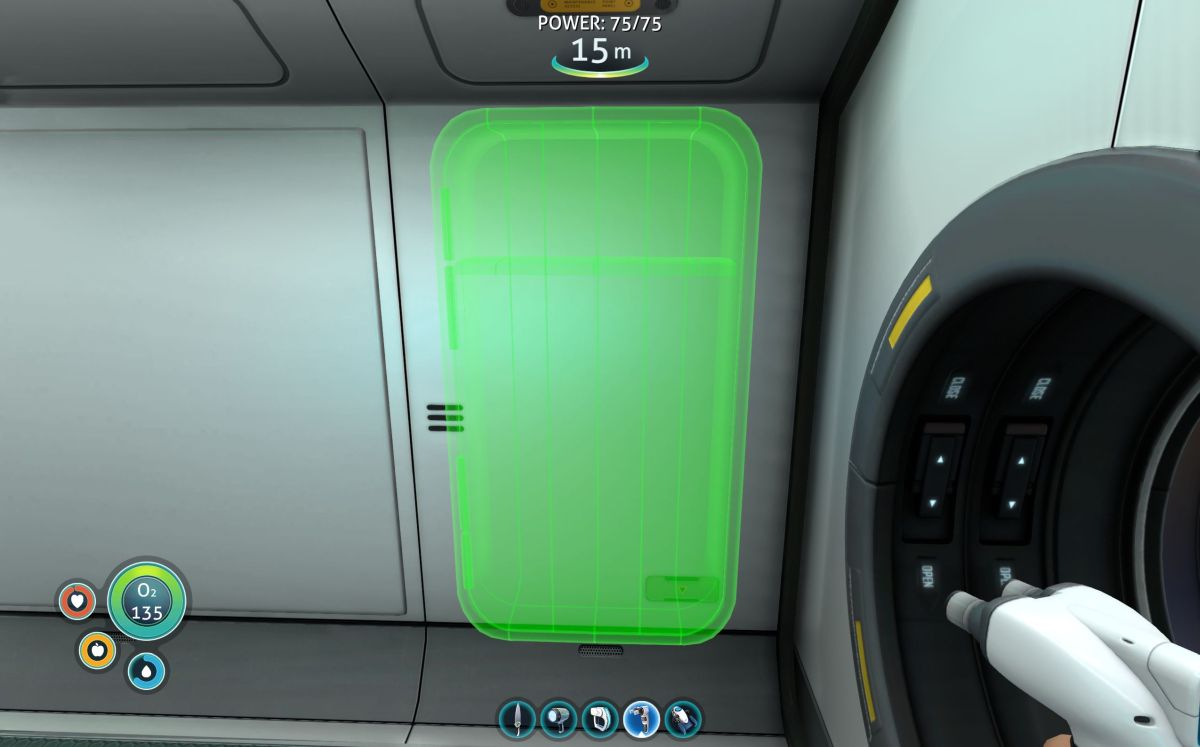
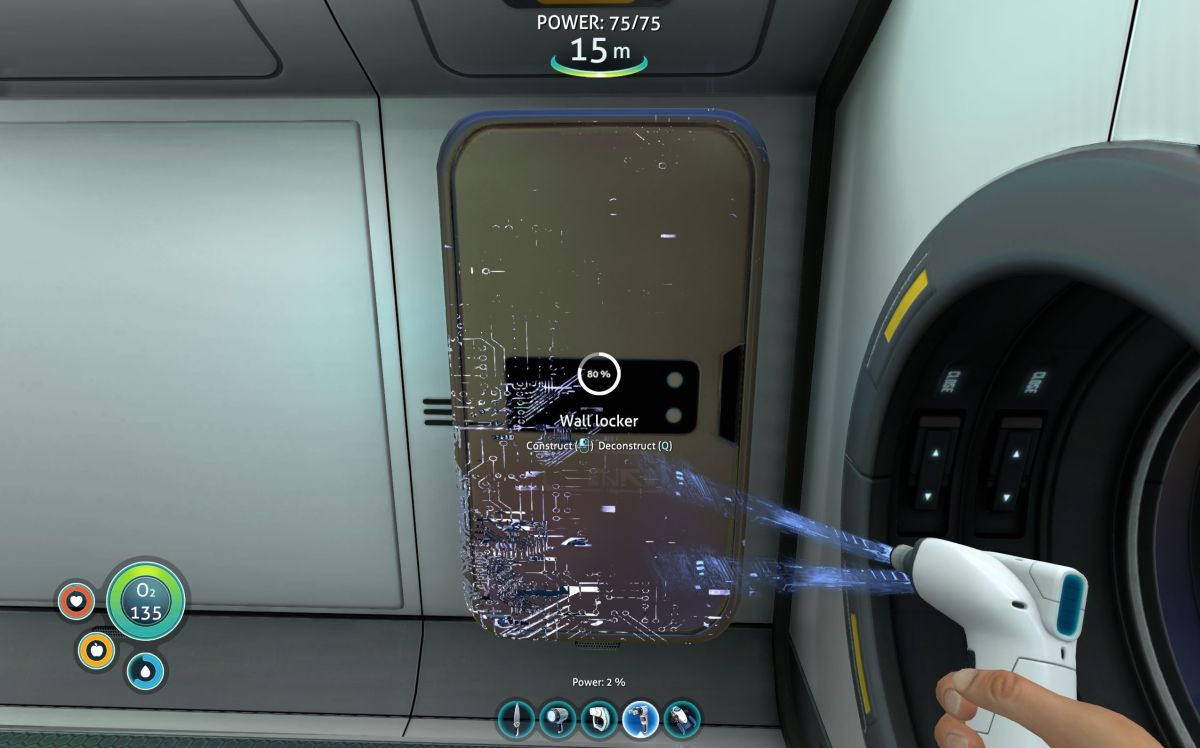

I don’t have enough Titanium with me now to build all of the lockers, but I can create their holographic placeholders and plan out the configuration of my Seabase.
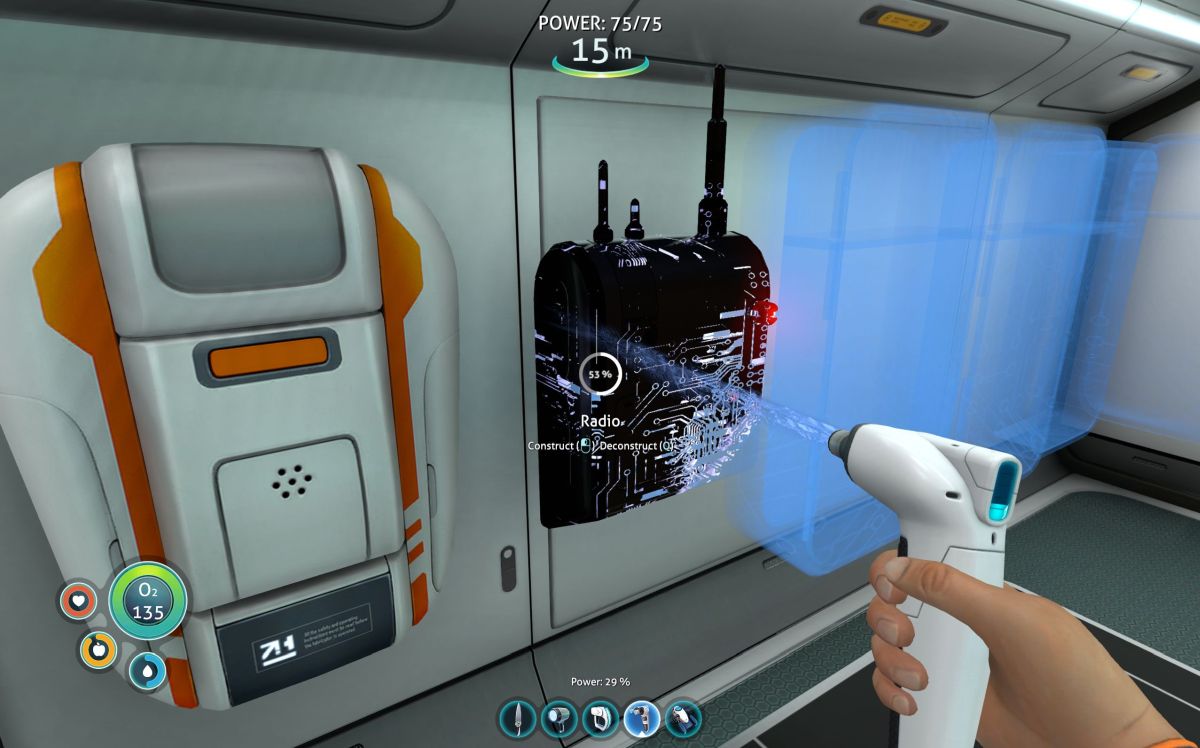
Besides the Wall Lockers, the Radio and Fabricator are nice to have inside the Seabase and don’t cost very much to construct.
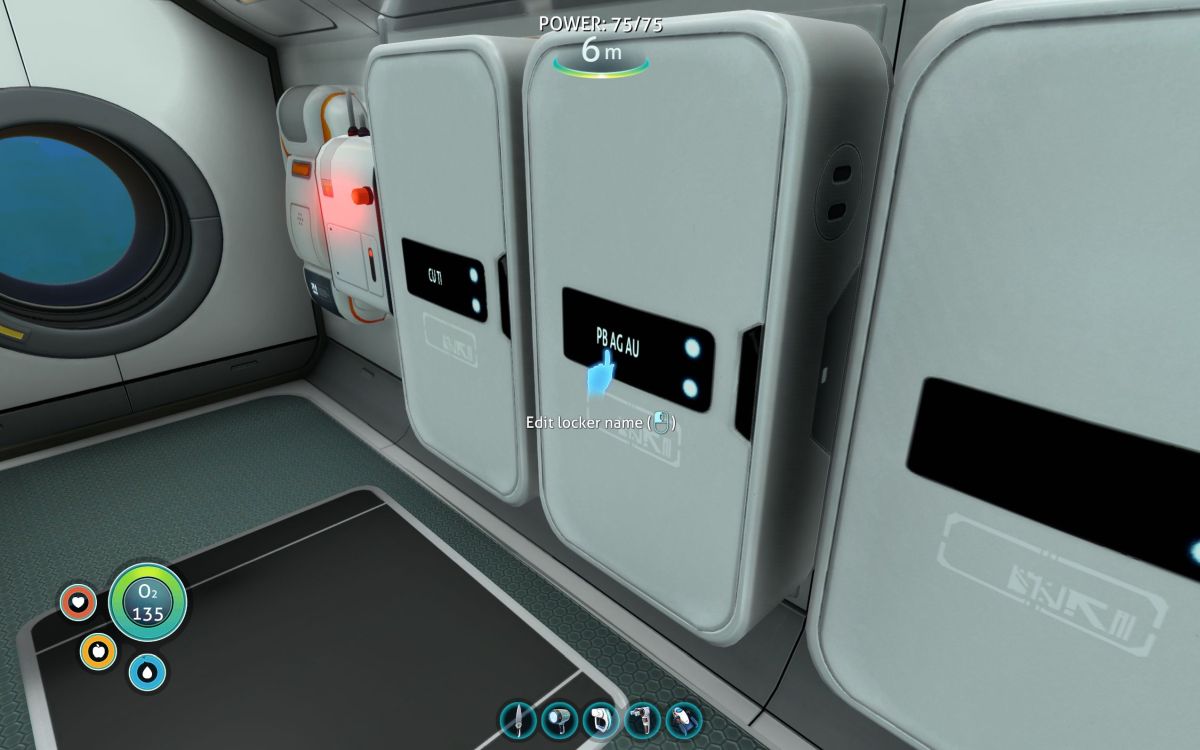
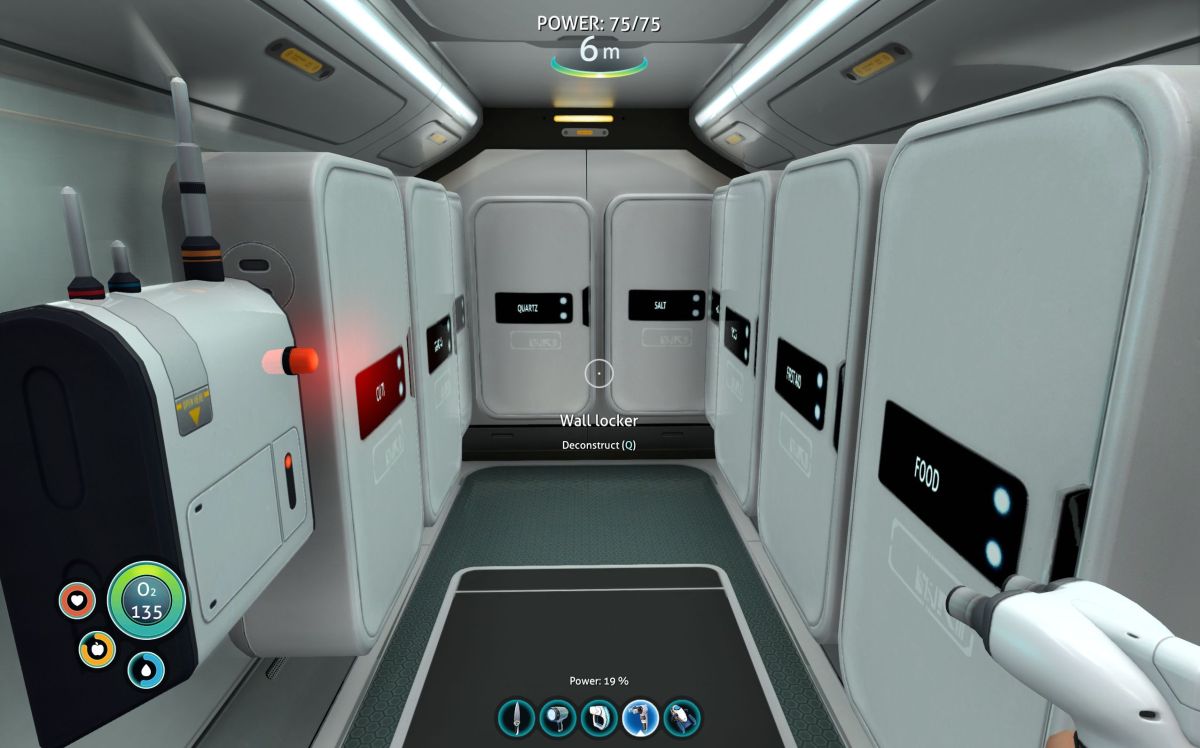
Now that the Wall Lockers are built they can be labeled and filled up with items.
The starter Seabase is complete, for now – but it’s a little cramped. What if I later decide that I want to expand it?
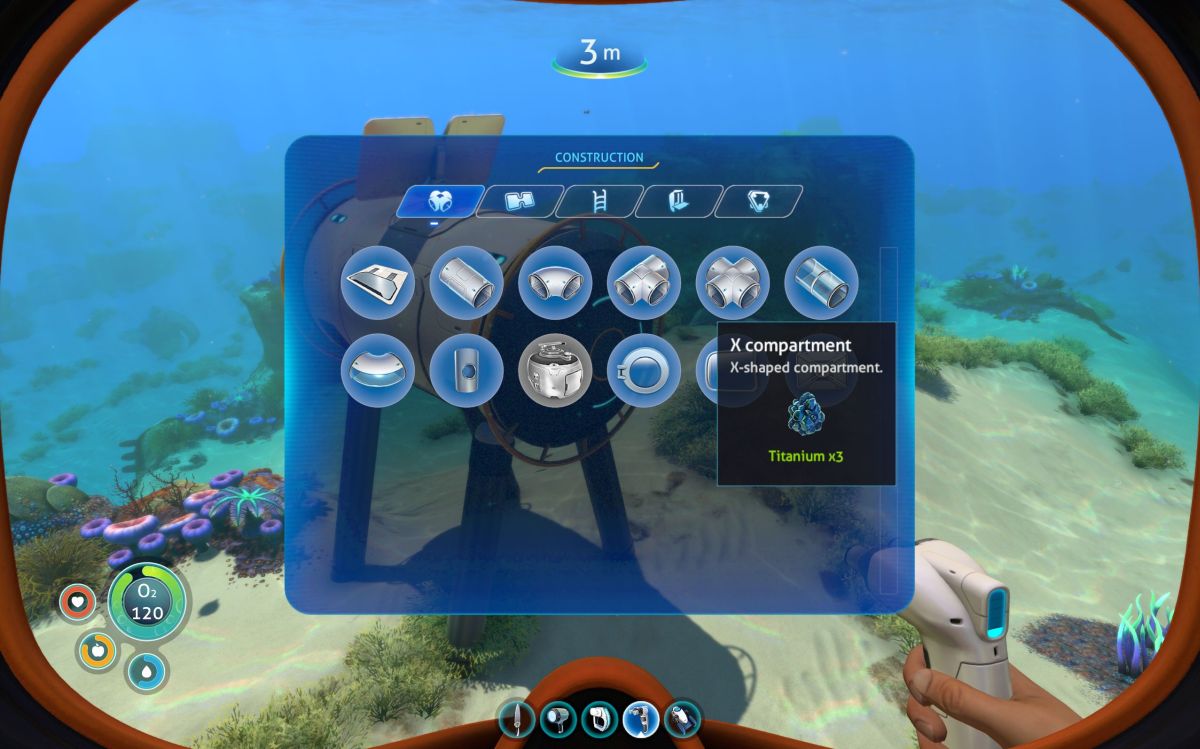
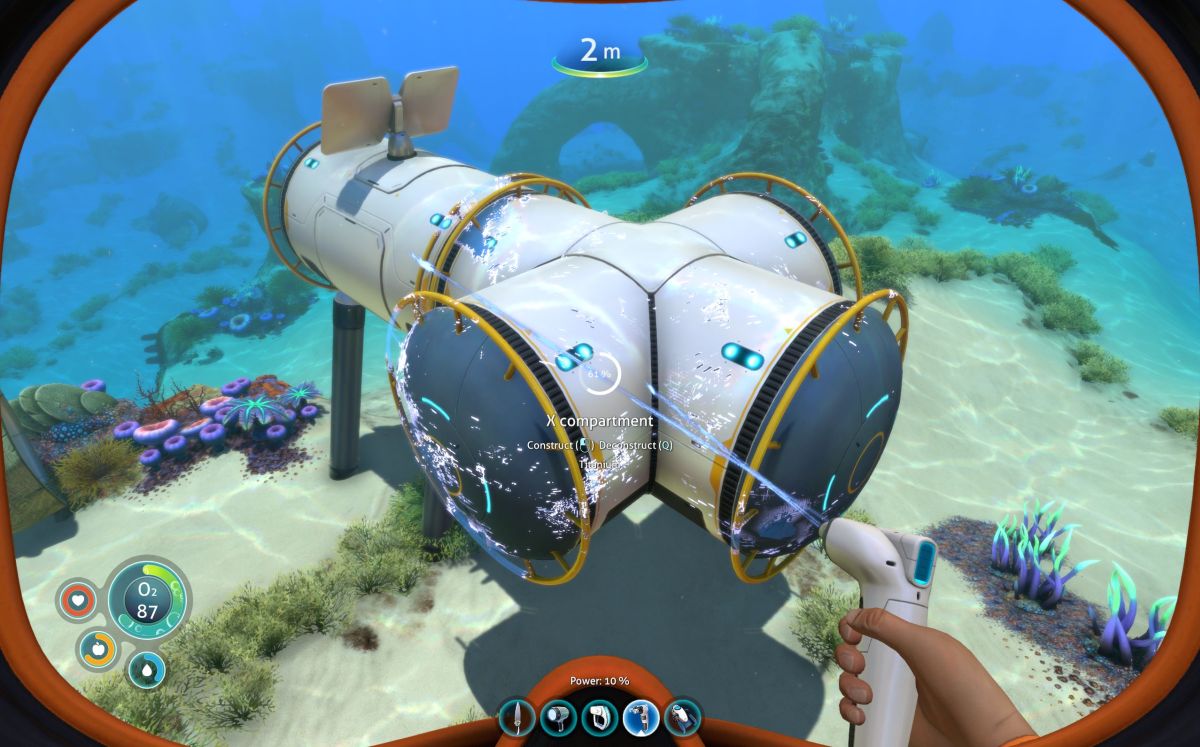
Because Seabases are modular we have the ability to attach new pieces of the base. In this case I’ve decided that I’d like to add an X-Compartment, which is a cross-shaped piece.
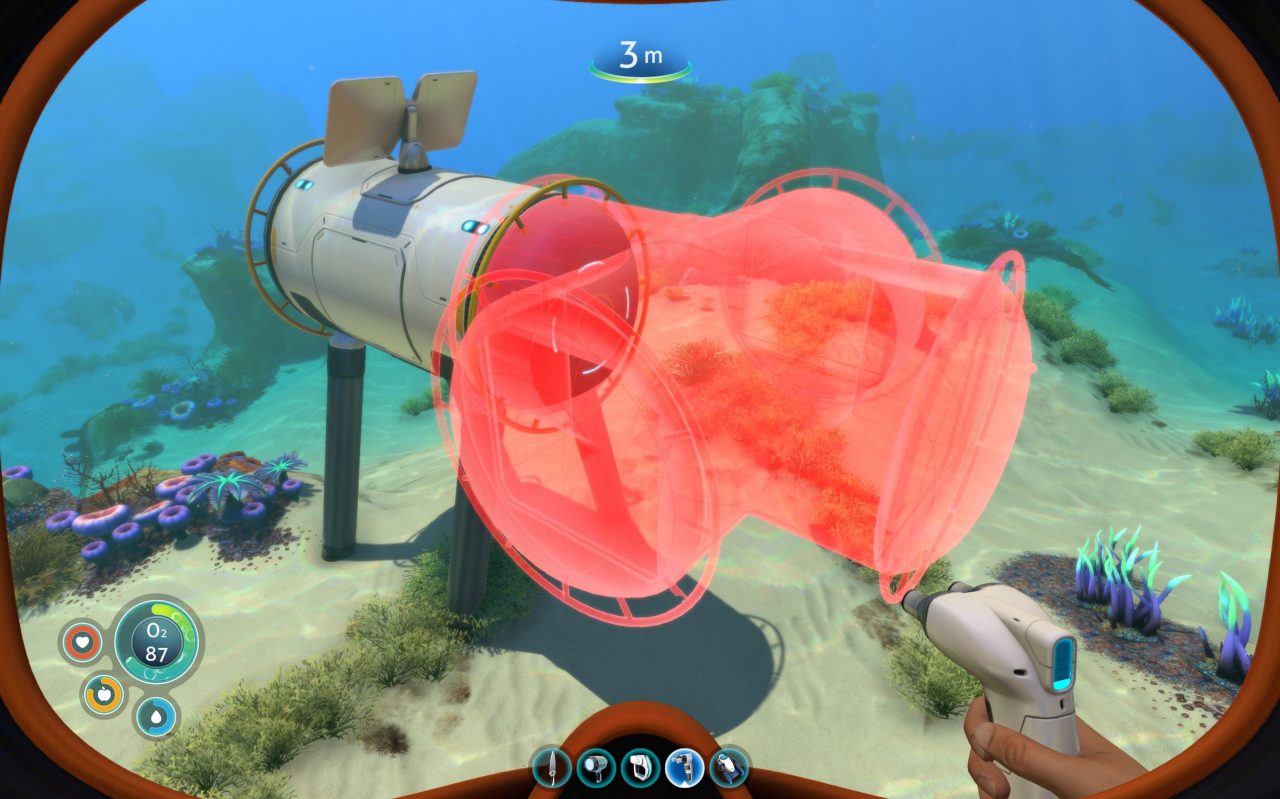
Right now I’m not able to add the X-Compartment here, and the game indicates this to me by displaying its outline in red rather than green.
The reason for this is that I have Wall Lockers attached to the wall in the section of the Seabase that needs to get modified.
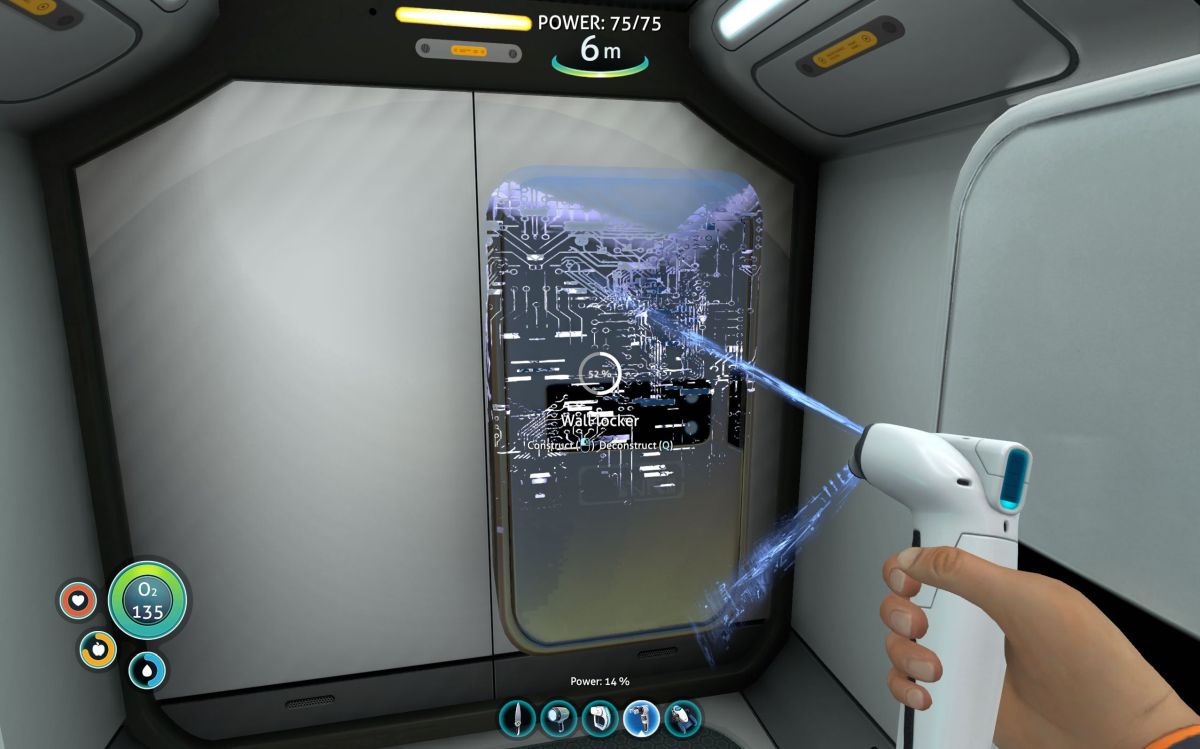
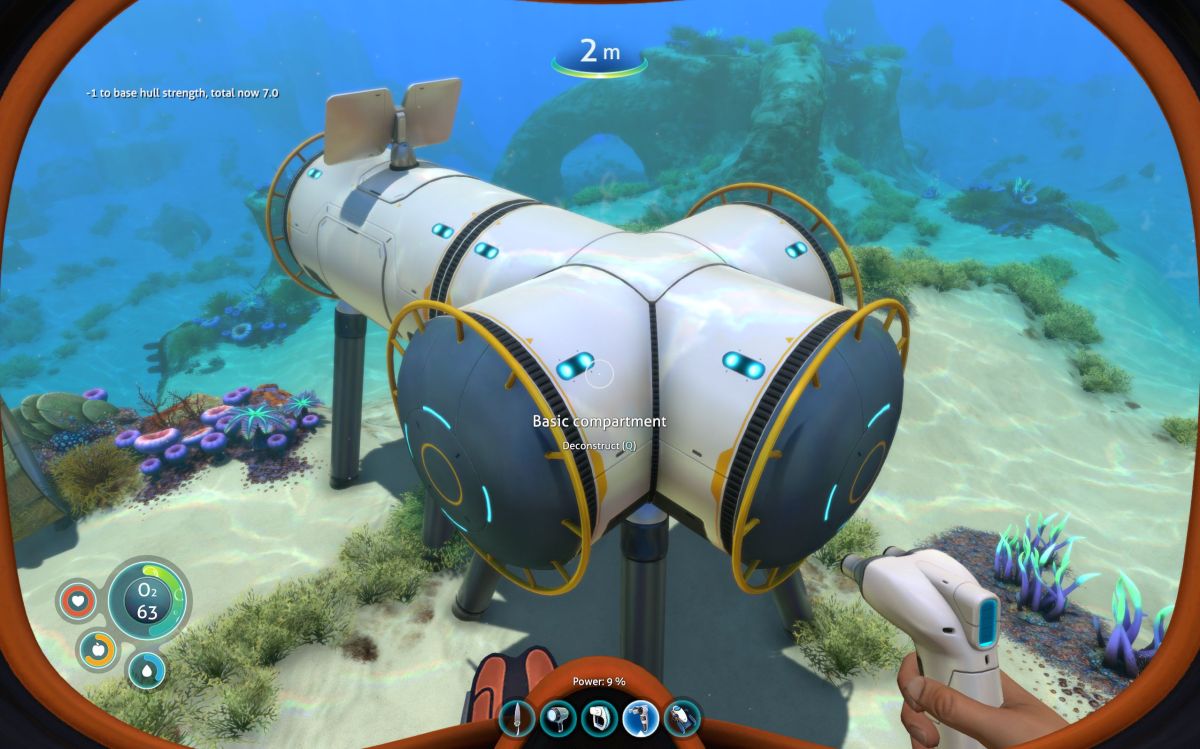
In order to complete my modification to the Seabase, I need to de-construct the 4 Wall Lockers that were attached at this closed end of the I-Compartment.
With the lockers out of the way, I’m now able to attach the new X-Compartment onto my existing I-Compartment.

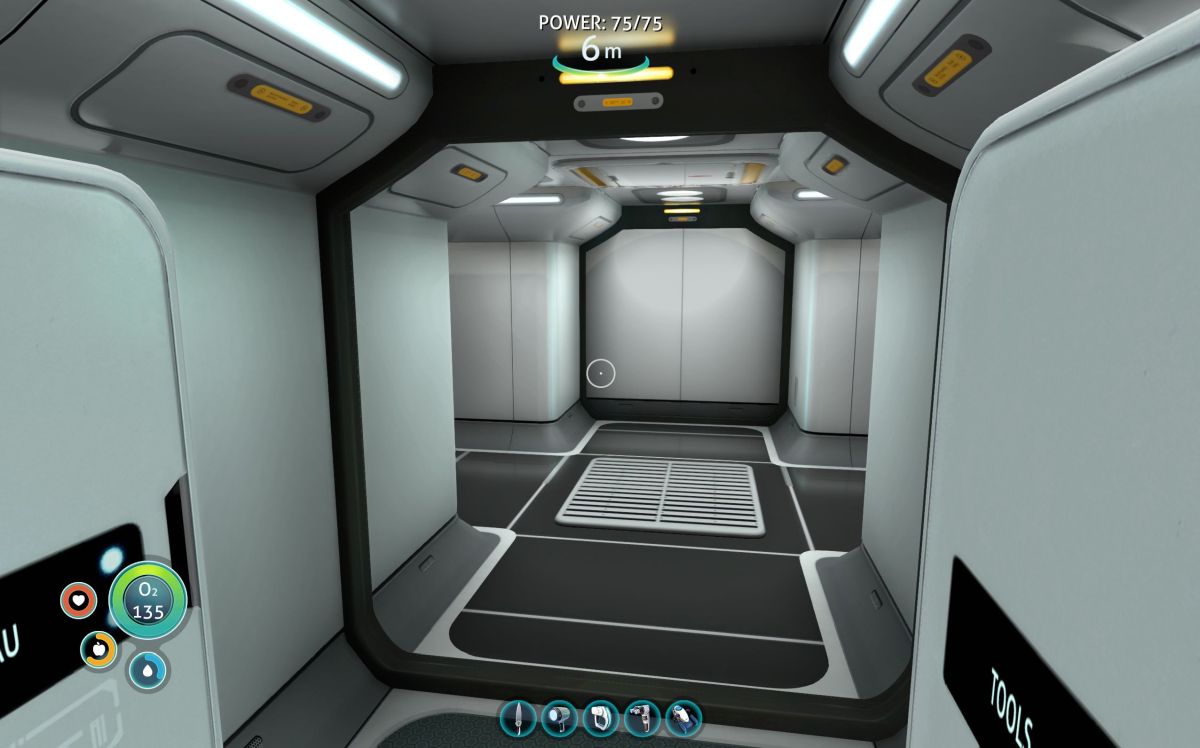
Looking around inside the base, we can see that it now has a lot more room for lockers and other modules, and it has hallways going in 4 directions which opens up a lot of possibilities for further expansion of the base.