The Seaglide and Grav Trap are two tools that greatly enhance your ability to progress forward, but you won’t have the blueprints for them at the start of the game.
Scan Fragments to Acquire Blueprints
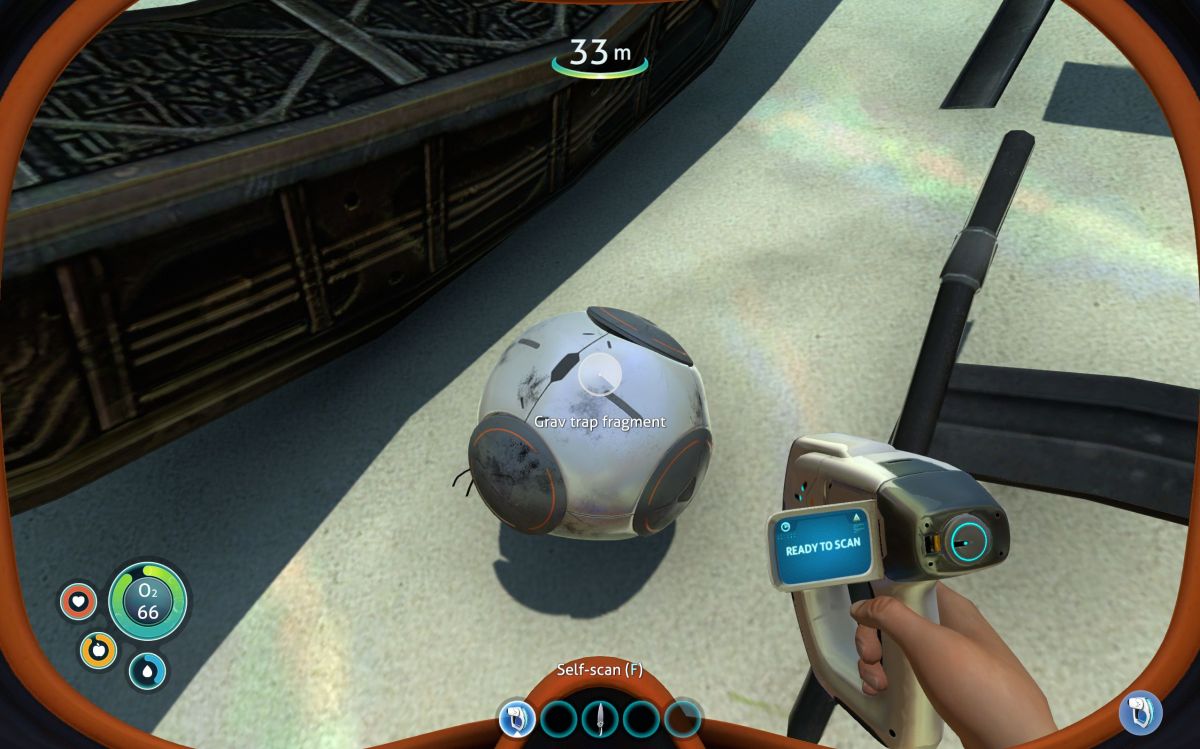
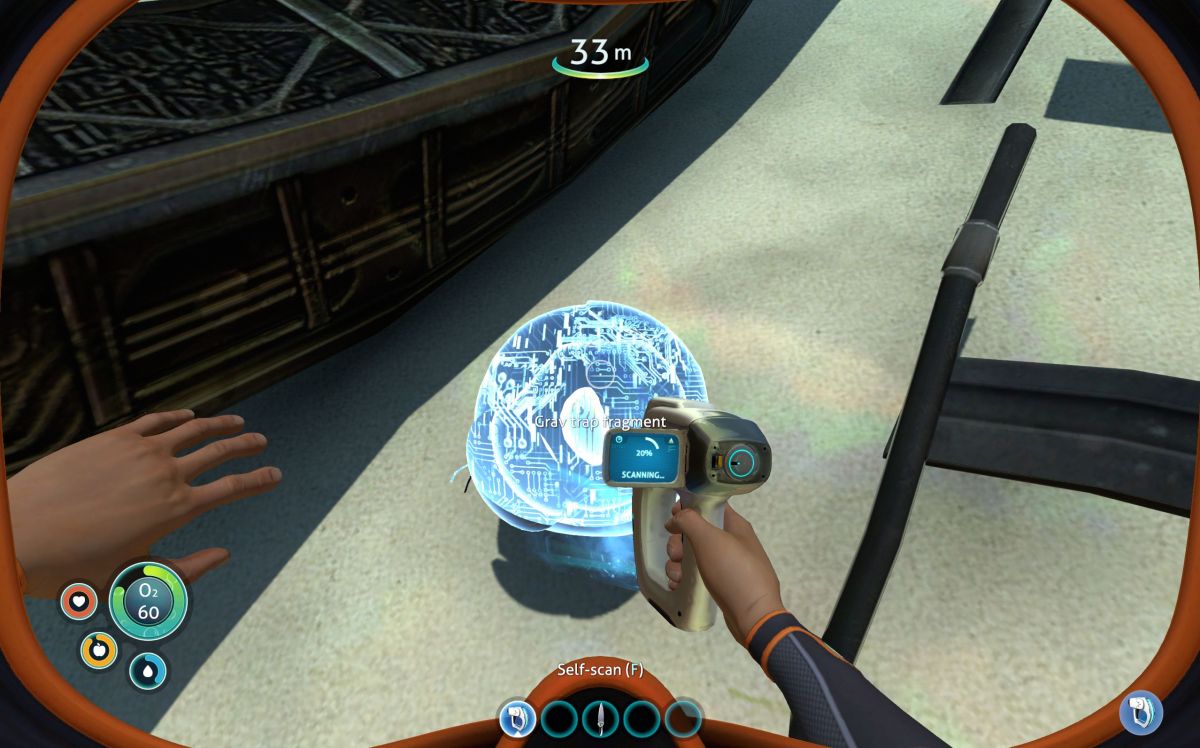
In order to acquire the blueprints, you need to scan fragments of these tools that have been scattered on the seabed, usually in close proximity to piles of wreckage.
Luckily, you can find the needed fragments for the Grav Trap and Seaglide, as well as the Beacon, within a radius of about 200-300m of the Lifepod.
In most cases you’ll need to scan multiple fragments of an item in order to complete the blueprint.
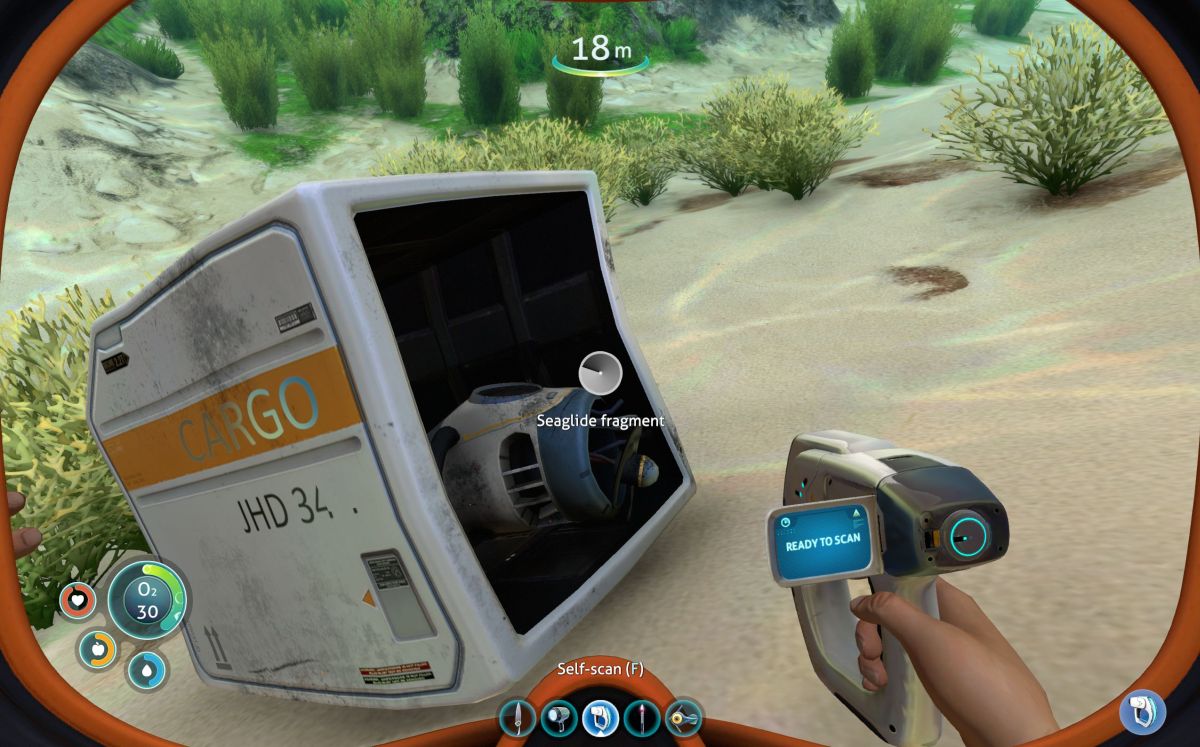
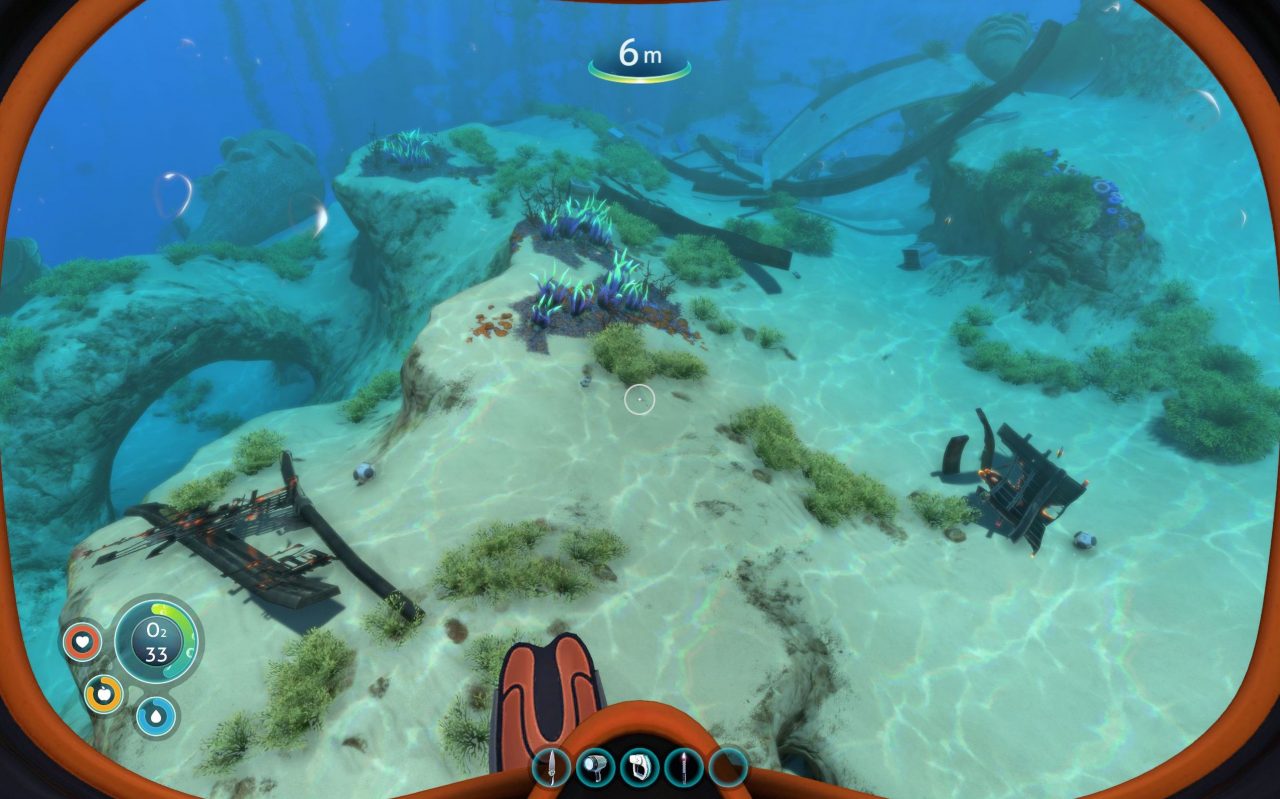
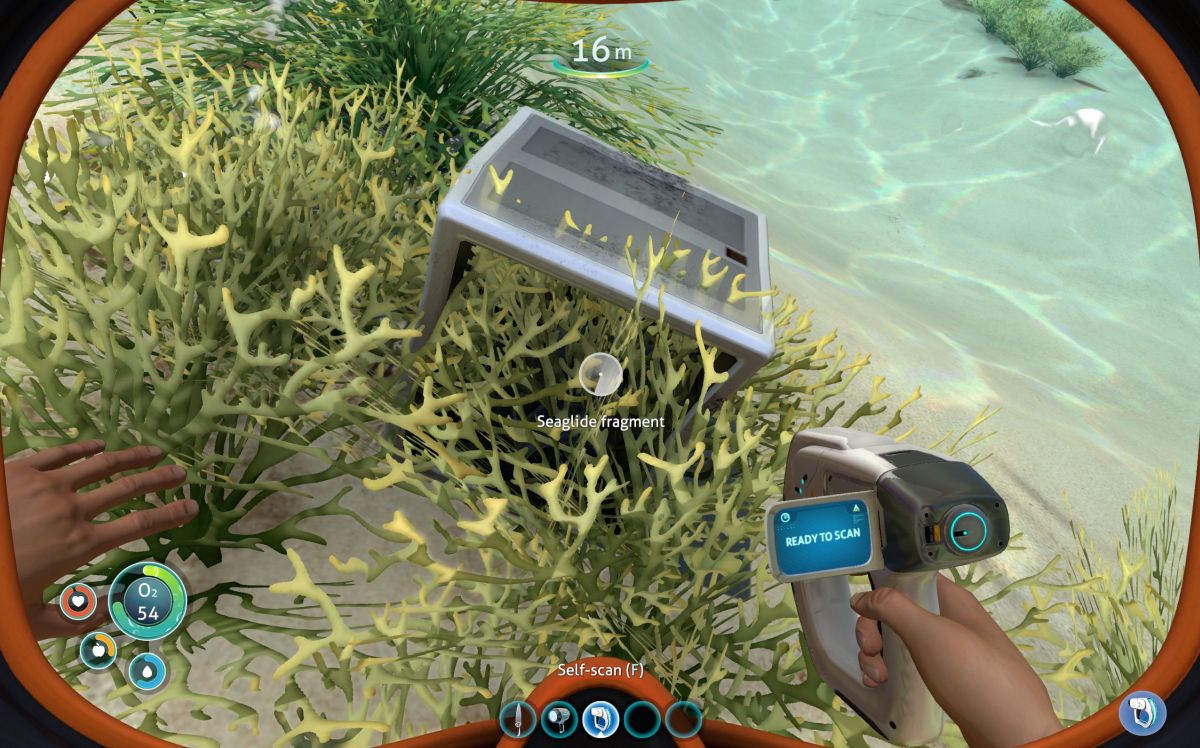
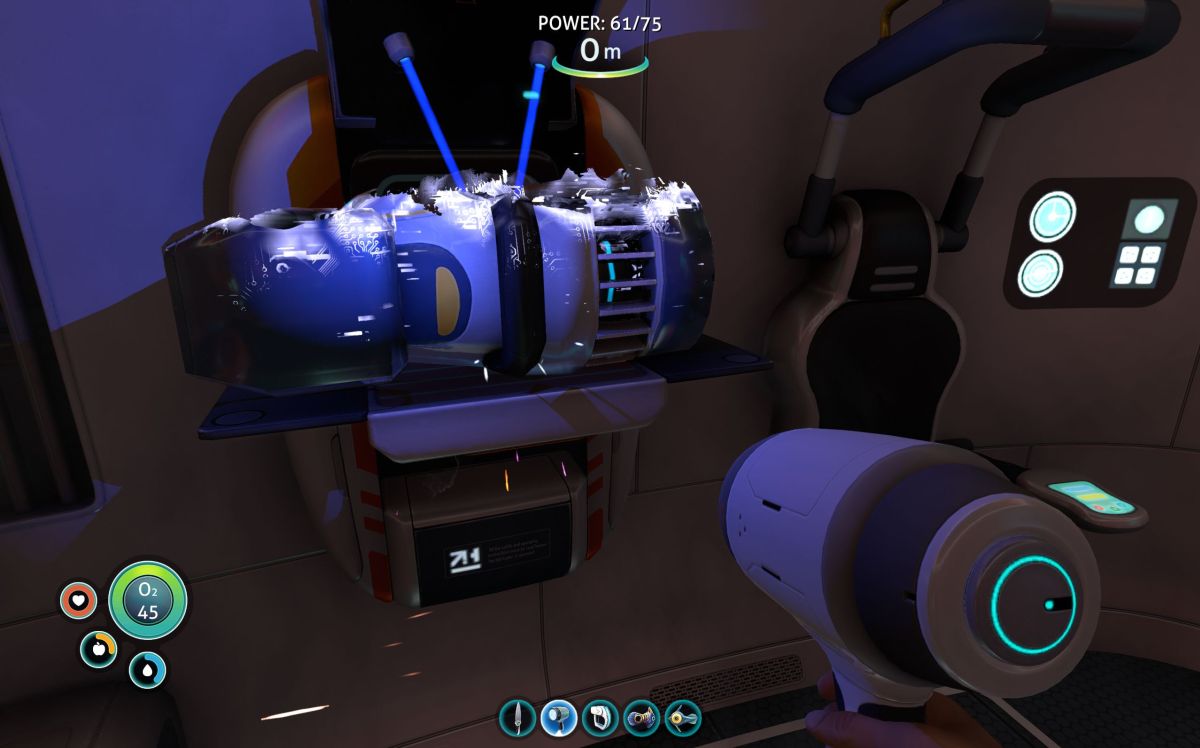
Finding the Seaglide fragments can sometimes be a little bit more difficult than finding the Grav Trap fragments. Most of the Seaglide fragments are found sitting inside of a small storage crate like these pictured. Keep an eye out for lone crates not necessarily close to any wreckage, including those that may have an obscured opening.
The Beacon, while not quite as critical as the Seaglide or Grav Trap, will be useful once you start exploring beyond the area immediately surrounding your Lifepod. By the time you’ve found enough fragments to complete the Seaglide and Grav Trap blueprints, you’ll probably also have the Beacon blueprint completed as well.
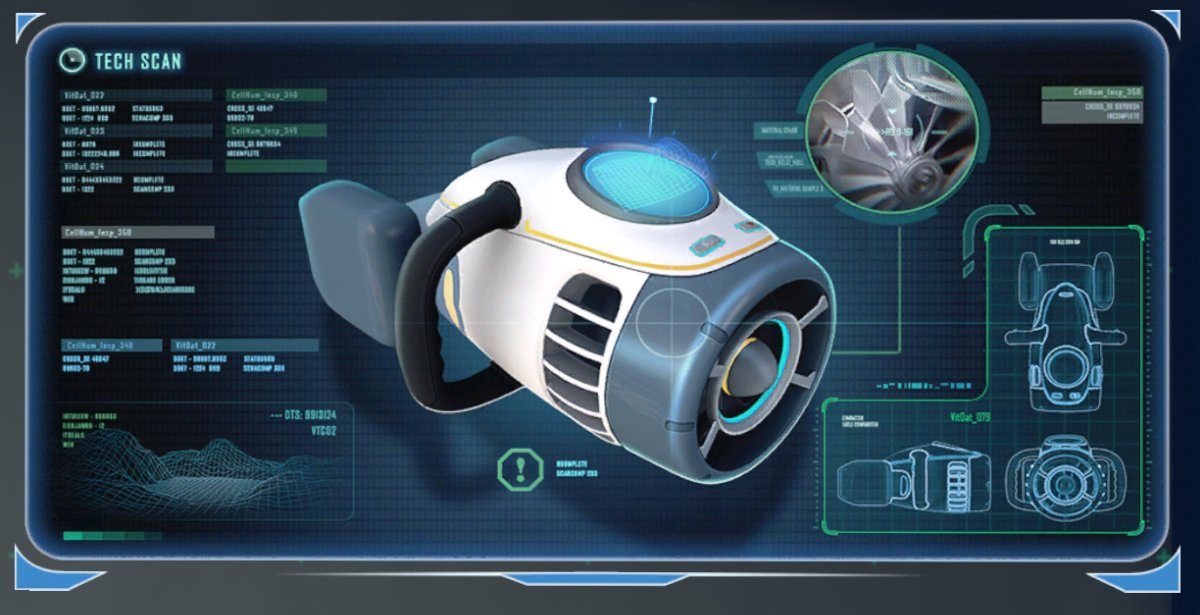
Time Build Your Seaglide!
Of these 3 new blueprints, the Seaglide is the most critical to get fabricated as soon as possible. When equipped it greatly increases your swim speed, allowing you to reach the ocean bed more quickly, get back to the surface for O2 more quickly, escape from predators, catch fish more easily, and gather resources with ease.
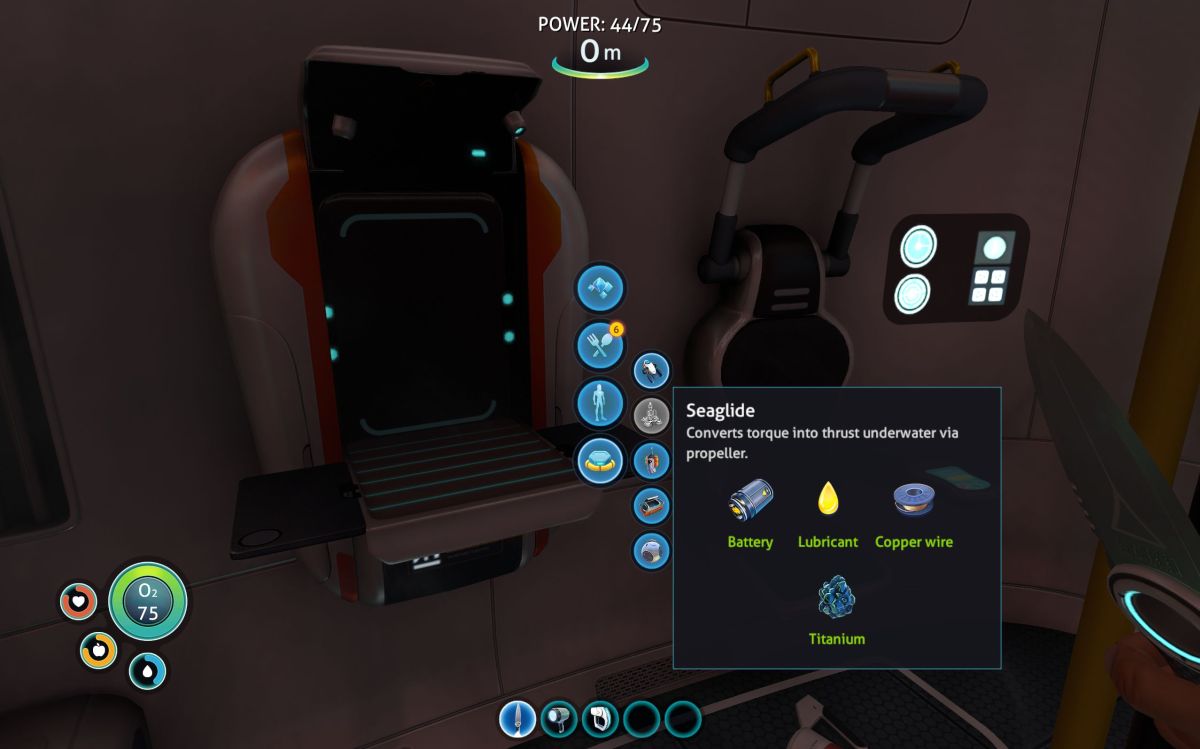
2 New Intermediary Components: Lubricant and Copper Wire
The Seaglide requires 2 new items that we have not yet fabricated: Copper Wire and Lubricant. Fortunately, the raw materials needed to craft them are items that we’ve already covered in the previous chapter: Copper Ore and Creepvine Seed Clusters.
Fabricate Lubricant
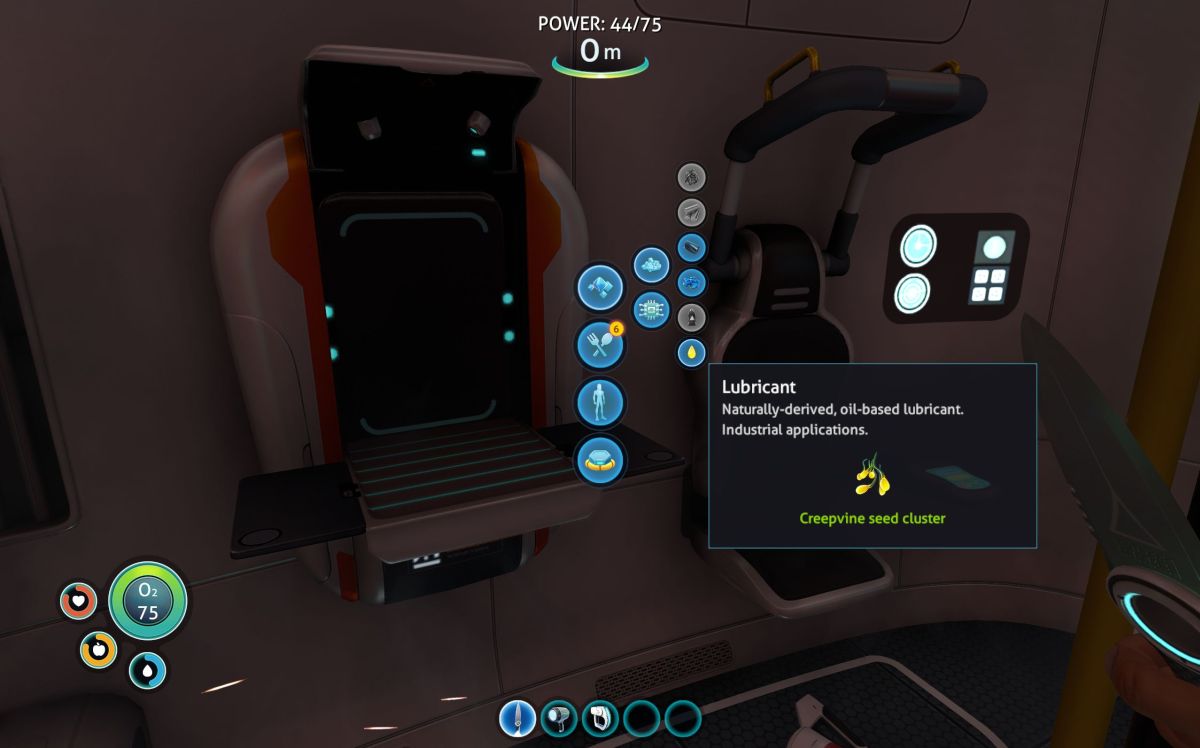
One Creepvine cluster is all that is needed to fabricate the 1x Lubricant needed for the Seaglide.
Fabricate Copper Wire
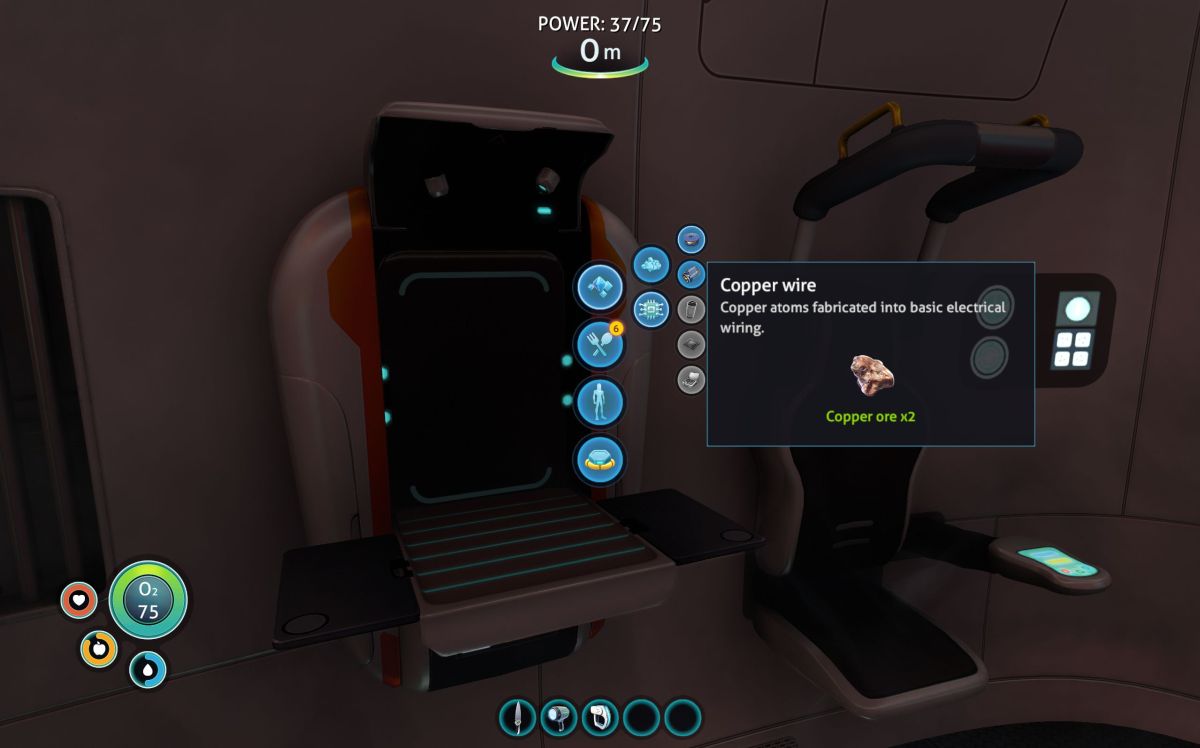
You’ll need a total of 3 Copper Ore to construct the Seaglide from scratch: 1 for the Battery, and 2 for the Copper wire.
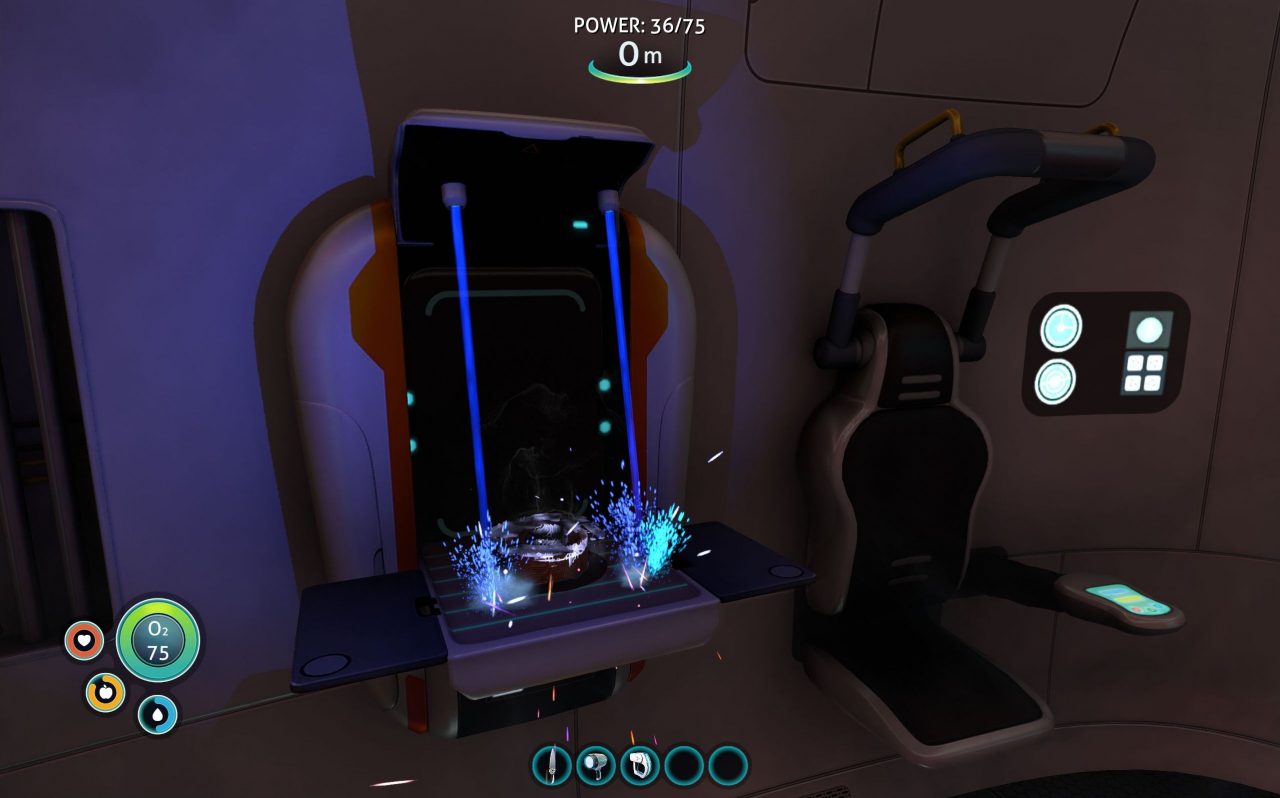
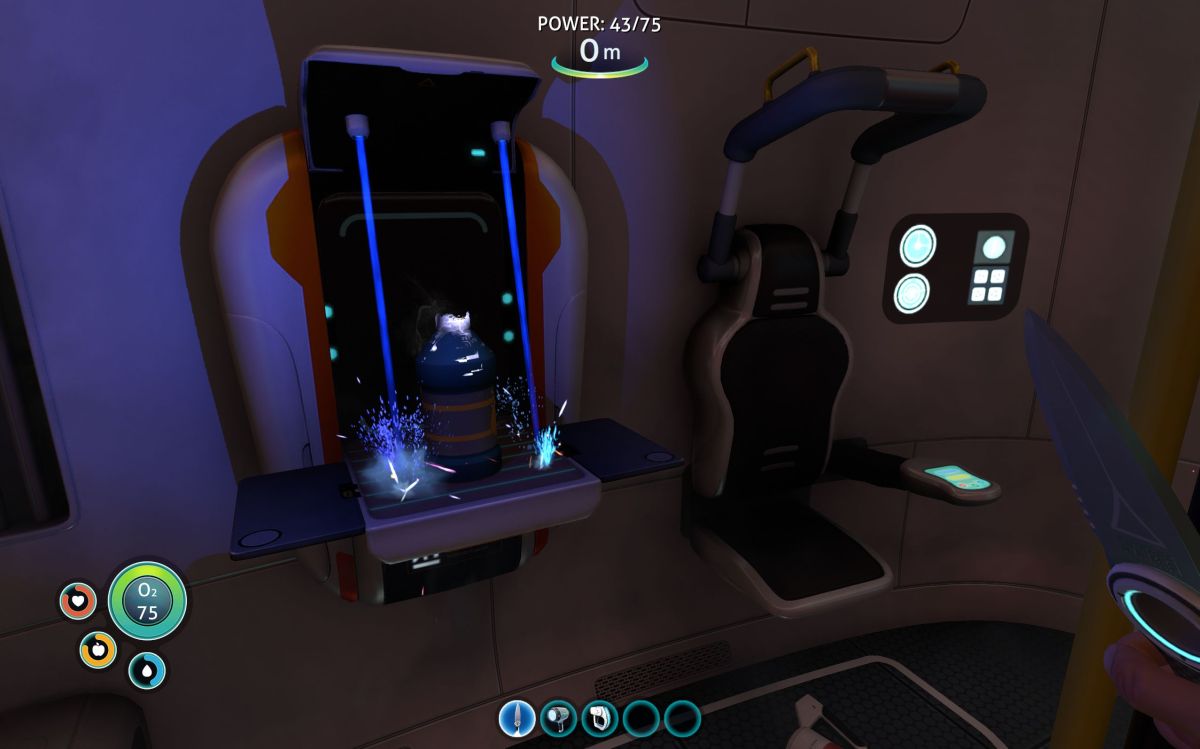
Fabricate the Seaglide
With all of the intermediary components finally rounded up, the Seaglide can finally be fabricated.
Start Exploring with Your Seaglide
Make sure to bind the Seaglide to your hotbar for quick access, you’ll be using it constantly whenever you’re in the water (which is almost always.) Get used to using it for moving around in the water because you should rarely be swimming without its help.
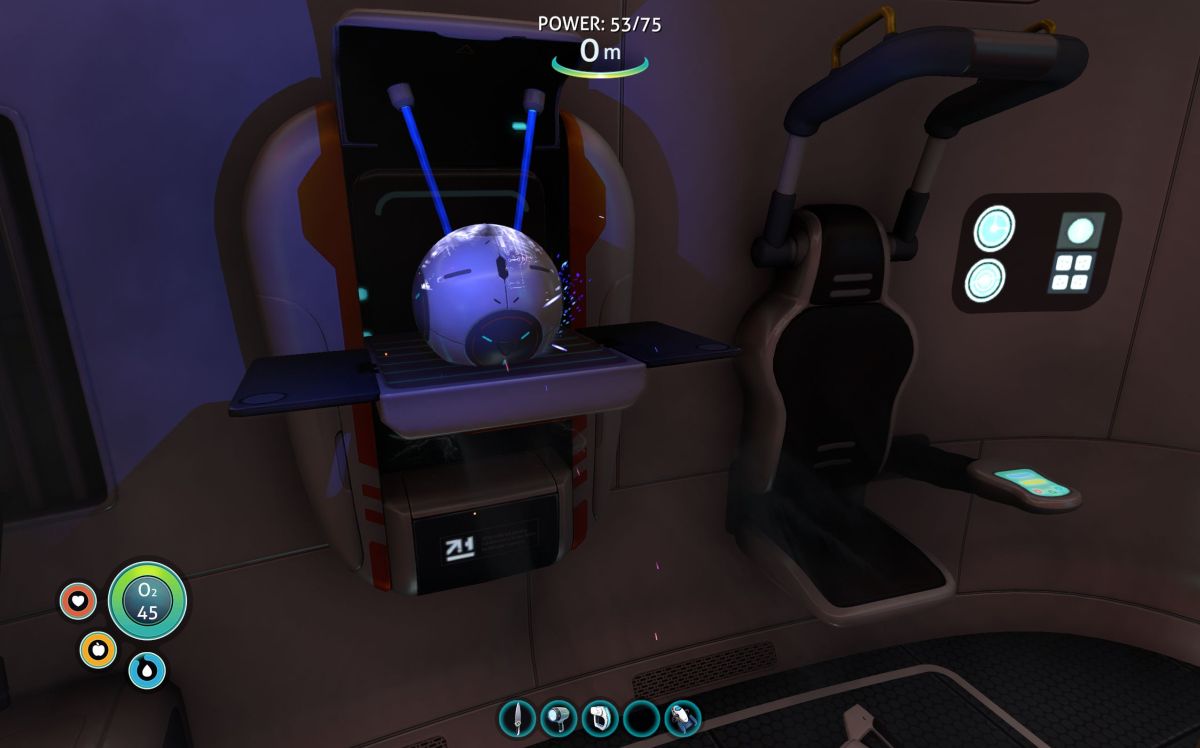
The Seaglide includes 2 extra features: A built-in headlamp/flashlight, and a 3D holographic rendering of your immediate surroundings. These two features can be toggled On or Off using the same button that you use to switch your Flashlight on and off.
For mouse/keyboard users, this button will by default be the right mouse button. For controller users, the default button will depend on which type of controller you’re using. If you’re having trouble finding the button, check in the Bindings section of your Options menu – whichever button is bound to the “Right Hand” game action is the button that will switch these extra features on and off. Most likely you will want to switch off the hologram and switch on the headlamp.

Build the Grav Trap
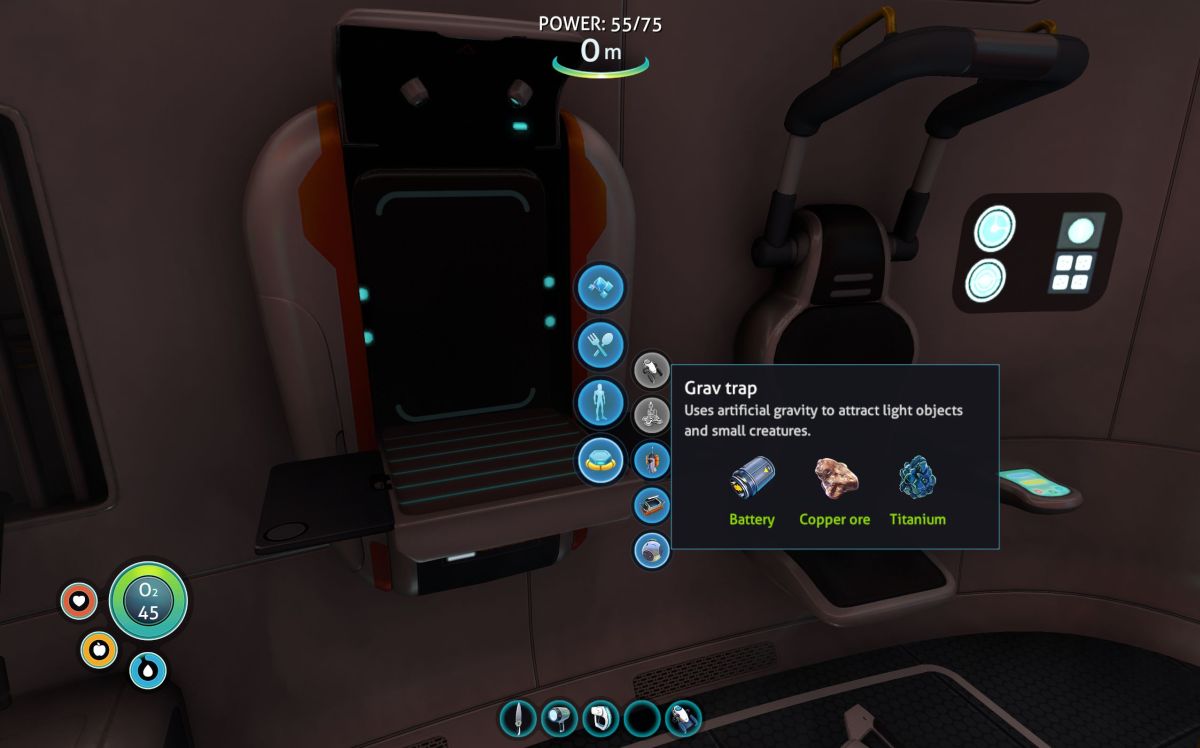
The components needed to fabricate the Grav Trap are 1x Battery, 1x Copper Ore, and 1x Titanium, all of which have been covered in detail in the last couple of chapters so if you’ve been reading this guide from the start these should all be very familiar items by now.
You’re going to need to find a total of 2 more Copper Ore for the Grav Trap, and by now you may be starting to think that going around hunting down little rocks to in order to gather resources is starting to become a bit of a tedious hassle. Fortunately, the Grav Trap can be a real game changer when it comes to rounding up those ores.
How to Harness the Awesome Power of the Grav Trap for Collecting Resources
Let’s do a little experiment to demonstrate the awesome power of the Grav Trap.
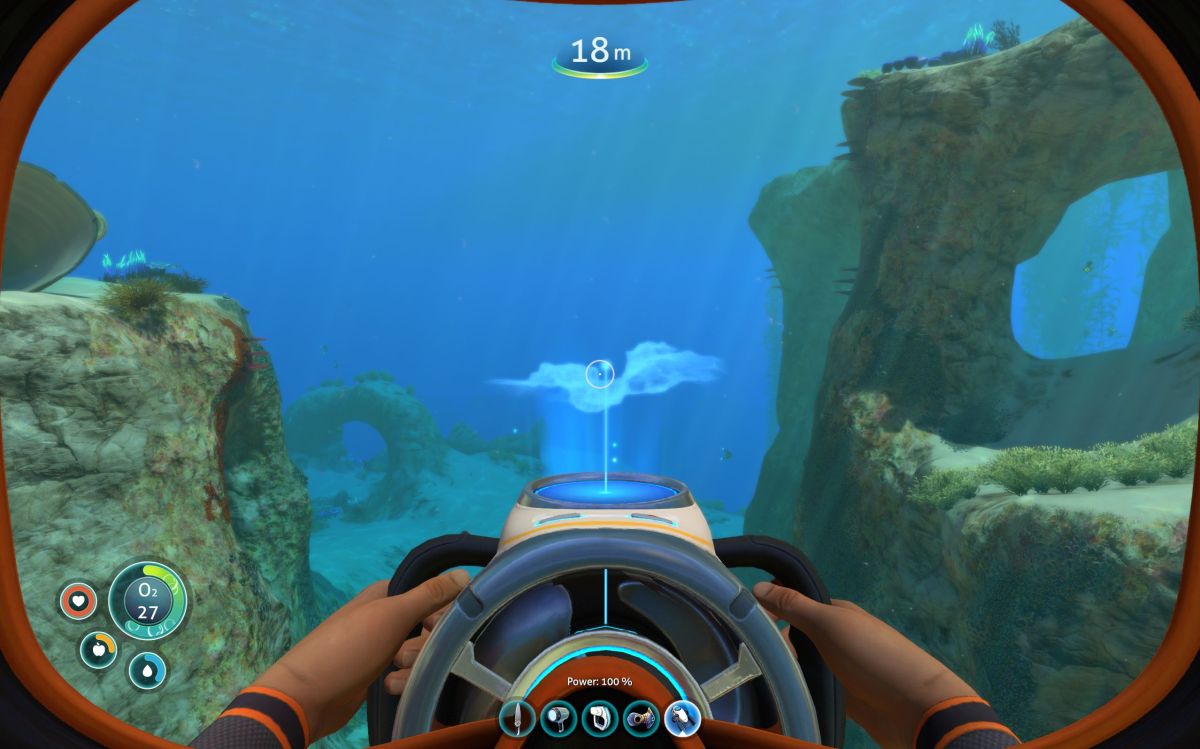
I was swimming around and saw this little clearing. No resources are visible but there is tons of plant cover on the sea bed, and a stone arch extending over me. It seems like there could be some resources hidden nearby, but hunting them down could take a while.
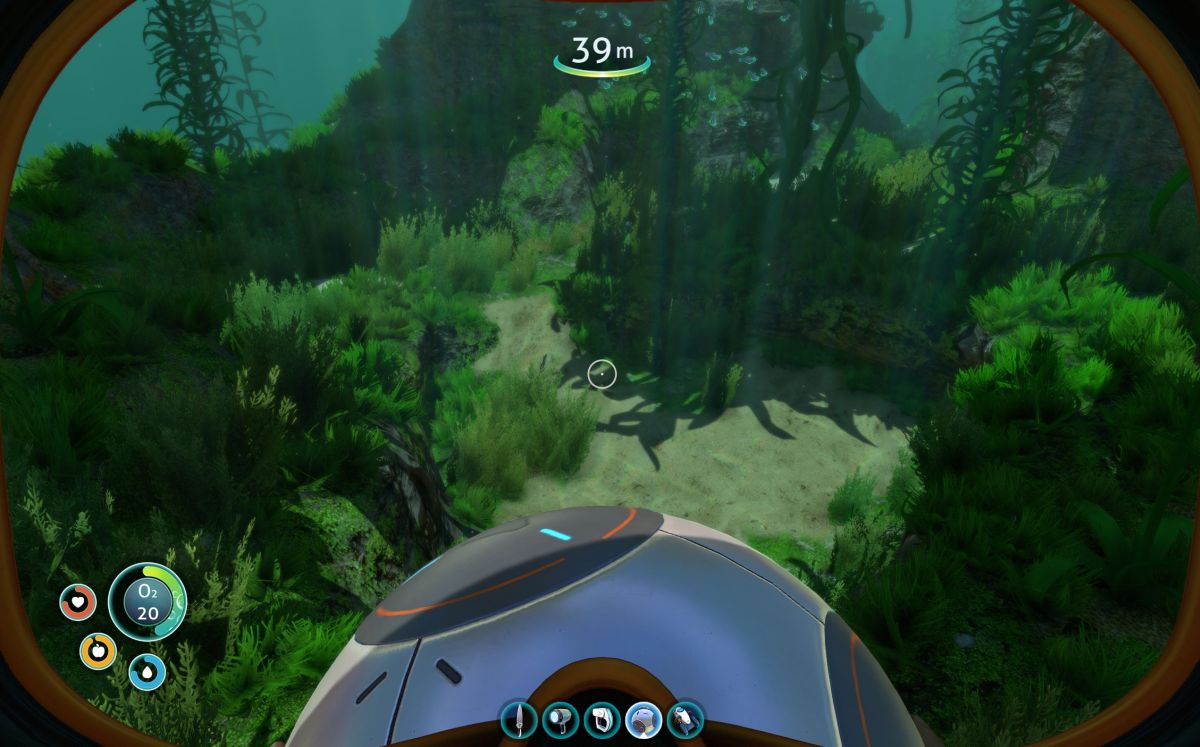
Instead, I’ll try deploying this Grav Trap right in the middle of the clearing and see if it can find any small objects to pull toward itself.
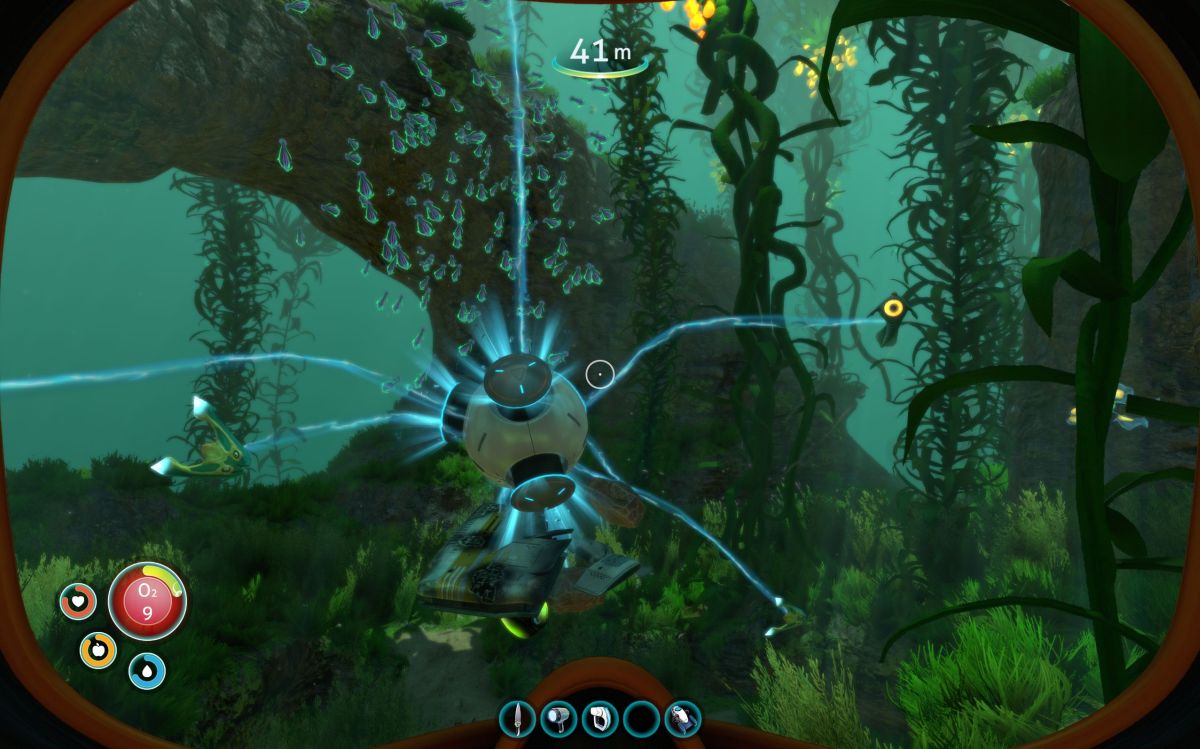
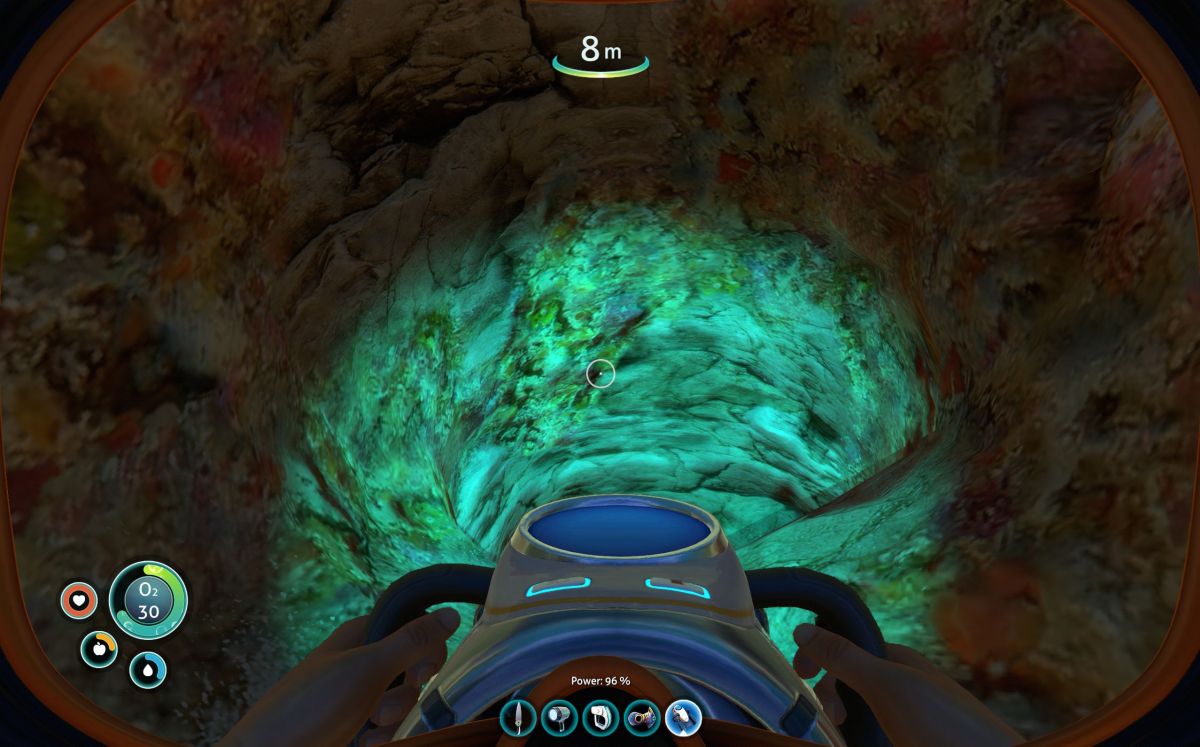
Boom! Within seconds the Grav Trap pulled together a pile of resources including 2 Limestone Outcrops, a Metal Salvage, a Creature Egg, and several edible fish. In addition to areas with lots of plant cover, make sure to try the Grav Trap in or near small cave systems and other cramped areas. If you see one rock, there are often 2 more within range that you might not be noticing, so deploy the Grav Trap and collect your rewards.
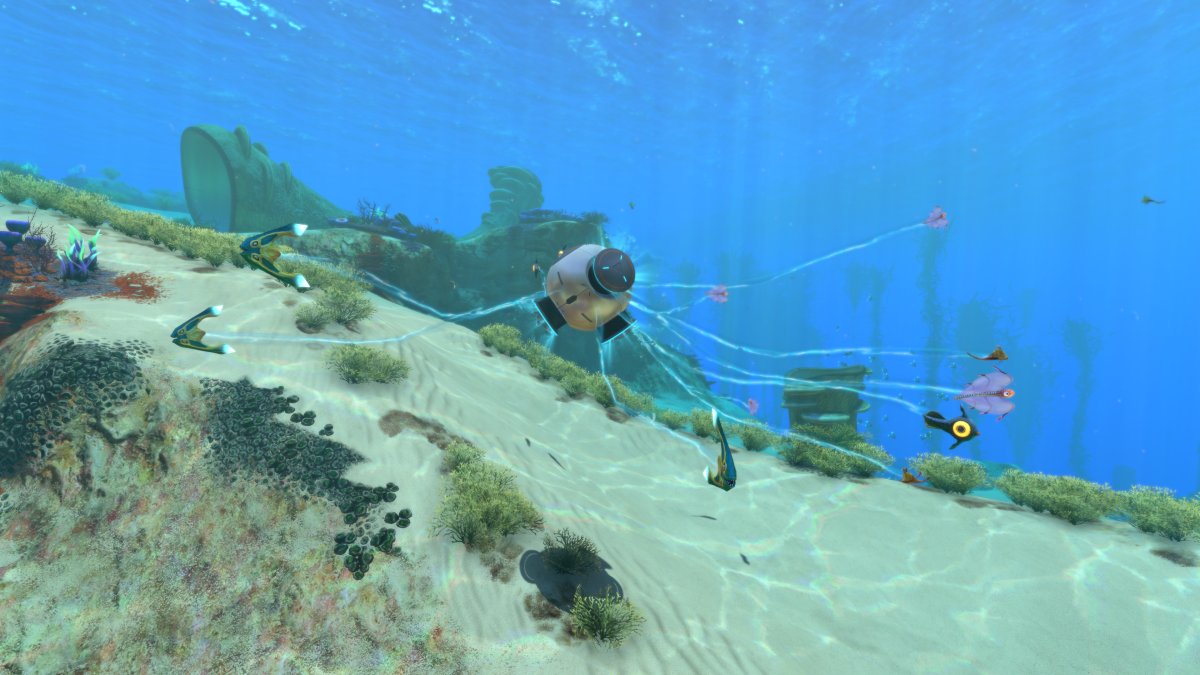
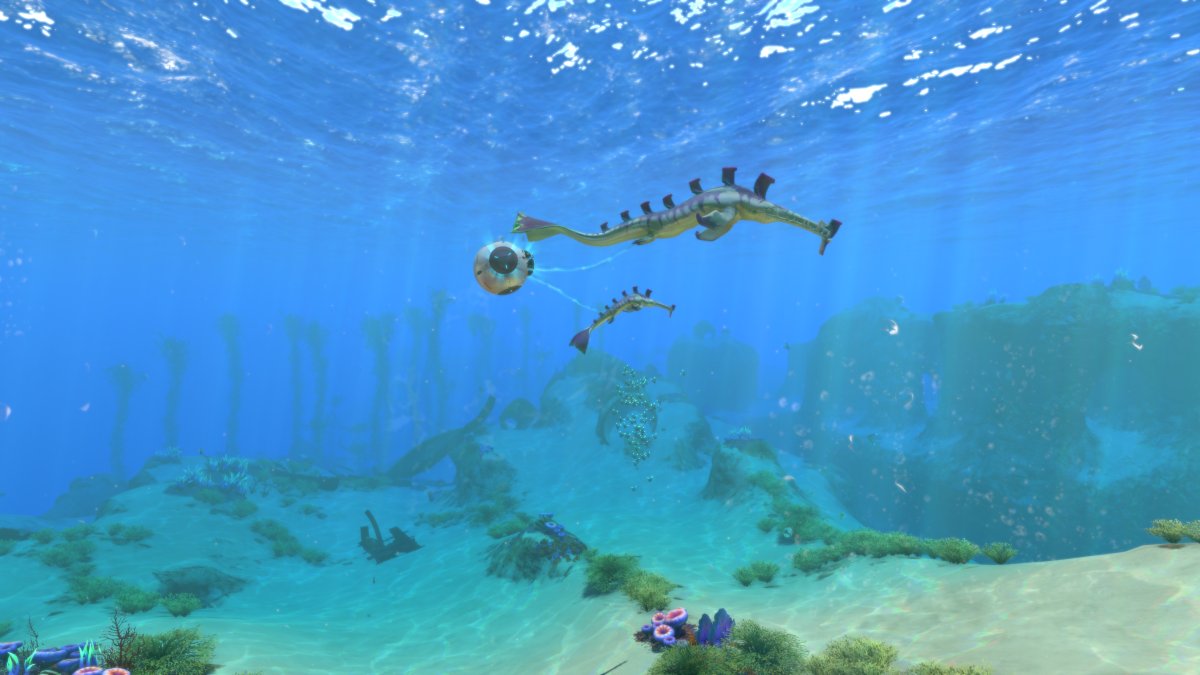
As an added bonus, the Grav Trap will hold small to medium size fish in place (including even Stalkers,) making it easier to scan or catch them. In case you’re wondering, it doesn’t appear to have any effect on Crashfish.