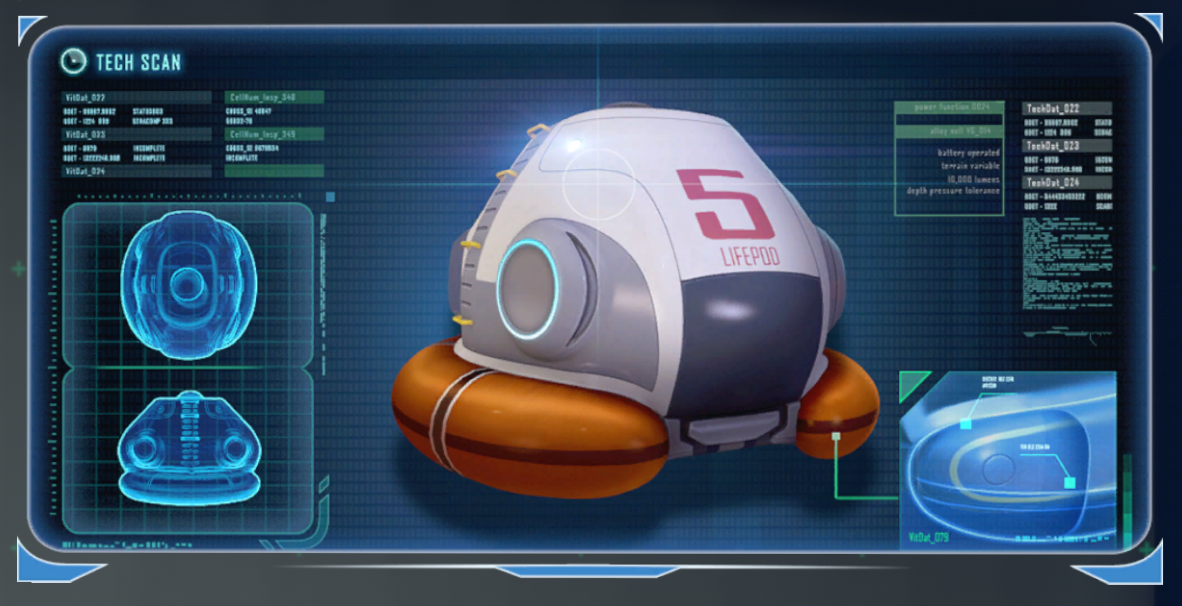
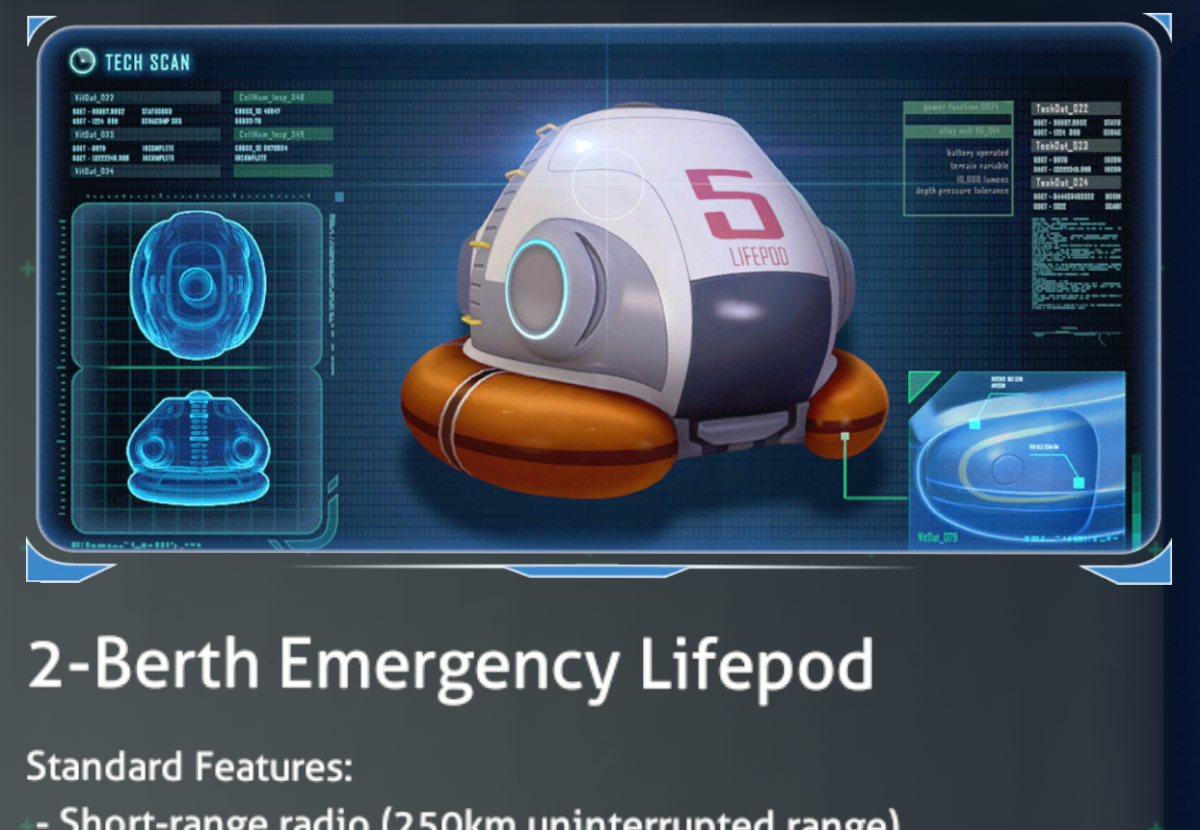
Your Lifepod will function as your base of operations for the early part of the game – but first you need to put out the fire.
Putting out the fire in the Lifepod
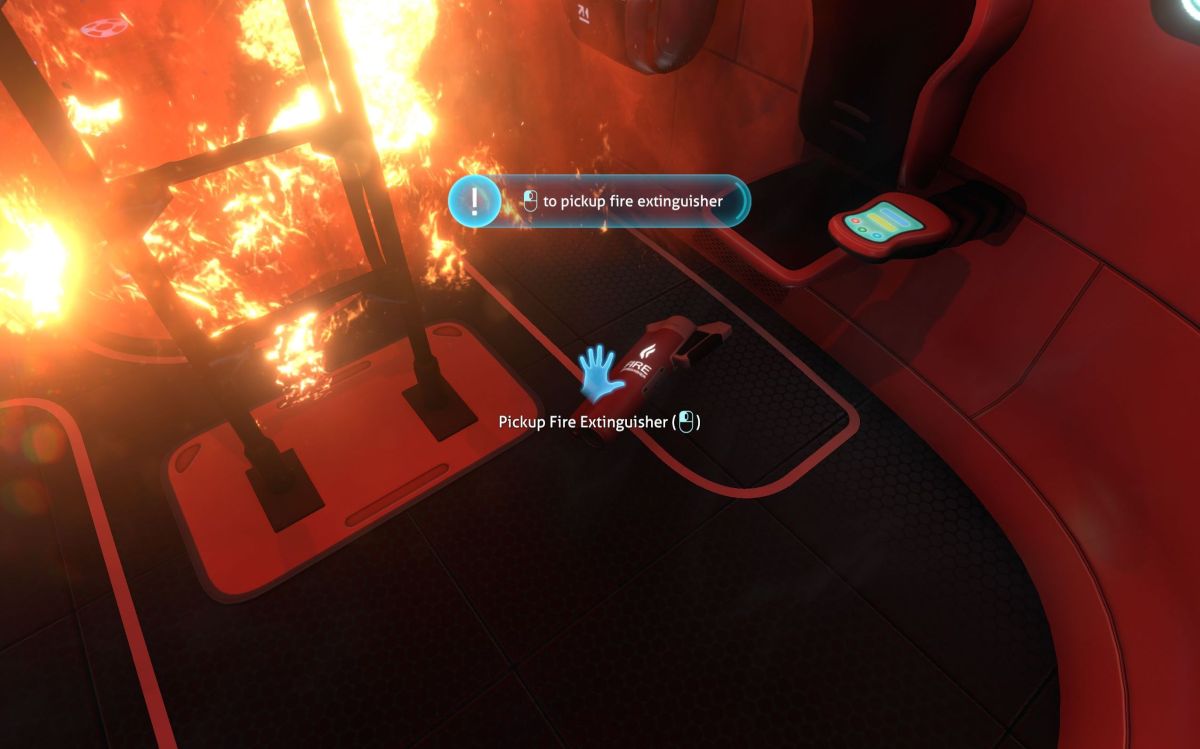
Your first task when starting a Survival Mode game is to put out the fire in your Lifepod (Also referred to as the Escape Pod.) When facing the fire extinguisher on the floor, the game provides some on-screen instruction indicating which button to use to pick it up. This will vary depending on whether you’re using a controller or mouse – I happen to be using a mouse for these screenshots.
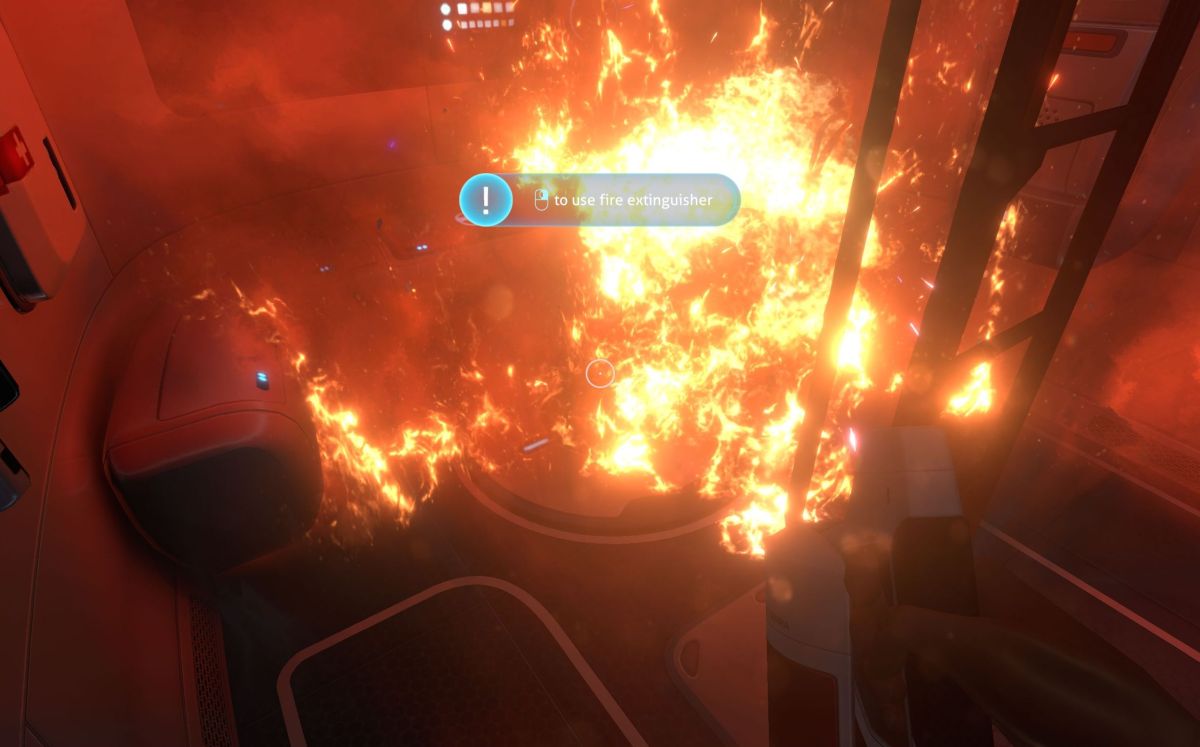
The mechanics of putting out fires in Subnautica are somewhat realistic, in that the fire will start to spread again if not completely put out, and the most effective way to achieve that is to direct the spray of the extinguisher toward the base of the fire. Feel free to use up the entire extinguisher putting out this initial fire, because you won’t be needing another one until much later.

Don’t worry if there are still some sparks coming from the mangled wiring, you can’t put those out (just yet.)
Or, Just Skip it Entirely
During the opening cinematic you can hold down the ESC key to skip it and get right into the game. It turns out that if you do so, the fire is already put out for you – saving you some hassle and allowing you to save the fire extinguisher for later.
Read through your PDA
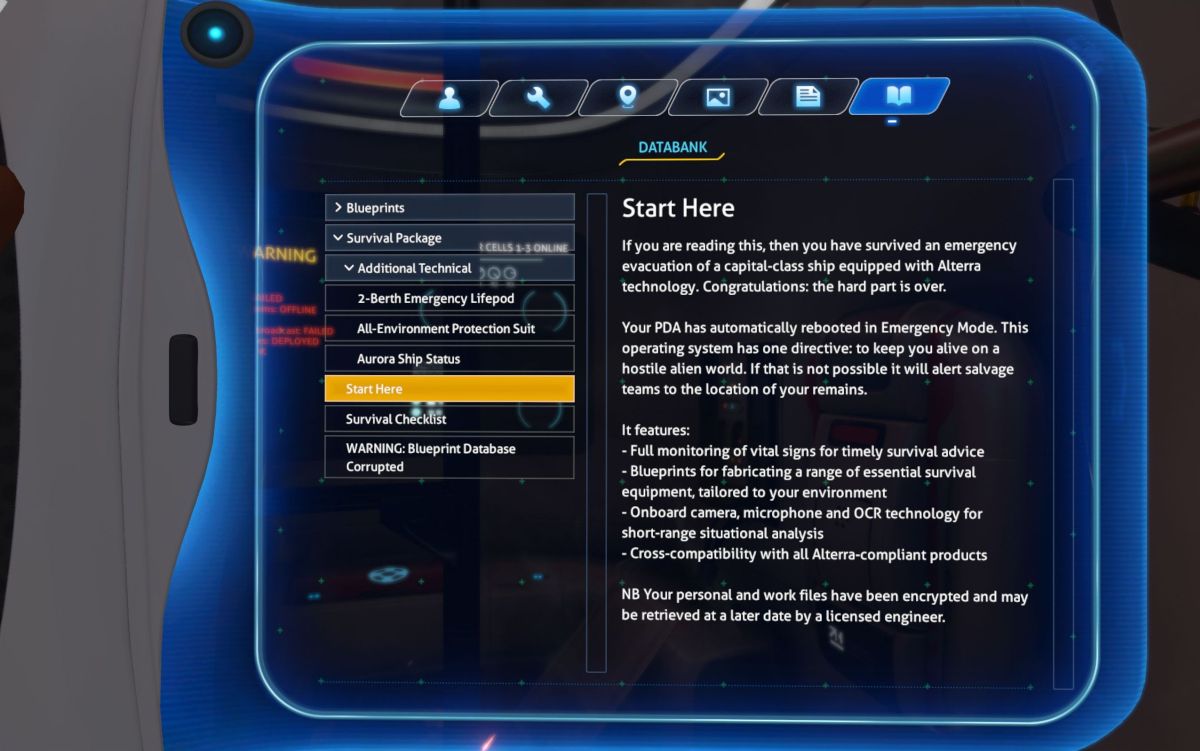
By this point you’re probably itching to get out of the Lifepod and check out your surroundings, so feel free to come back to this step once you’ve gotten that out of your system. But do take the time to carefully read through all of the articles in the PDA as they provide valuable background and clues that will help you throughout the progression of the game.
Get to know the features of your Lifepod
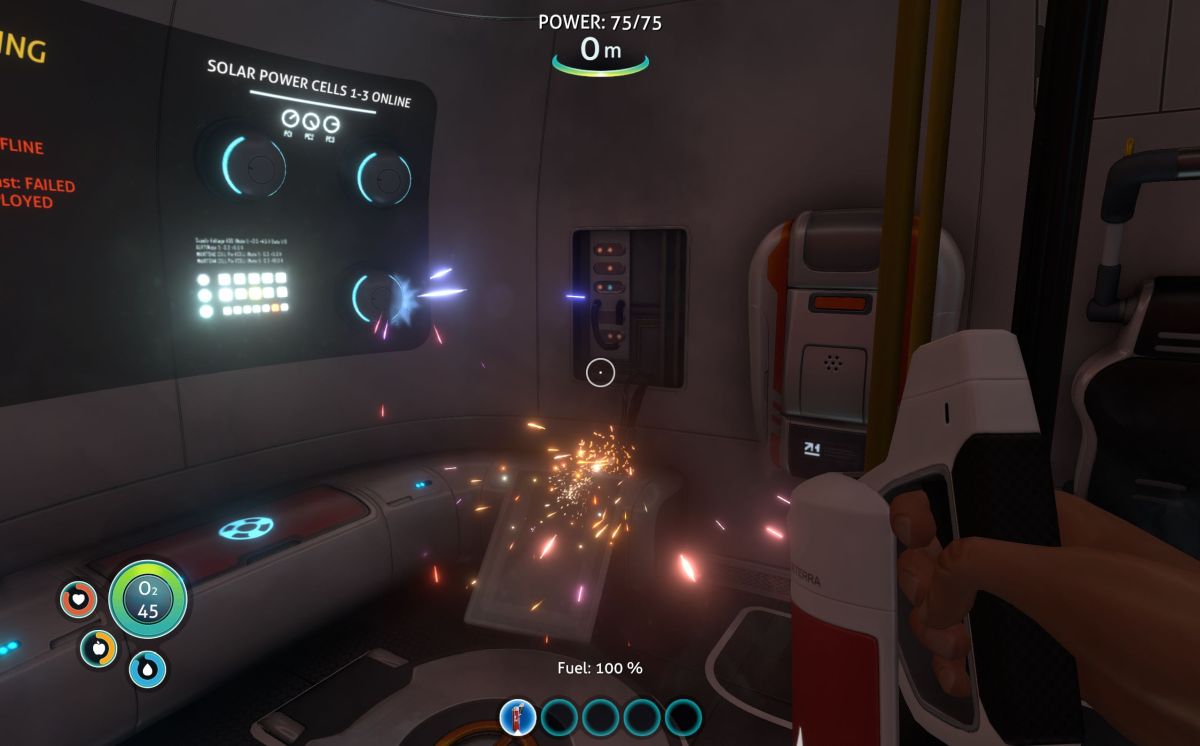
Look around the inside of your Lifepod and you’ll discover several features – some of which you can interact with at this point, and two that will be activated later once you have crafted a Repair Tool:
“Damaged Radio – Use repair tool”
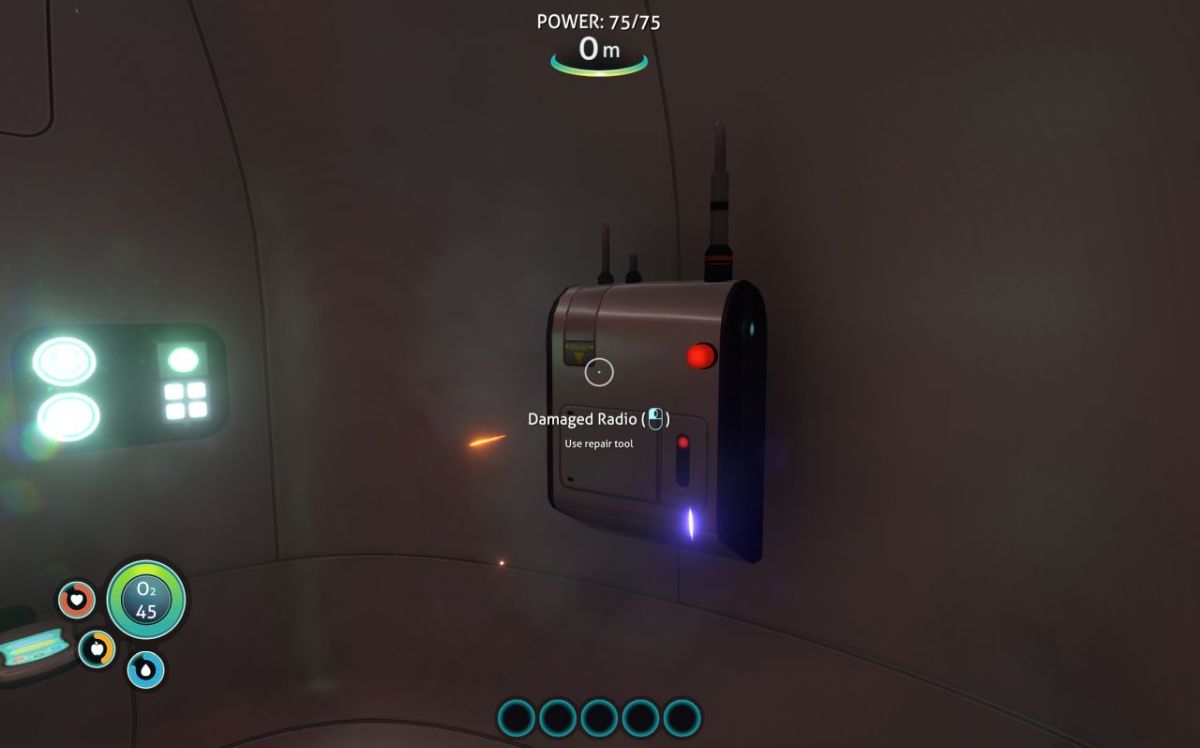
Once you’re able to repair the Radio, you’ll be able to use it to send and receive messages.
“Damaged Secondary Systems – Use repair tool”
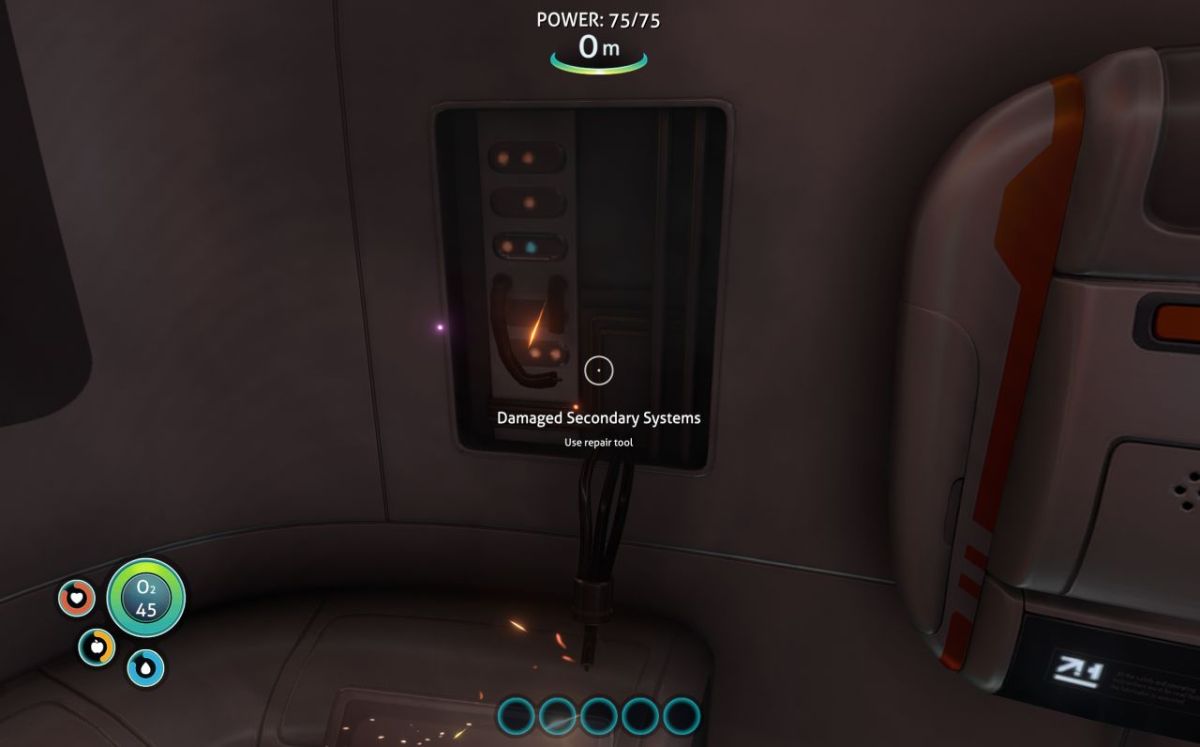
Repairing this component will activate the brighter secondary lighting inside the Lifepod, and get rid of the ugly mess of sparking, smoking wires.
Medical Kit Fabricator
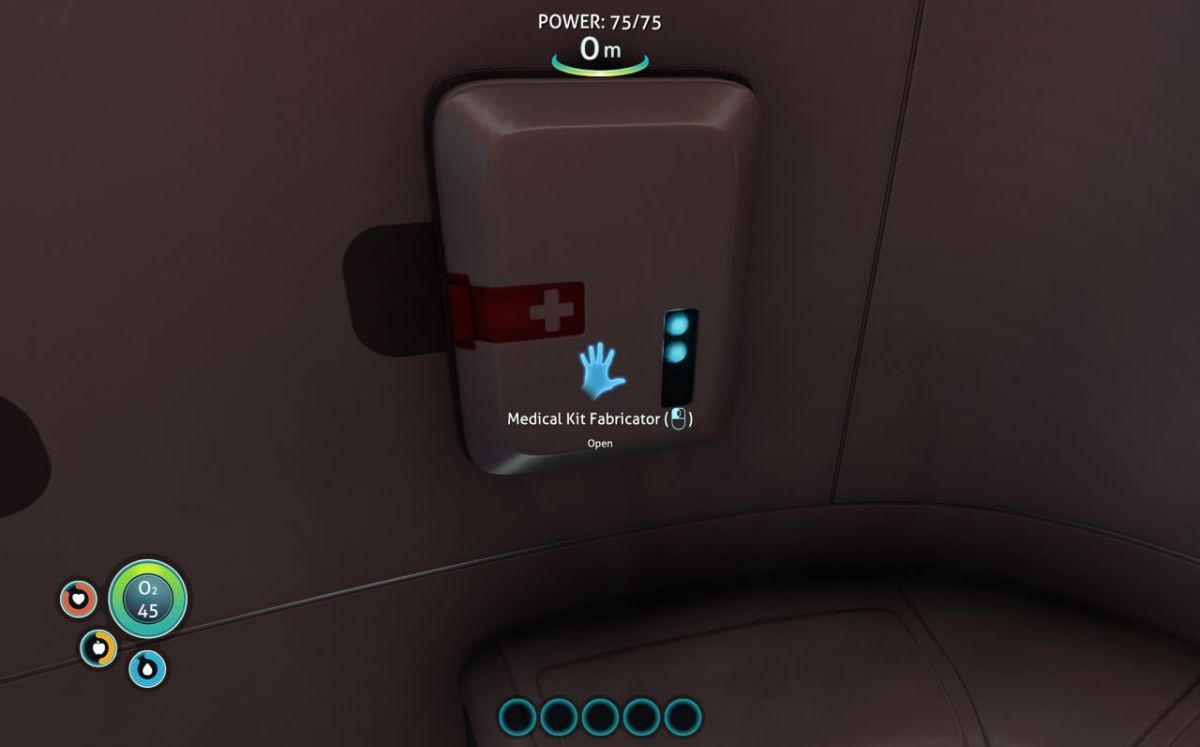
This wall-mounted gadget creates med-kits out of thin air – and it doesn’t even consume any electricity. The only catch is that you need to “harvest” the med kit in order for it to start producing the next one. It takes 10 real-world minutes to produce a medkit. Go ahead and grab the first Medical Kit out of the fabricator right away, since you’re starting the game with some minor injuries sustained during your landing.
Storage Container
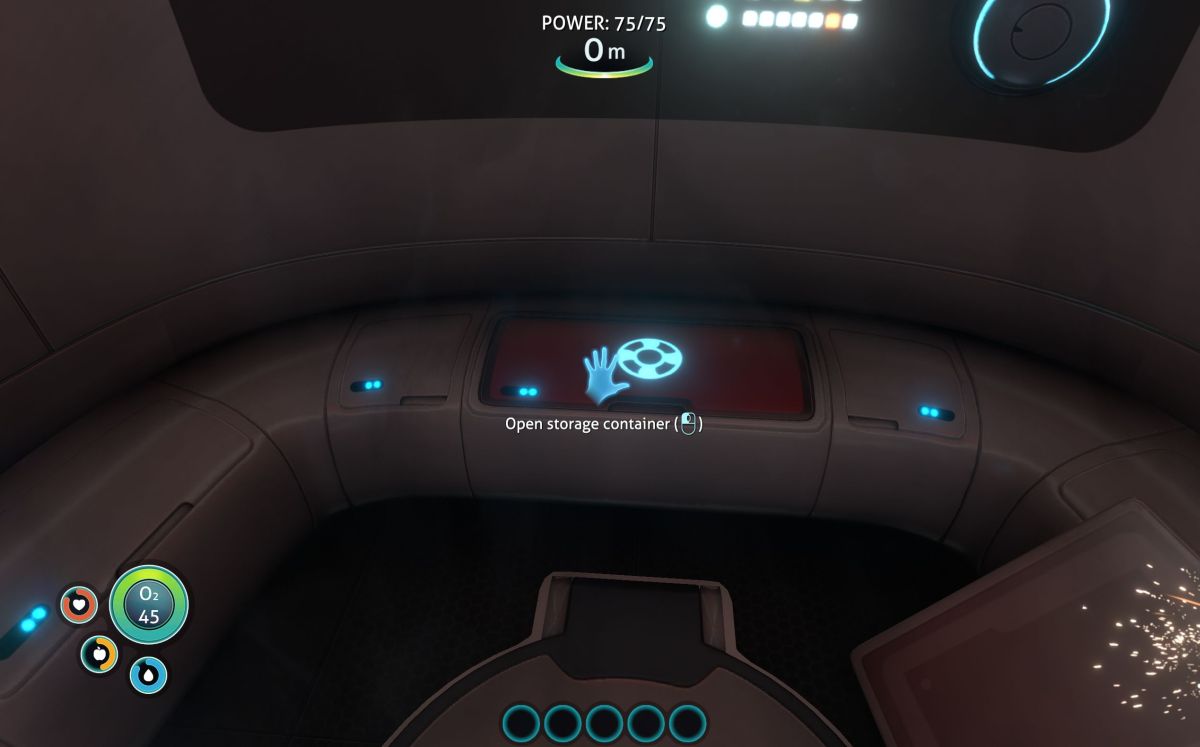
The Lifepod’s bench-like storage container provides 24 item-slots of storage. You’re about to be gathering a lot of stuff from the surrounding waters, so keeping it stowed it away in your storage container will help keep your personal inventory/backpack freed up for more effective gathering.
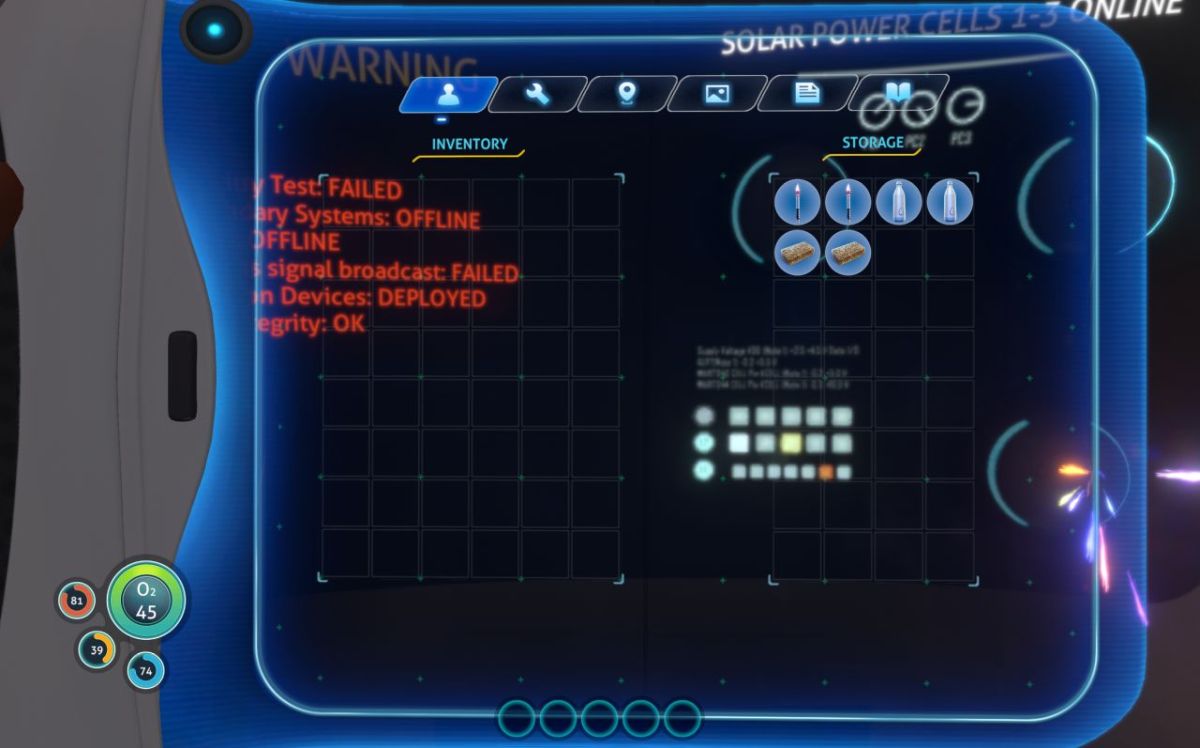
To help you get started, the Storage Container will initially contain some basic supplies:
- 2 x Flare
- 2 x Nutrient Block (Food: +75)
- 2 x Filtered Water (H2O: +20)
Fabricator

You’ll use this machine to transform the materials you gather into usable items, including tools and the food and water that you need to survive.
Ladder
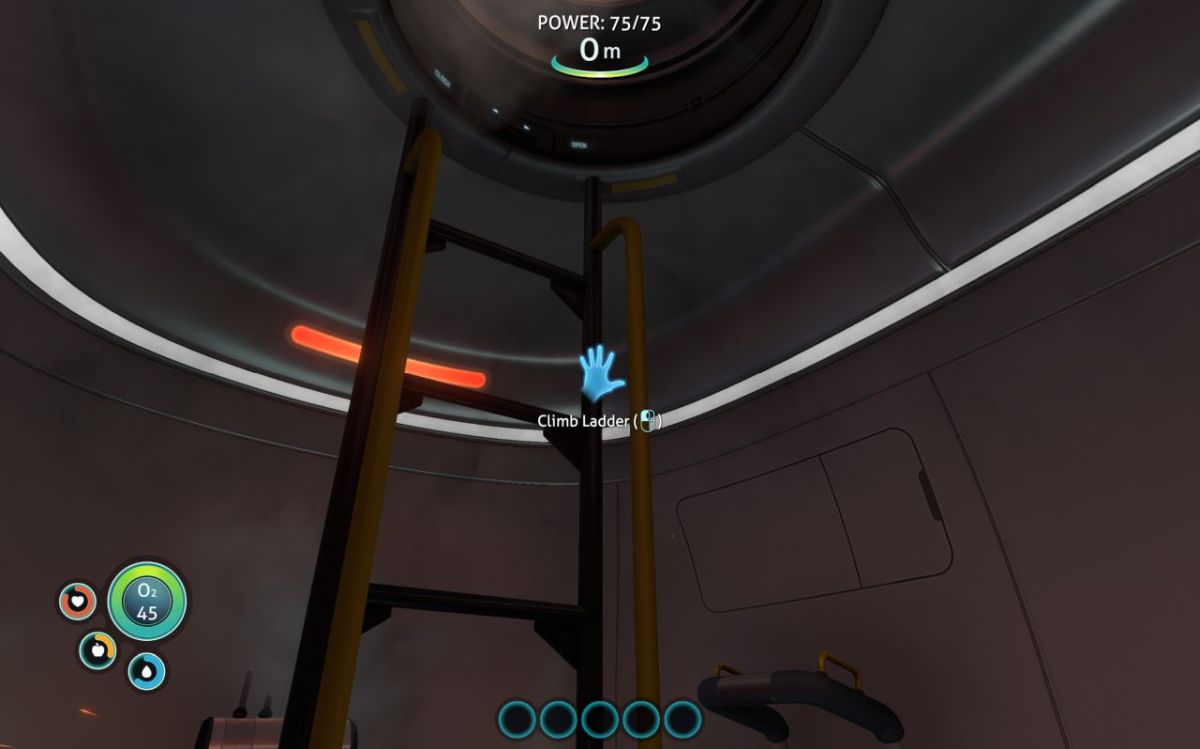
The Lifepod has 2 exits. Activating the Ladder causes the player to climb out of the upper exit, which can be useful for getting a look around at what little can be seen above the surface of the water.
Lower exit hatch
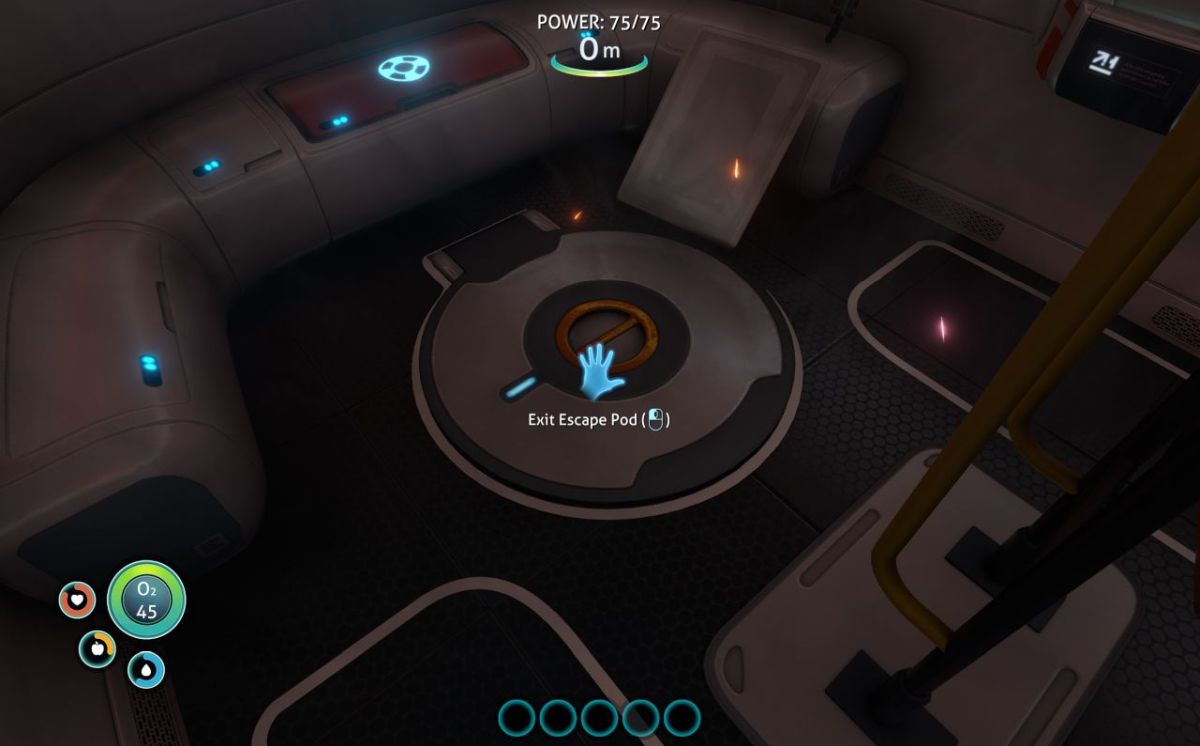
Most new players will probably notice the ladder at first and may not realize right away that the Lifepod also has a [much more convenient] lower hatch.