

Part 4 of the Satisfactory beginner walkthrough. Previous: Your First Automated Factory. Series overview.
The HUB’s fixed six-step ladder is done; from here the HUB Terminal hands out buildings and recipes through Milestones, grouped into Tiers that unlock as you go. Clearing Tier 0 opens Tier 1 and Tier 2, and you can tackle the milestones inside them in any order. This guide covers the three I did first, in that order.
Logistics: Splitters, Mergers and Lifts
By the end of Tier 0 your first factory is starting to get messy. Belts run one-to-one, outputs back up, and there’s no clean way to feed one ore line into three smelters or gather three constructor outputs onto one belt. Logistics is the fix, and it’s the first milestone I went for.
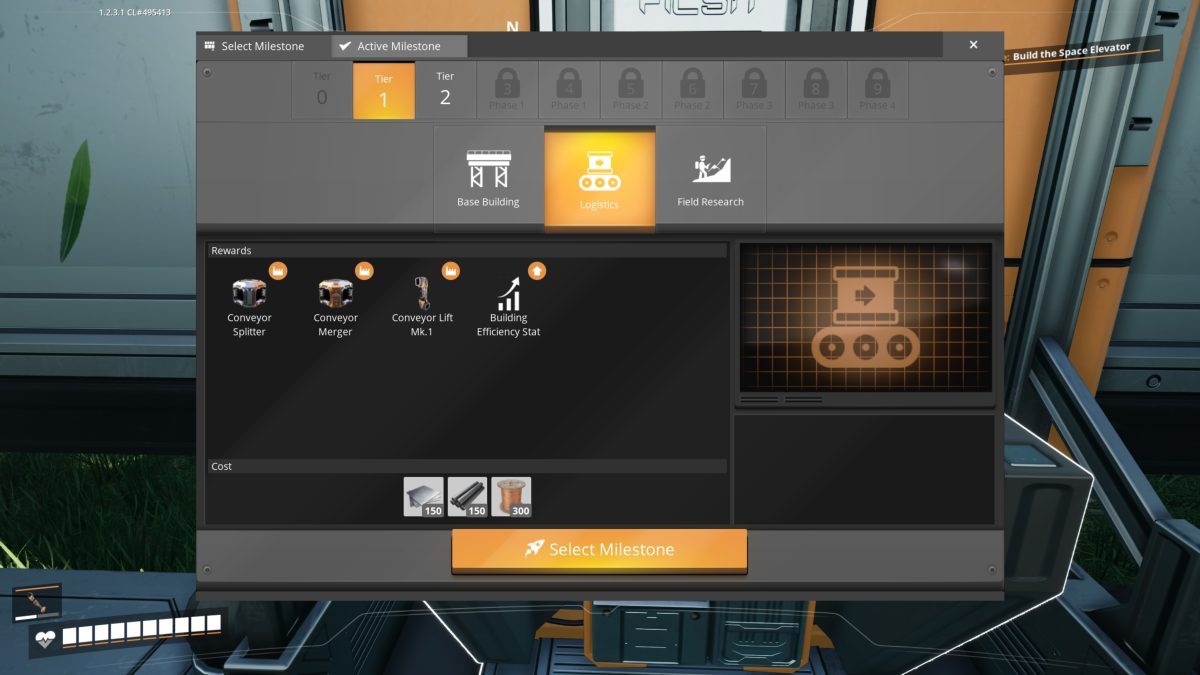
It unlocks three buildings: the Conveyor Splitter (split one belt to up to three places), the Conveyor Merger (combine up to three belts into one), and the Conveyor Lift Mk.1 (run a belt straight up or down instead of sprawling it across the floor).
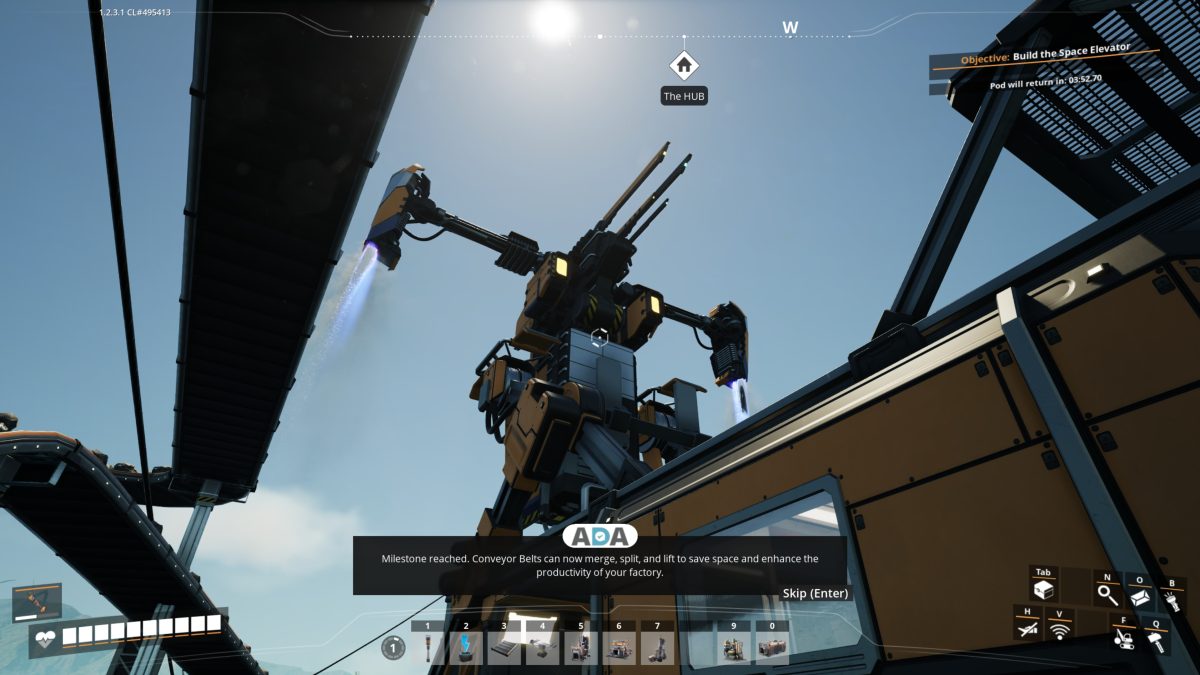
The Chainsaw and Solid Biofuel
Somewhere past a dozen machines, keeping the power on becomes a chore. You’re still on Biomass Burners (Coal is a couple of tiers off), so every generator has to be hand-fed with leaves, wood, and Biomass. A dozen machines burn through that fast, and the foliage near your base thins out quickly, so each gathering run takes longer and comes back with less. Foraging by hand stops keeping up.
That’s what Obstacle Clearing solves.
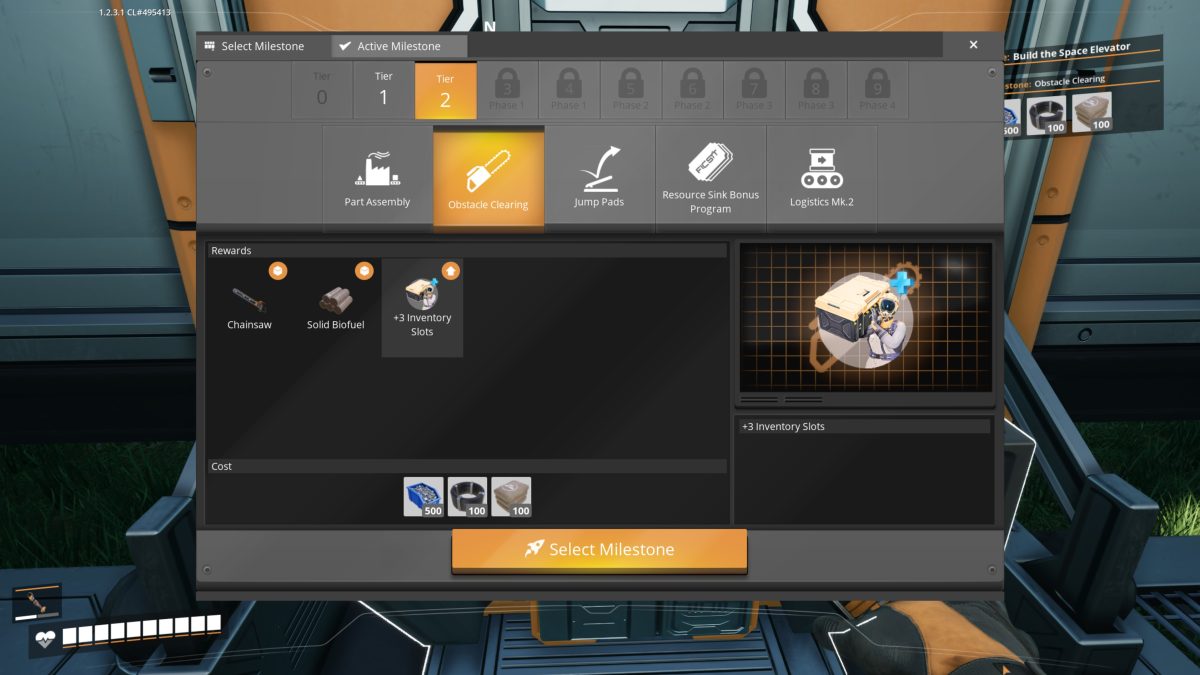
It has two rewards. The Chainsaw gathers fuel material in bulk; Solid Biofuel makes each unit of that material last far longer than raw Biomass.
The 500 Screws this milestone costs, plus another 160 for the Chainsaw itself, are more than you’ll want to hand-crank. This is where you set a Constructor to churn out screws in bulk.
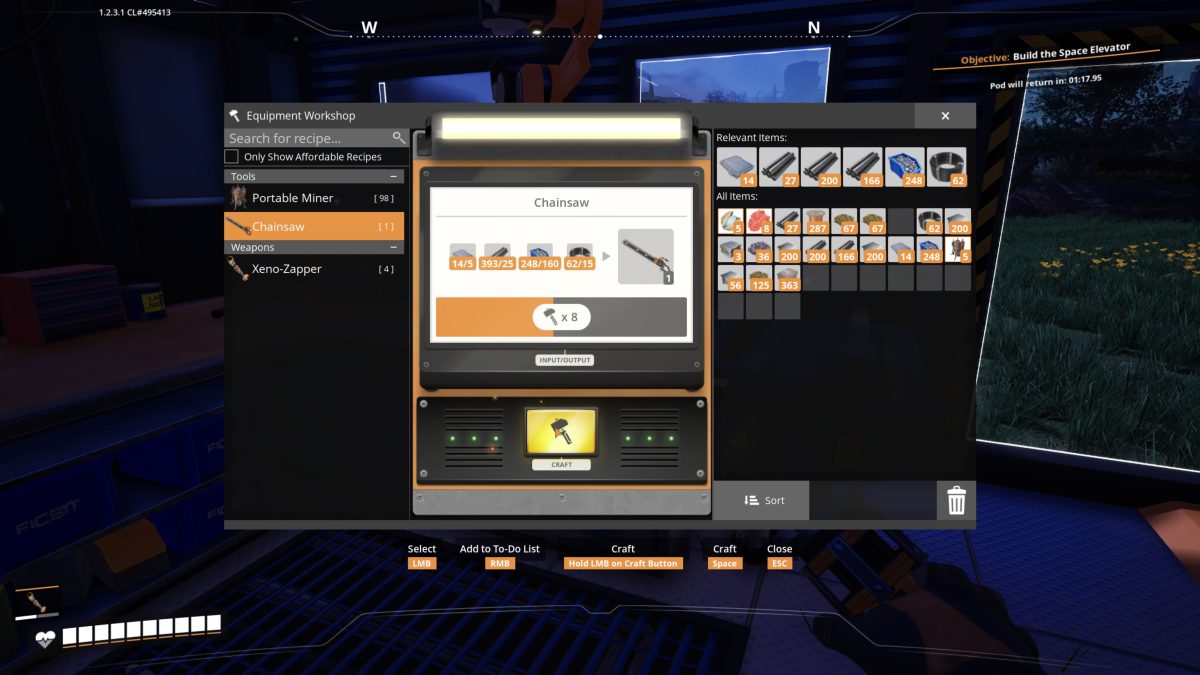
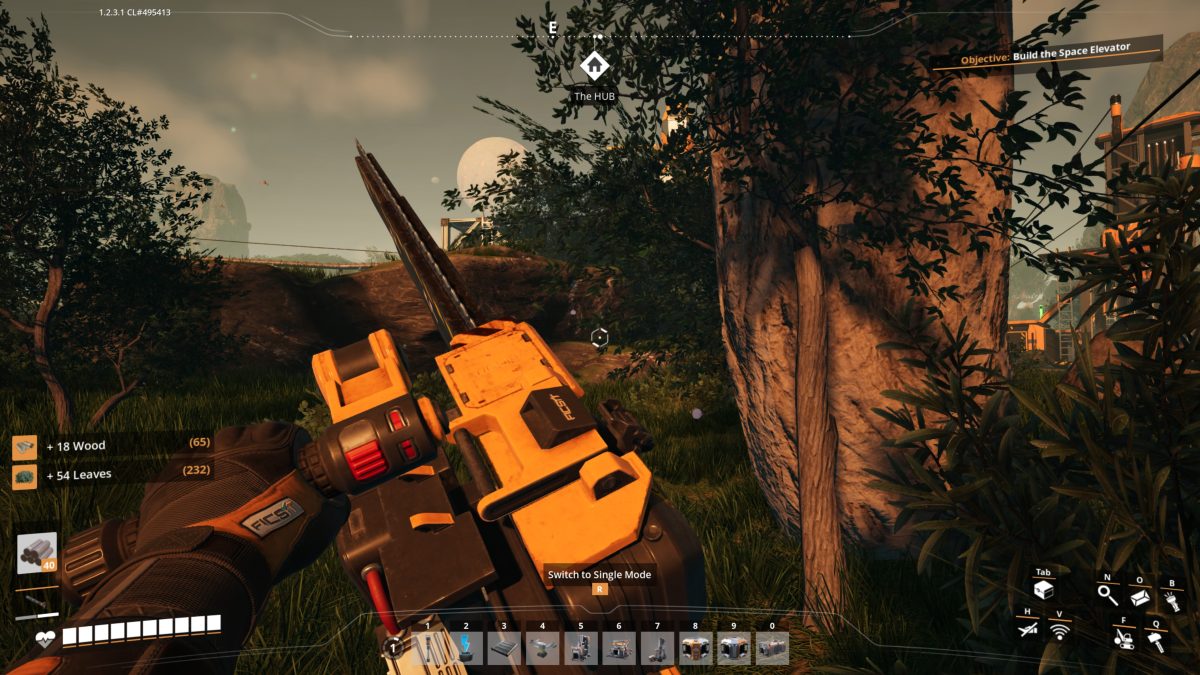
Once it’s built, the Chainsaw runs on Solid Biofuel (the same fuel Obstacle Clearing unlocked) and fells trees in bulk. More useful than the trees is its area harvest: it clears whatever ground growth is nearby (shrubs, fallen branches, foliage, mycelium and mushrooms), all of which feed straight back into Biomass. One pass replaces a dozen hand-picks.
Base Building: Foundations and the Grid
The other thing a dozen-machine factory needs is order. Milestones so far have you dropping machines straight onto the ground wherever they fit, and it shows.
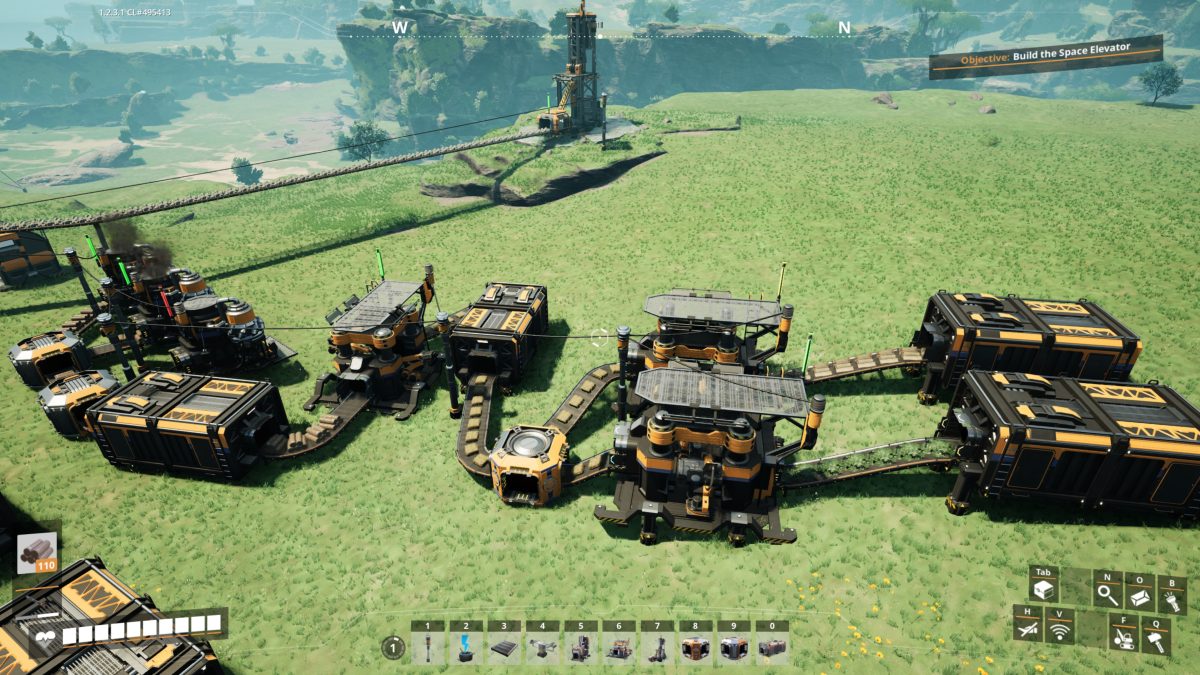
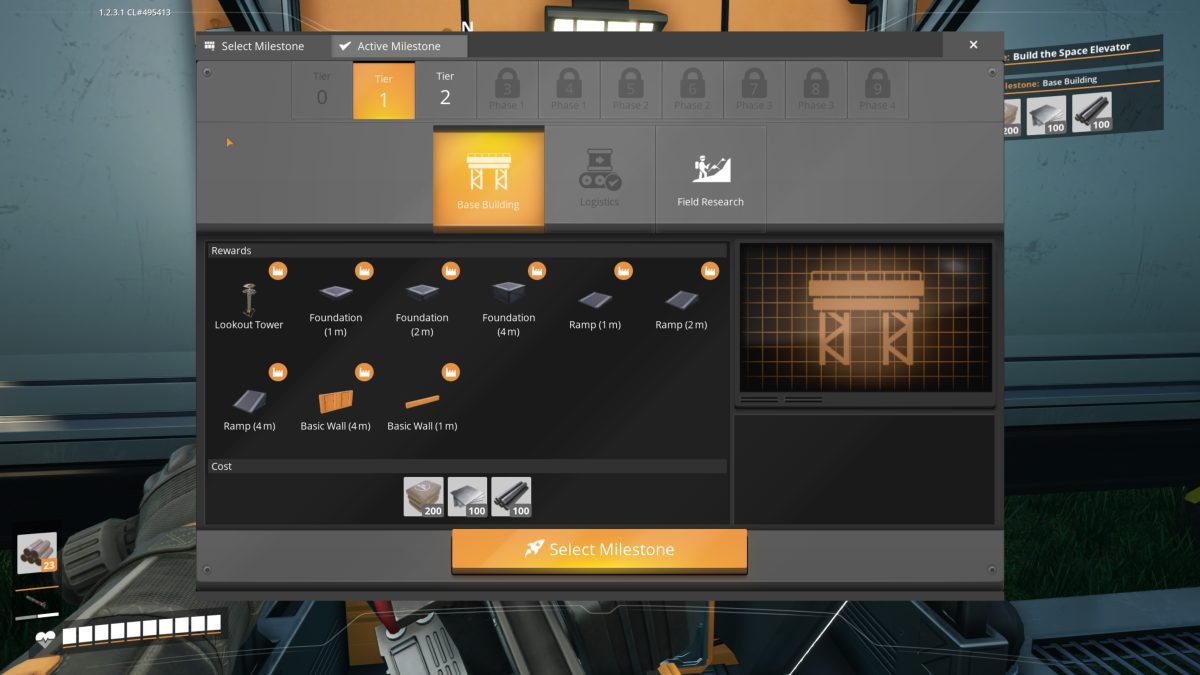
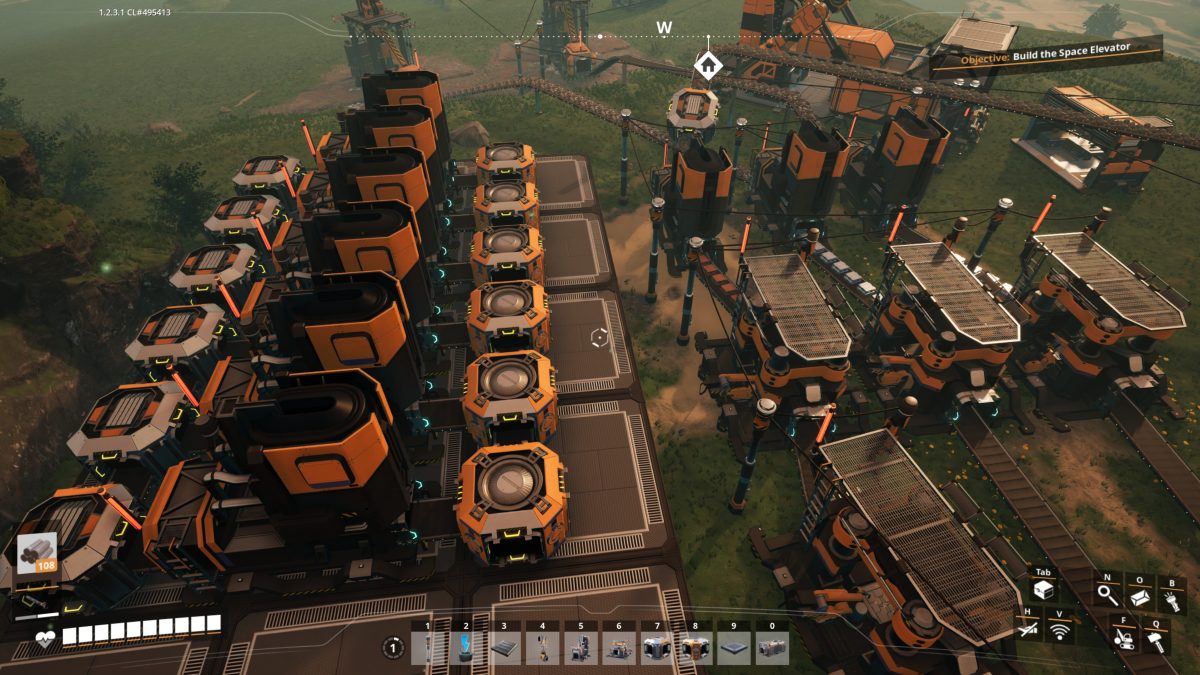
Base Building is the milestone that fixes that. It unlocks Foundations (1m, 2m, and 4m), Ramps, and Basic Walls: a flat, grid-aligned surface to build on so machines sit in clean rows and belts run in straight lines.
Grid-snapping is worth the setup. A foundation grid makes belt and pipe routing predictable, lets you line machines up edge to edge, and gives you something to build a second floor on later. Skip it and you end up tearing the factory down and redoing it once it grows.
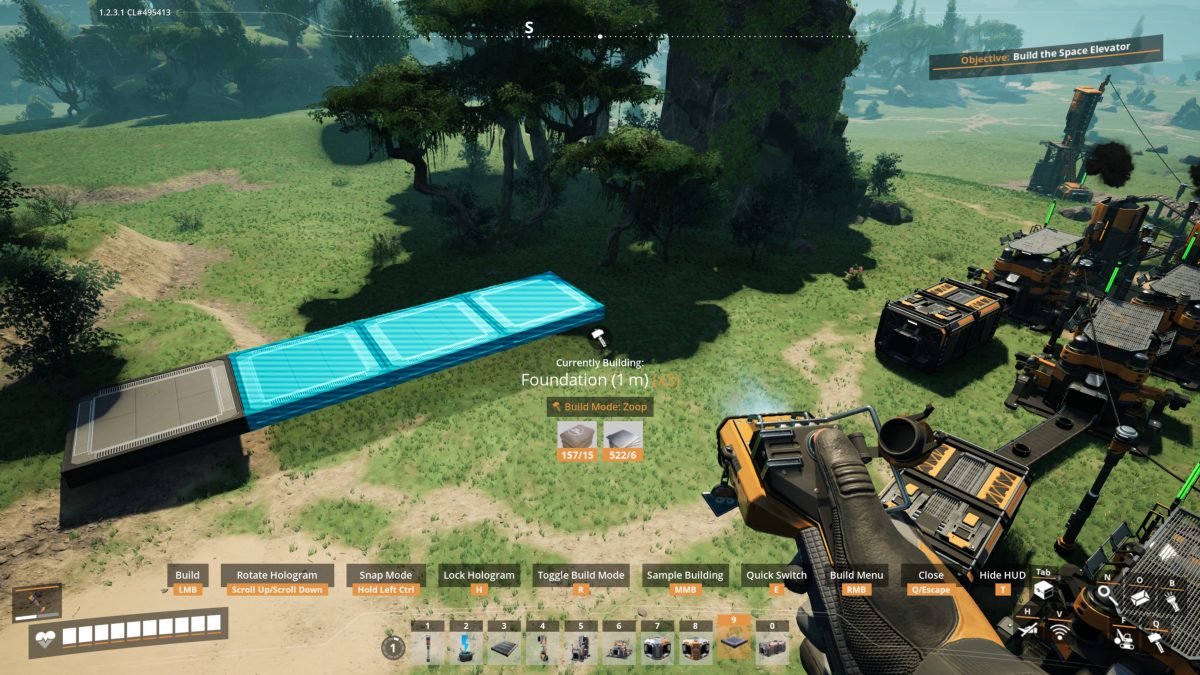
Laying foundations goes fast with Zoop mode: press R to switch to it, and you place a whole row in a single click instead of one square at a time.
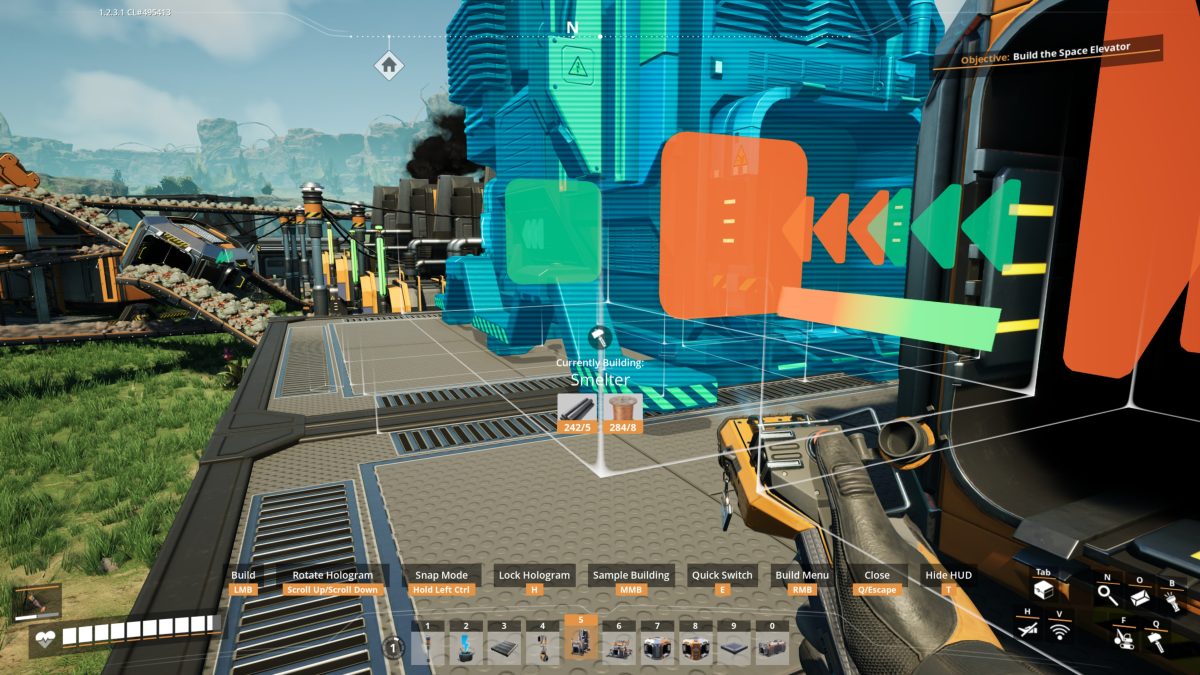
With a platform down, machines snap to the grid. The build hologram colors the ports (green for input, orange for output), so you can see which way a belt has to run before you commit.
Base Building also unlocks the Lookout Tower. It’s cheap, and useful when you head out exploring: a quick way to get a bird’s-eye view of the terrain, and a safe spot to climb if a hostile creature comes after you.
Next is the bigger jump in output: the Assembler, mass production, and the Space Elevator that ends this getting-started run.
Keep going: the walkthrough overview lists every part of the series in order.