

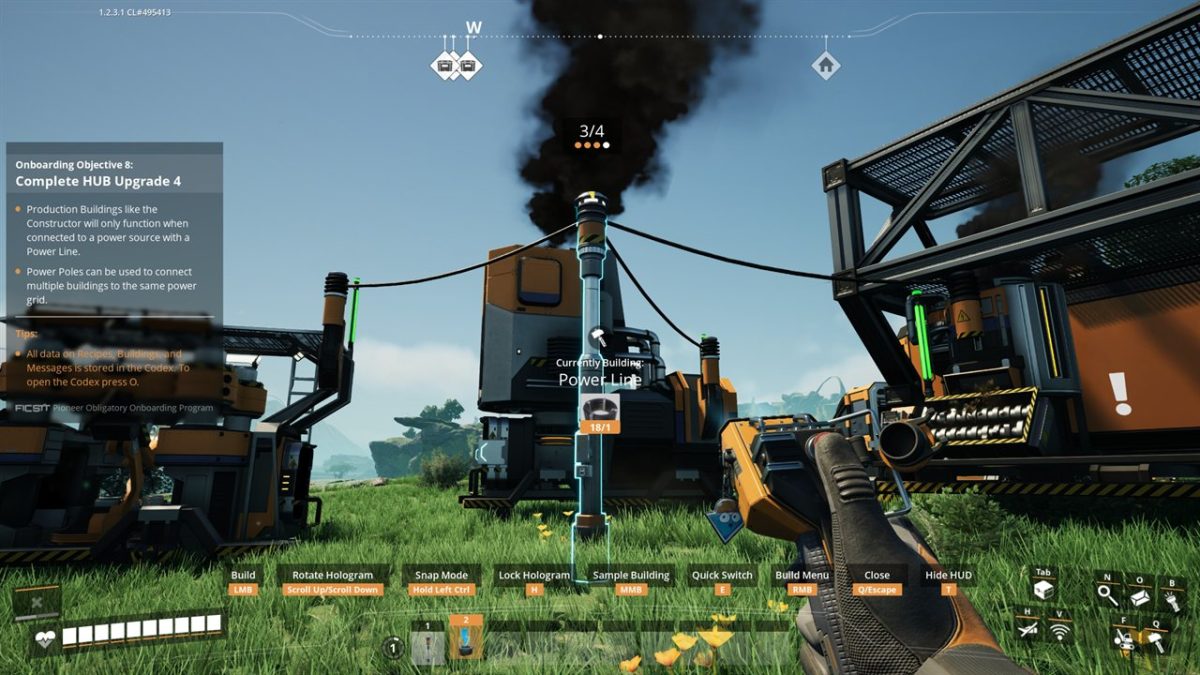
Part 3 of the Satisfactory beginner walkthrough. Previous: Building the HUB. Series overview.
Part 2 left off with a Portable Miner drilling your Iron node but no clean way to move that ore. This guide covers the rest of Tier 0: the Smelter and Constructor, the power that runs them, the belts that tie them into your first self-running factory, and the final upgrade that unlocks the Space Elevator and ends the tier.
The Machines That Replace Hand-Crafting
The remaining Tier 0 upgrades come quickly and unlock the two machines that replace hand-crafting:
- the Smelter, which turns Iron Ore into Iron Ingots,
- and the Constructor, which turns Ingots into Rods, Plates, and Wire.
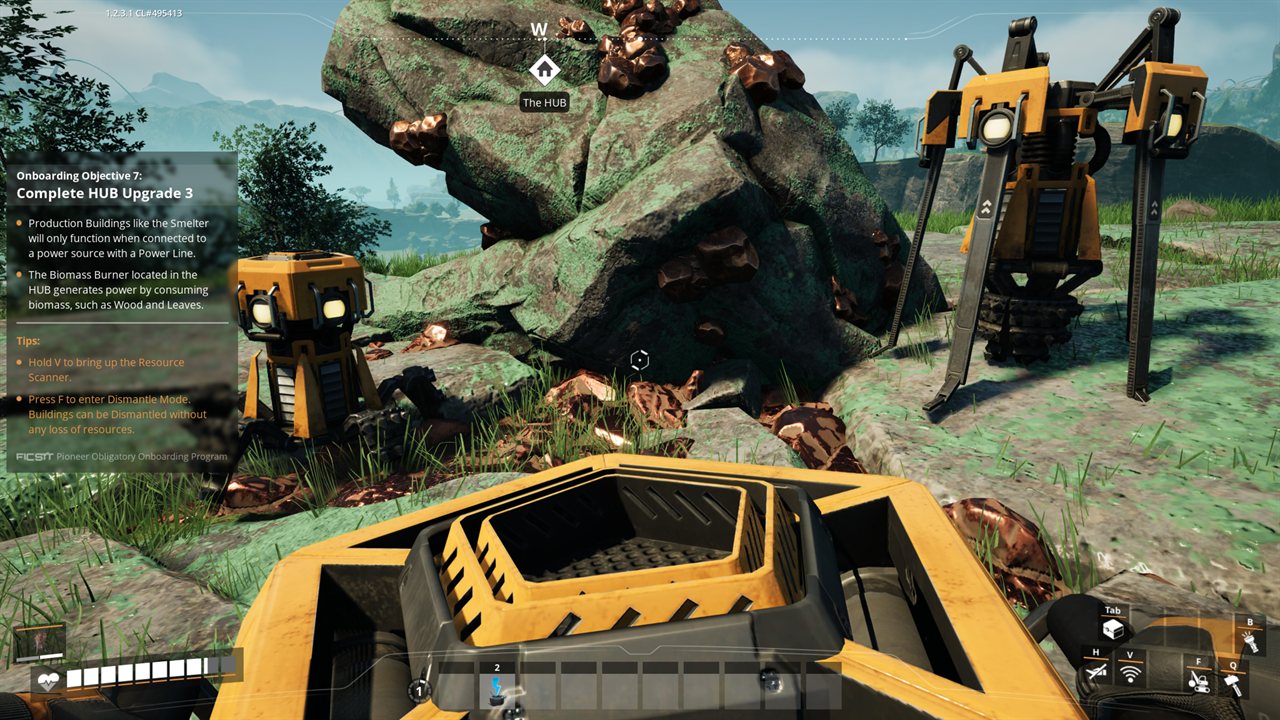
Each upgrade introduces something new. Copper actually arrives at HUB Upgrade 2, alongside the Smelter, the Power Line, and the Wire and Cable recipes. That’s when you scan for a second ore. HUB Upgrade 3 is the first upgrade whose cost calls for Wire (20 Iron Plates, 20 Iron Rods, and 20 Wire), so it’s the point you actually go and mine that Copper; Upgrade 3 also unlocks the Constructor and the Power Pole. You find and mine Copper the same way as iron. Production buildings like the Smelter and Constructor only run when a Power Line connects them to a power source.
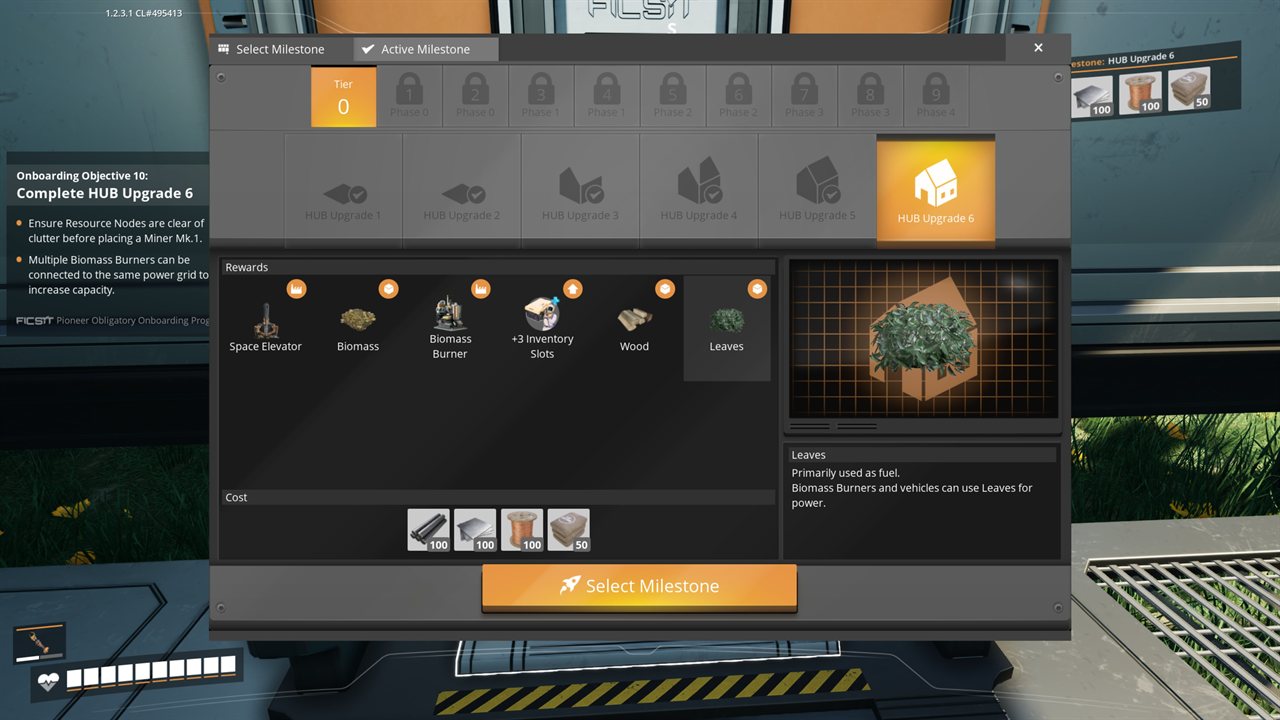
The final Tier 0 upgrade costs a large batch of parts: 100 Iron Rods, 100 Iron Plates, 100 Wire, and 50 Concrete. Concrete is made by a Constructor from Limestone, which you unlocked back at Upgrade 3. At that quantity, hand-crafting is impractical, so you automate the line instead.
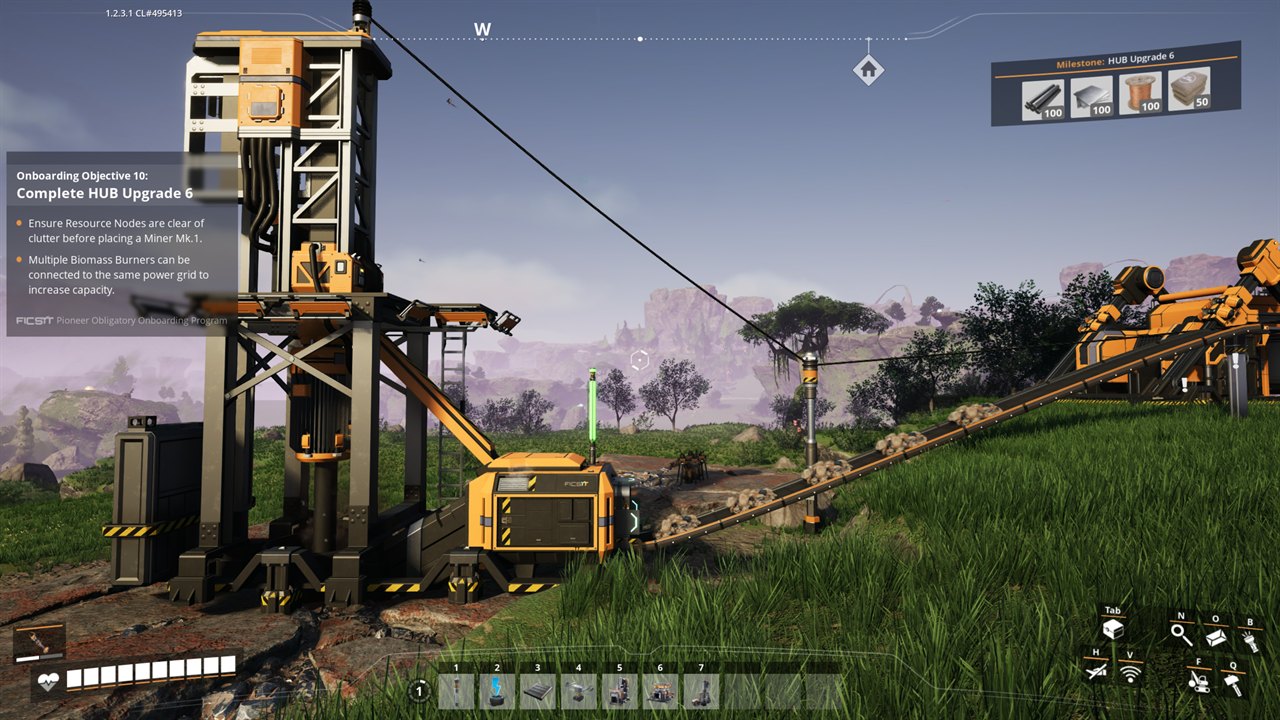
The Tier 0 pattern: when crafting a milestone by hand becomes tedious, build the machine that does it instead. The basic factory is a miner on your Iron node, a Smelter to convert ore into Ingots, and a Constructor to convert Ingots into Rods, connected by Conveyor Belts so the parts move on their own. This miner-smelter-constructor chain is the first real factory you’ll build, and later factories use the same pattern at larger scale.
Building the Smelter and Wiring Power
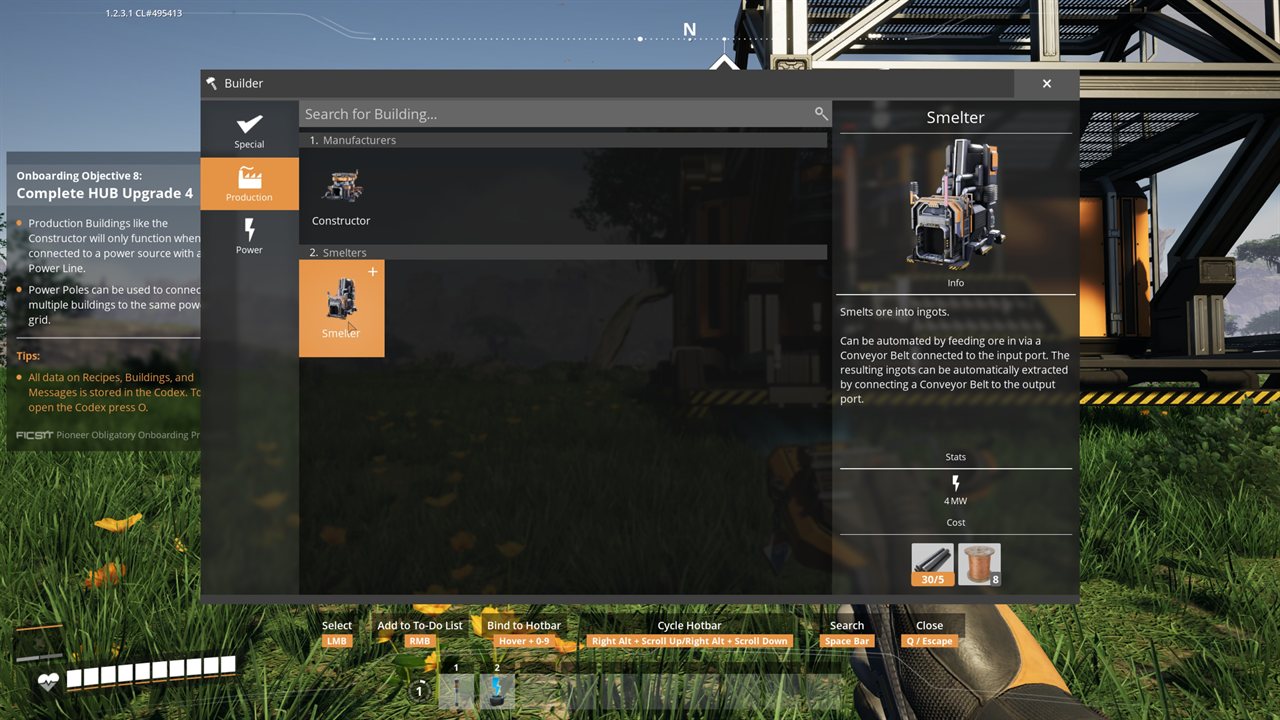
The Smelter won’t run until it has power. In Tier 0 that power comes from the HUB itself: the HUB has an attached Biomass Burner that generates power as long as you keep it fueled. You add a machine to the grid by running a Power Line from it to the HUB or a Power Pole.
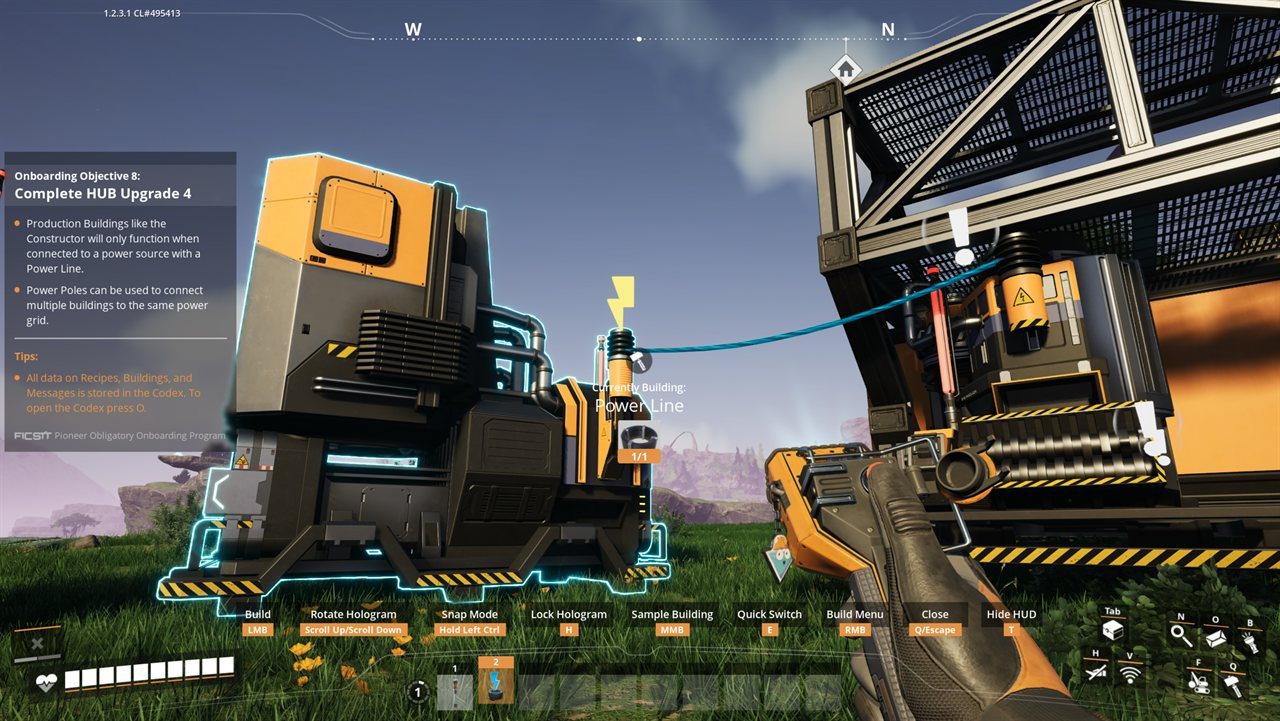
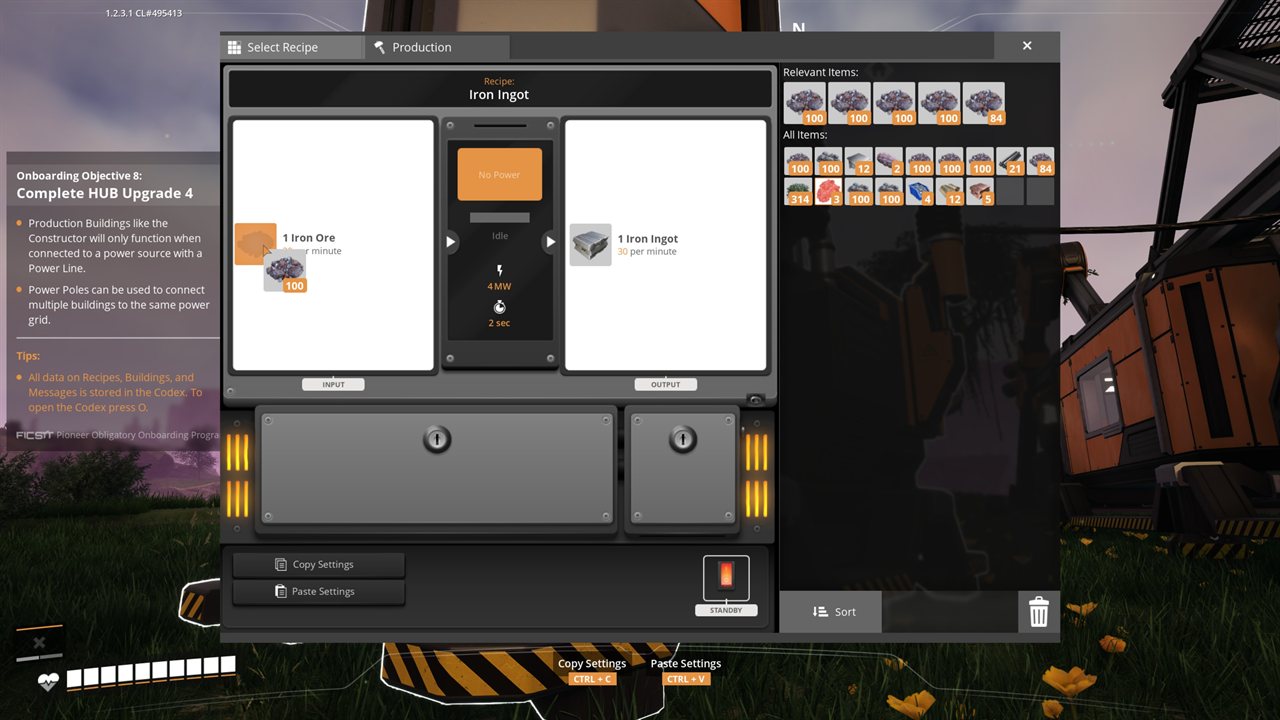
With power connected, click the Smelter and set its recipe (Iron Ingot here, about two seconds each). The production window is the same for every machine: an input, an output, a rate, and a power draw.
Your First Automated Line
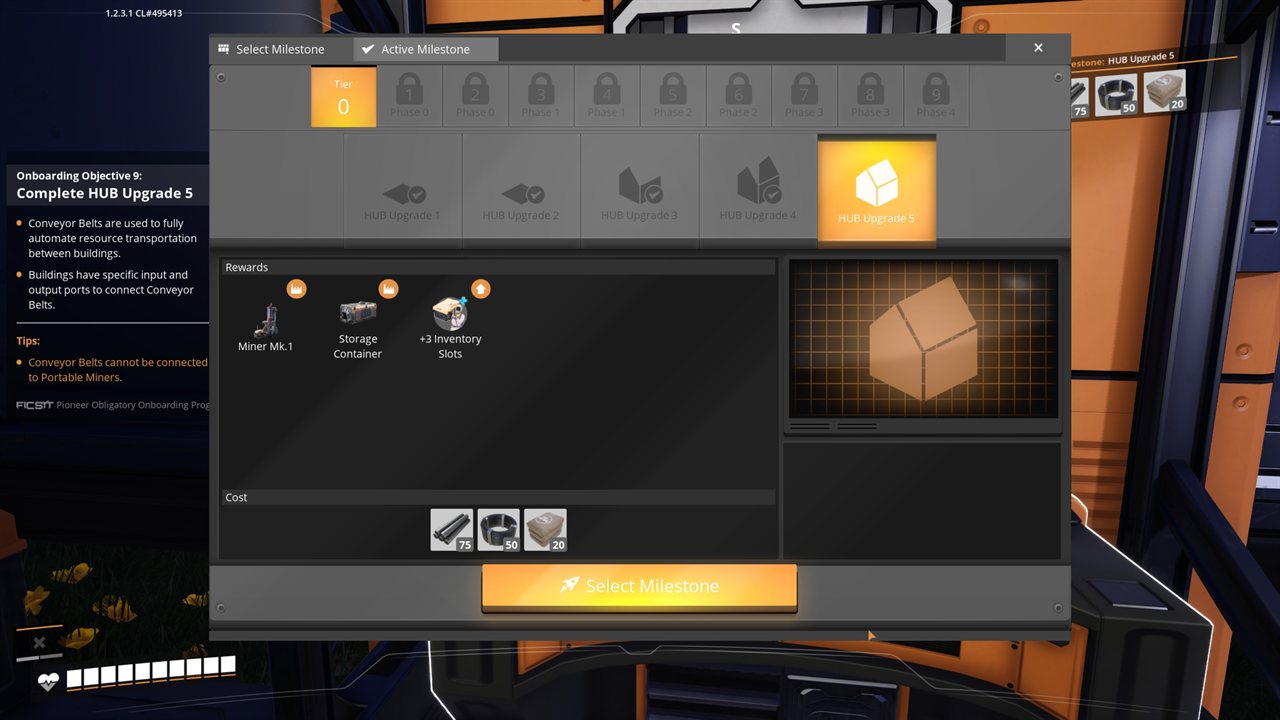
You can hand-drop ore into the input to see the Smelter run, but automation needs a belt, and Conveyor Belts don’t connect to Portable Miners. The belt-compatible miner is the Miner Mk.1, unlocked along with a Storage Container at HUB Upgrade 5 (75 Iron Rods, 50 Cable, 20 Concrete), near the end of Tier 0.
With a Miner Mk.1 on your Iron node, you can complete the line: belt the miner into the Smelter, belt the Smelter into a Constructor, and set each machine’s recipe. Ore enters one end and finished Rods collect at the other without further input.
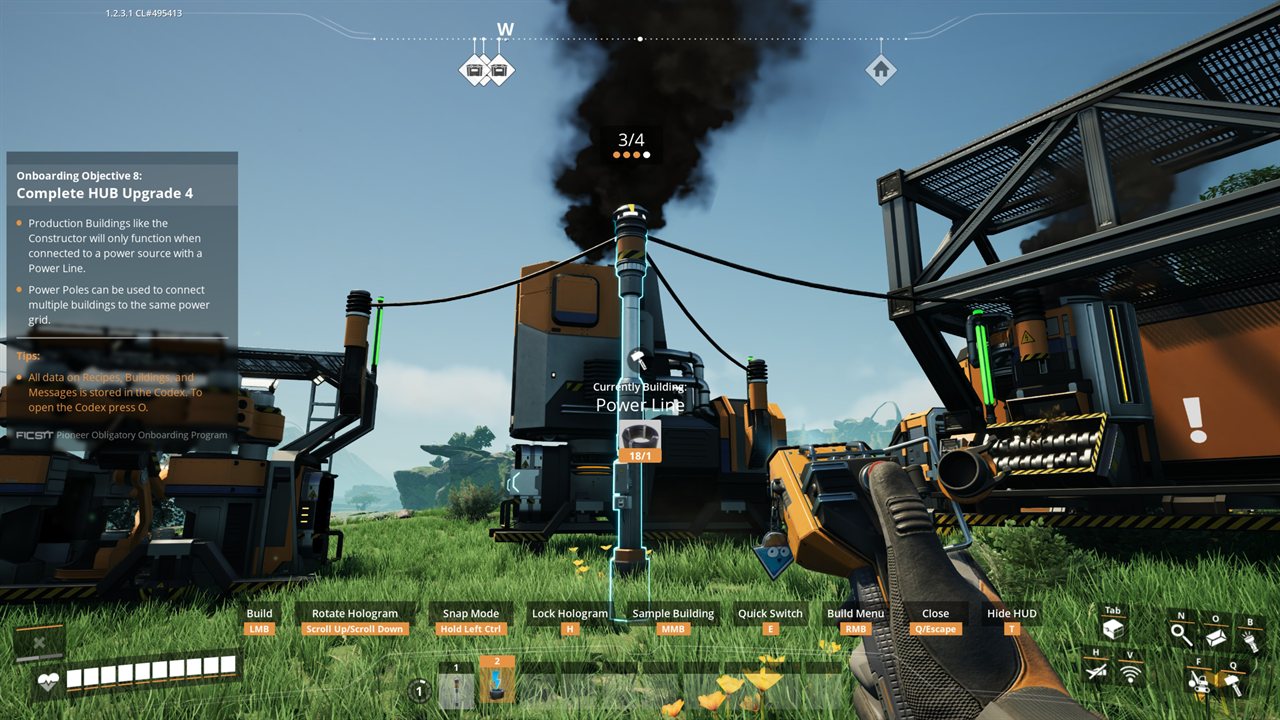
The layout doesn’t need to be tidy or perfectly balanced at this stage, and there’s no time pressure. Get the line running, let the parts accumulate, and deliver them to the Terminal.
Powering the Factory
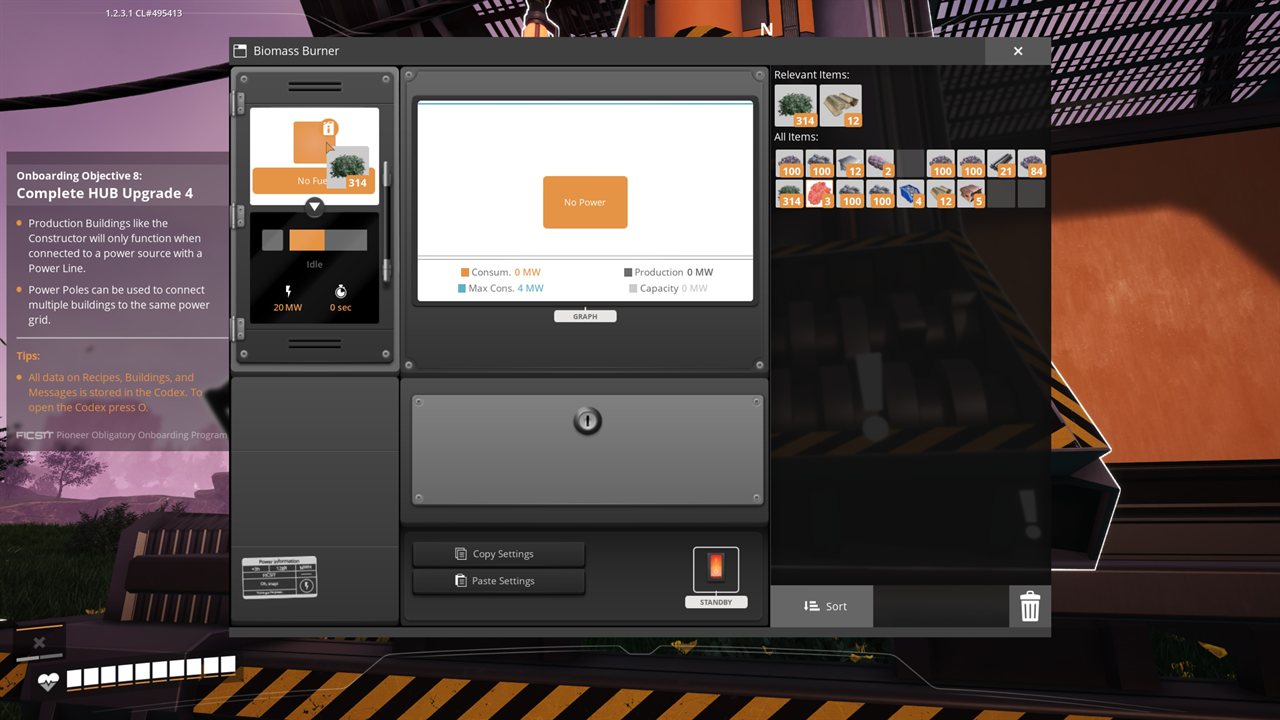
Your Tier 0 power comes from the HUB’s attached Biomass Burner, which produces up to 20 MW as long as it has fuel. A second attached burner unlocks with a later HUB Upgrade, taking you to about 40 MW. You load it by hand with leaves, wood, and Biomass, which run out quickly.
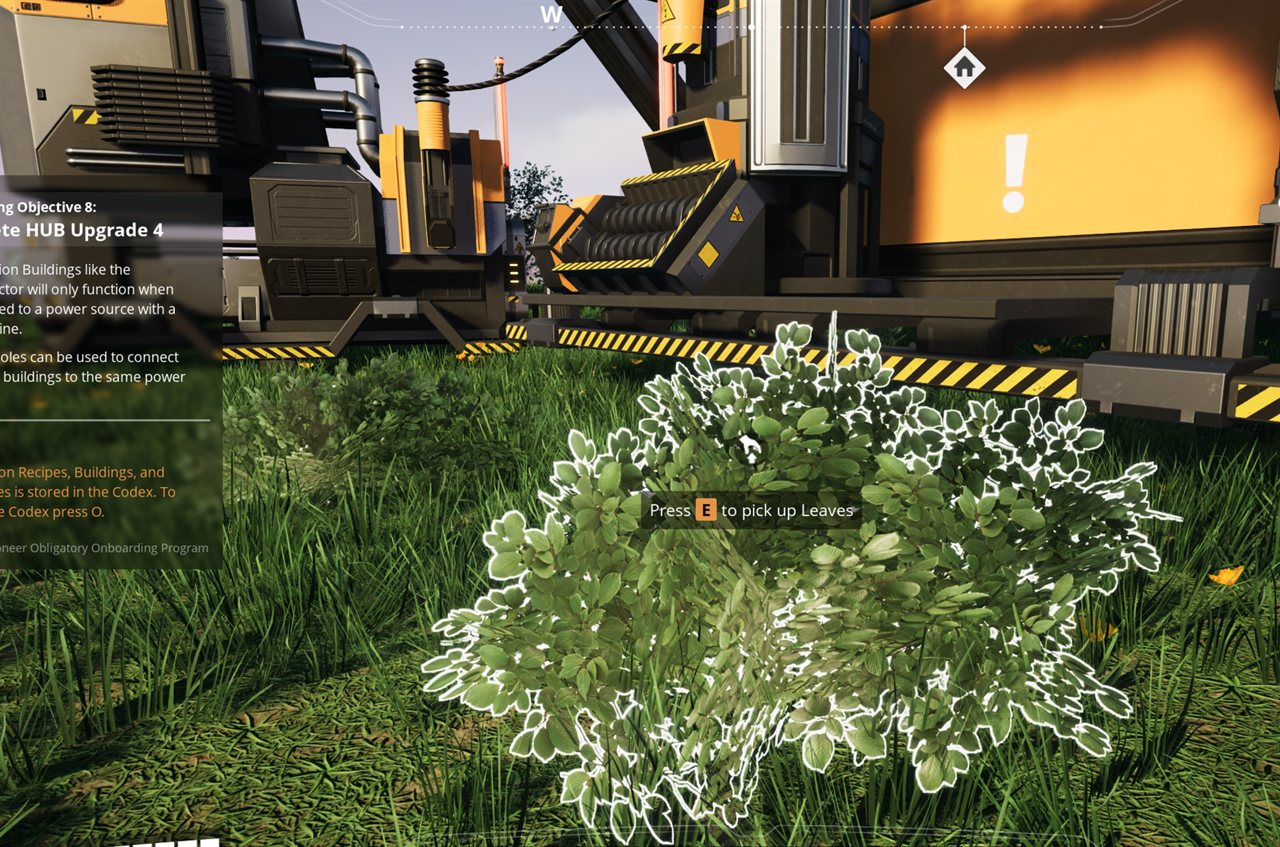
One optimization to do early: instead of burning raw leaves and wood, craft them into Biomass at the Crafting Bench first. Biomass holds far more energy per unit, so the burner runs much longer between refuels on Biomass than it does on loose foliage. There’s a denser fuel still, Solid Biofuel, but its recipe doesn’t unlock until a couple of tiers later, so in Tier 0 the upgrade to make is Biomass. All of it is a stopgap either way: you’ll move to Coal power once you’re past the opening tiers.
If the HUB burner runs out of fuel, the whole factory stops, including any Constructor mid-craft, so keep a buffer of fuel in it before you leave the area. That’s enough to run a small Tier 0 line; expanding further means building standalone Biomass Burners, which you unlock at HUB Upgrade 6, the final milestone.
Finishing Tier 0: The Space Elevator
Completing HUB Upgrade 6 finishes Tier 0. It unlocks the Space Elevator, which you need to progress into the later tiers, and the standalone Biomass Burner (30 MW each), which lets you build power generators away from the HUB and add power beyond it. From there the full Milestone tree (Tier 1 and up) opens, along with the MAM for researching alternate recipes.
From here the game opens up into the Milestone tree, and the next guide picks up with the upgrades that expand this line into a larger factory.
Keep going: the walkthrough overview lists every part of the series in order.