

Part of the Satisfactory beginner walkthrough. Series overview.
Finishing Phase 1 at the Space Elevator opens two tiers at once, Tier 3 and Tier 4, and you work them in whatever order you like. Tier 3 gets most of the early attention because Coal Power and steel are there, but Tier 4 opens at the same time and has five milestones of its own. This post is the way into Tier 4, and it now covers all five.
Logistics Mk.3
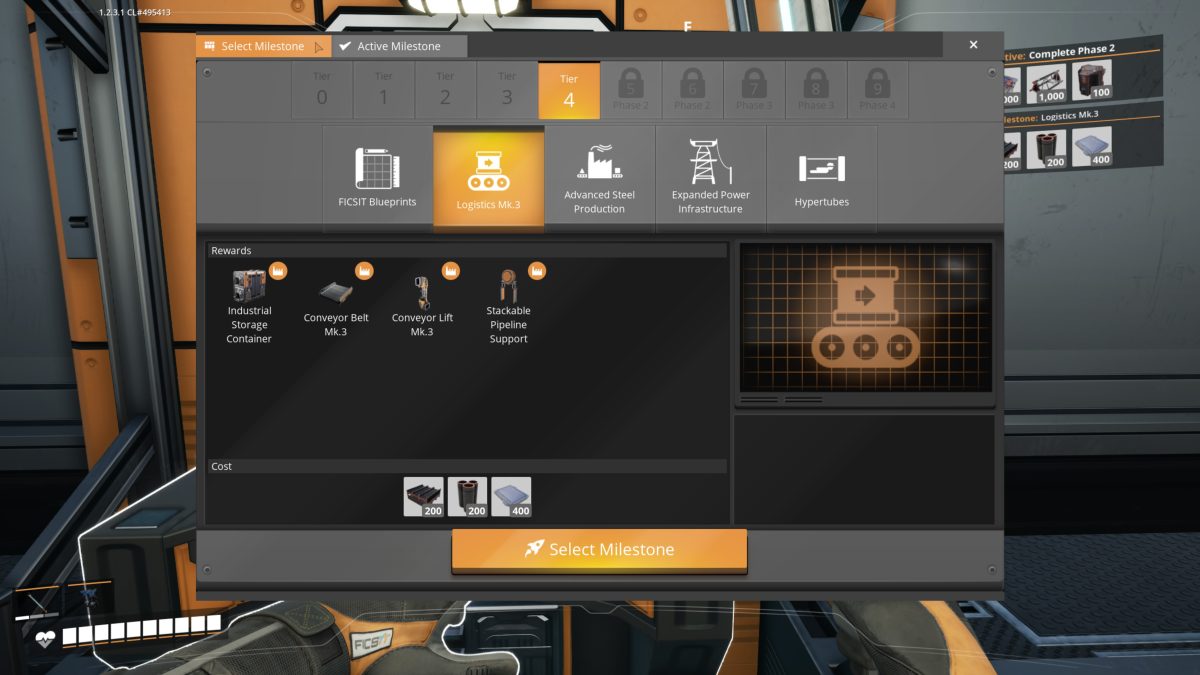
This is the third belt tier. Conveyor Belt Mk.3 is another step up in throughput over the Mk.2 belts you unlocked back in Tier 2. If you’ve been laying down parallel belt lines to keep a machine fed, faster belts thin that out, so it’s worth an early look once your factory is moving real volume. Conveyor Lift Mk.3 is the matching vertical version. Alongside those you get the Industrial Storage Container, a bigger buffer than the Storage Container from Tier 0, and the Stackable Pipeline Support for running pipes up in tidy vertical columns the same way the stackable poles do for belts.
FICSIT Blueprints
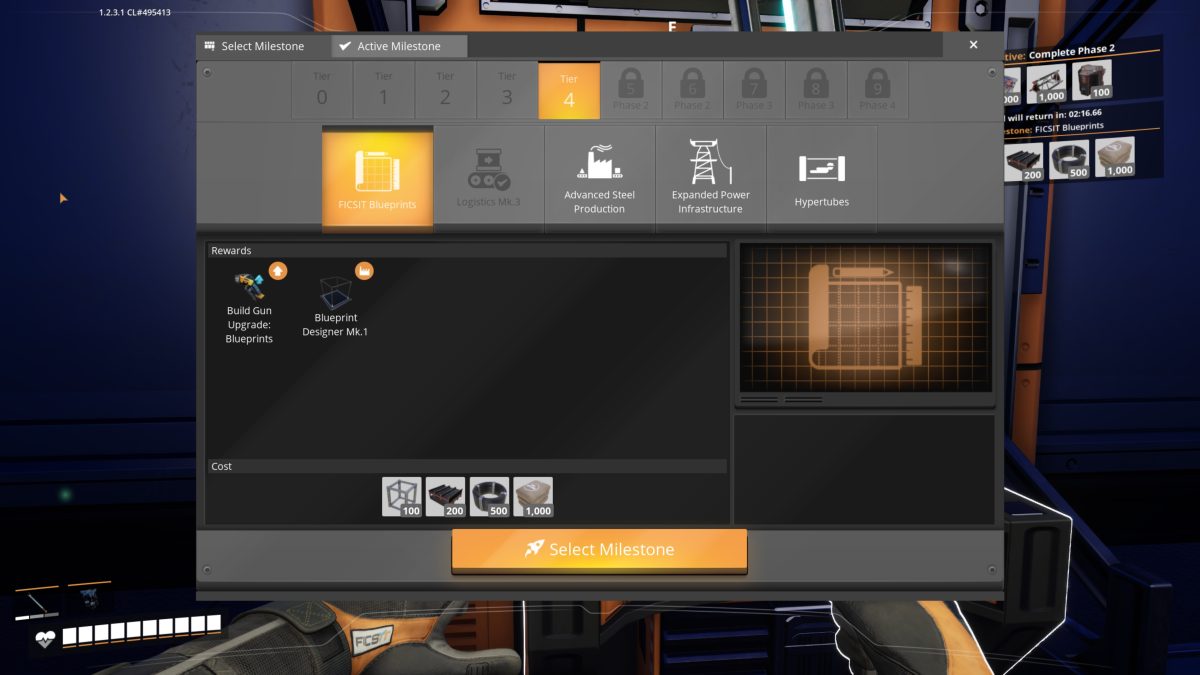
The two rewards here are Build Gun Upgrade: Blueprints and the Blueprint Designer Mk.1, and together they unlock the Blueprint Designer: a placeable room you build a small modular layout inside once, save to the Build Gun, then stamp back down anywhere for a material cost. It was still mid-research when I grabbed the shot, so the panel is dimmed and the tracker is ticking down. The Blueprint Designer has enough to it for its own guide: how to use the Blueprint Designer.
Advanced Steel Production
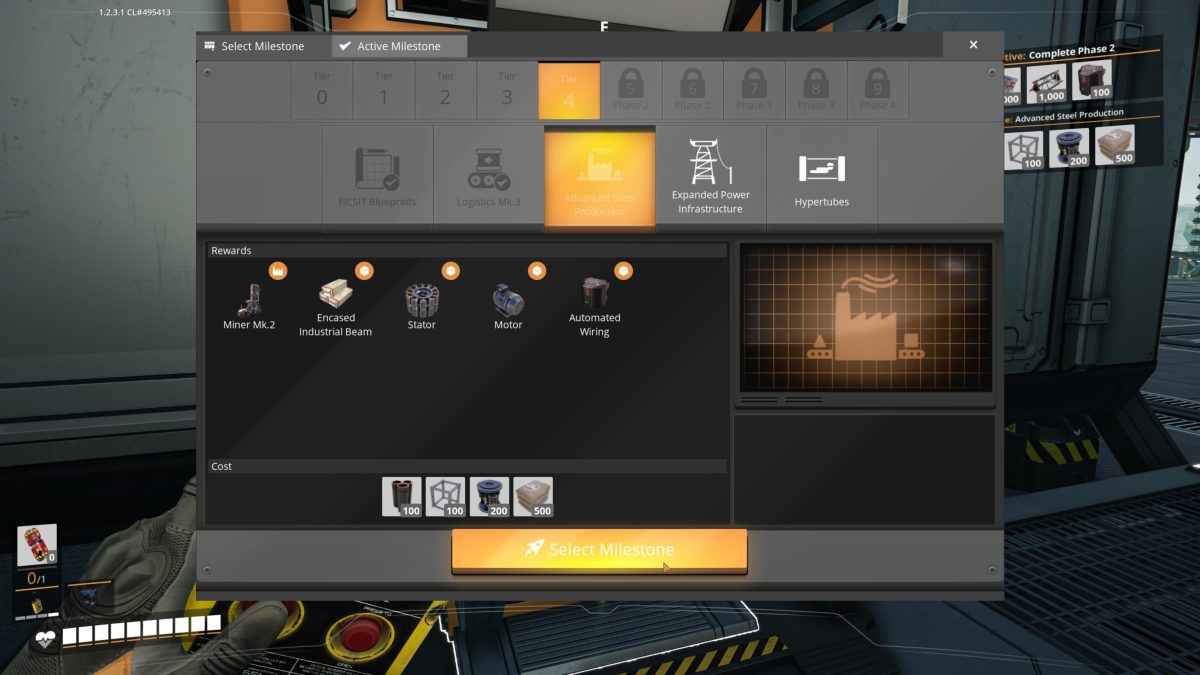
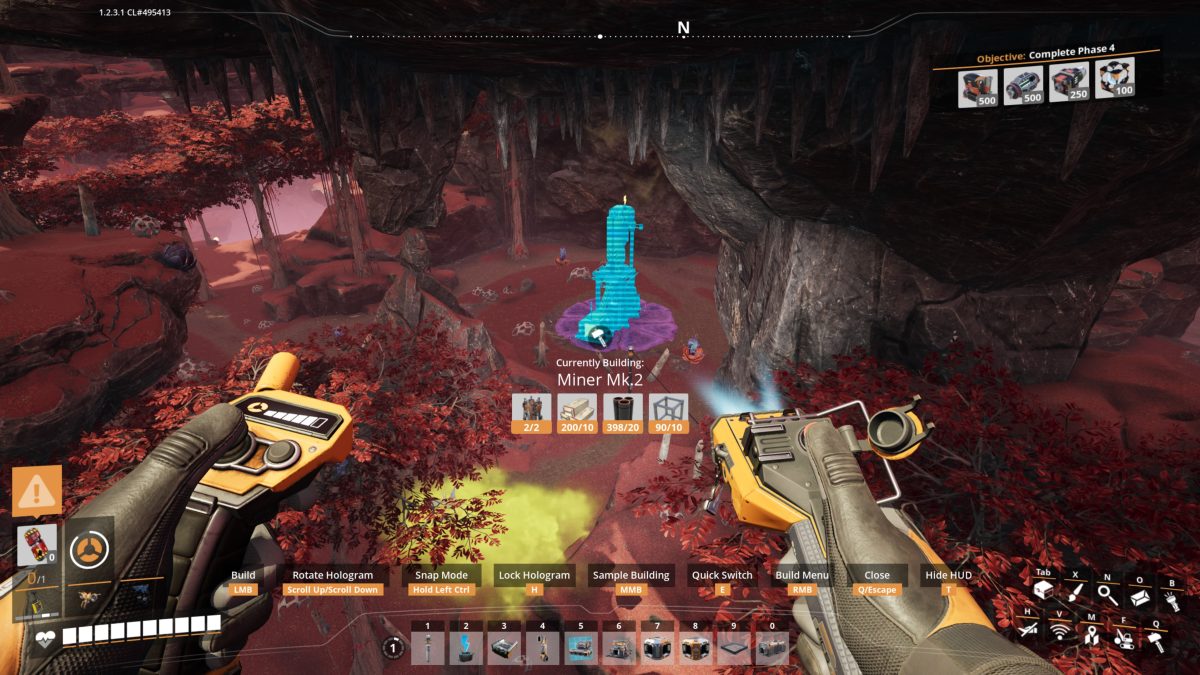
Until this milestone you can’t build a Motor, and plenty of later machines and vehicles need them. The clearest case is the Explorer, the all-terrain buggy on the Quartz research tree: you can research its node well before this point, but you can’t build the vehicle until Motors exist, which happens here. The milestone also brings Miner Mk.2, a faster miner than the Mk.1 you’ve been running, along with the steel parts Encased Industrial Beam, Stator, and Automated Wiring.
Hypertubes
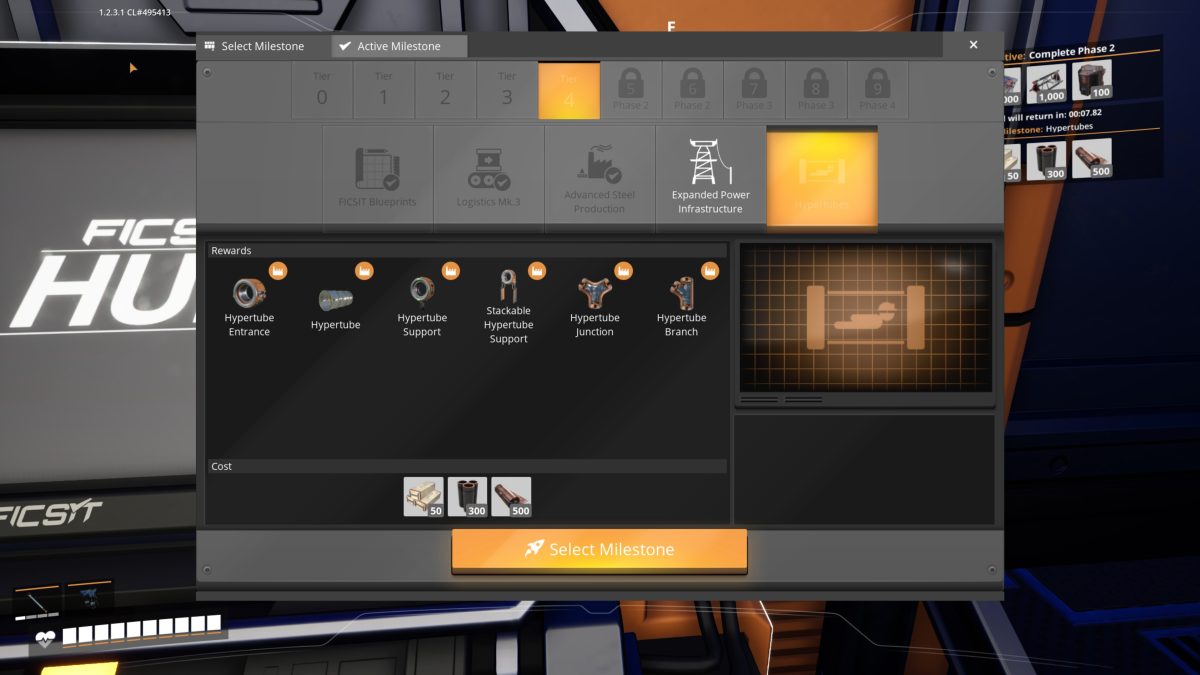
Hypertubes are how you move yourself across the map on foot. You build a network of tubes, step into an entrance, and get launched through them at speed, which saves running the same long routes over and over. The set is the Hypertube itself, the Hypertube Entrance you climb into, regular Hypertube Support and Stackable Hypertube Support to hold the runs up, and the Hypertube Junction and Hypertube Branch for routing the network where it splits. Actually putting a line together is a short job of its own, so it gets its own walkthrough: how to build and use hypertubes.
Expanded Power Infrastructure
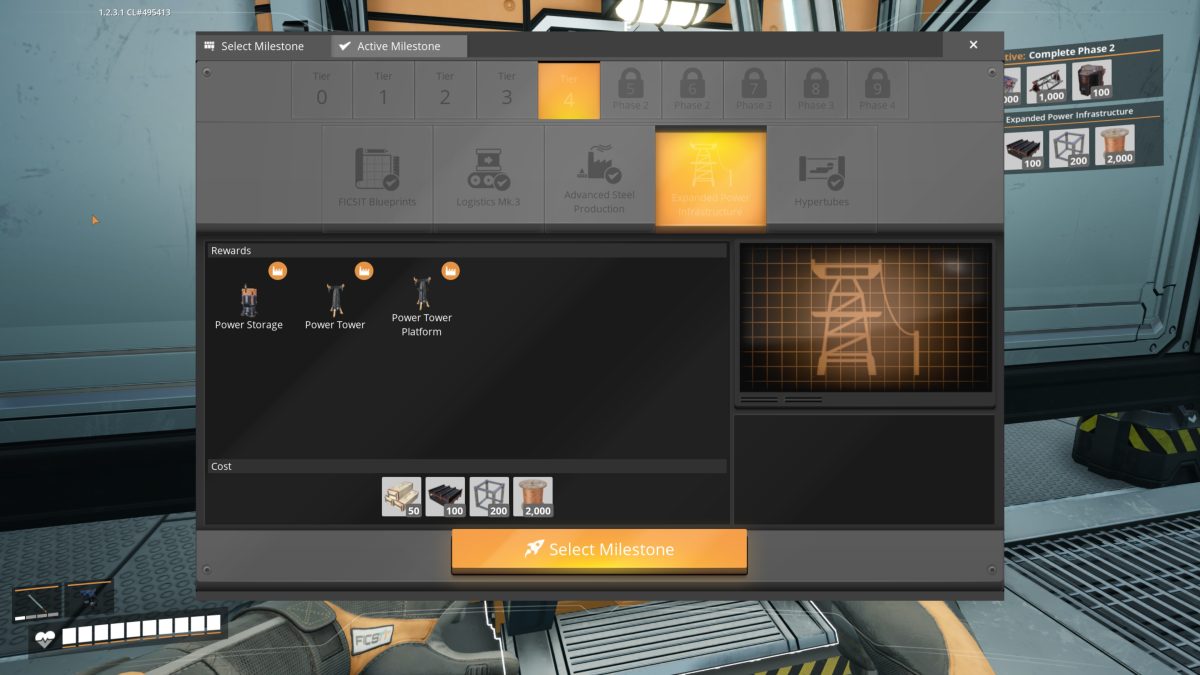
This one is about the power grid. Power Storage is a battery: it charges while you’re producing more than you’re using and discharges when you’re short, so a demand spike draws down the buffer instead of tripping the whole factory. The Power Tower and its Power Tower Platform are for carrying power over long distances, running a high line out to a far-off mining outpost rather than stringing regular poles the whole way.
Keep going: the walkthrough overview lists every part of the series in order.