

Part of the Satisfactory beginner walkthrough. Series overview.
While you’re already in the MAM working the Caterium tree, queue up the Power Slugs tree too. Its first node unlocks the Power Shard, the item you use for overclocking, and researching that first node costs a single Power Slug.
Collecting Power Slugs and Crafting Power Shards
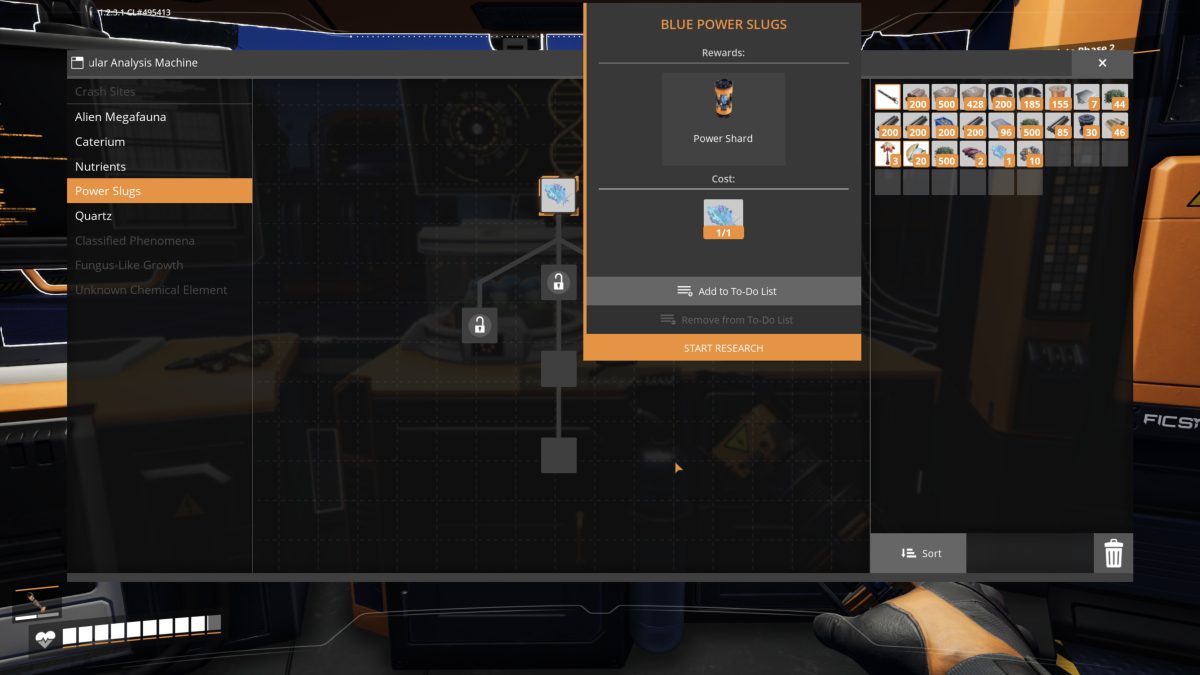
The first node takes just one Blue Power Slug and unlocks the Power Shard. Power Shards are the overclocking item: slot one into a machine to push it past 100% output (once you’ve switched overclocking on, more on that below), which is how you squeeze more out of a good node or a single Assembler without building a second one. Blue is the weakest of the three slug colors (Yellow and Purple come later and are worth more shards each), but blue is what you’ll find first.

You find slugs the same way you find Caterium, by getting out and exploring, and they glow brightly enough to spot from a distance in the dark. There’s no reason not to grab every one you walk past; they don’t spoil, and each one is another Power Shard down the line.
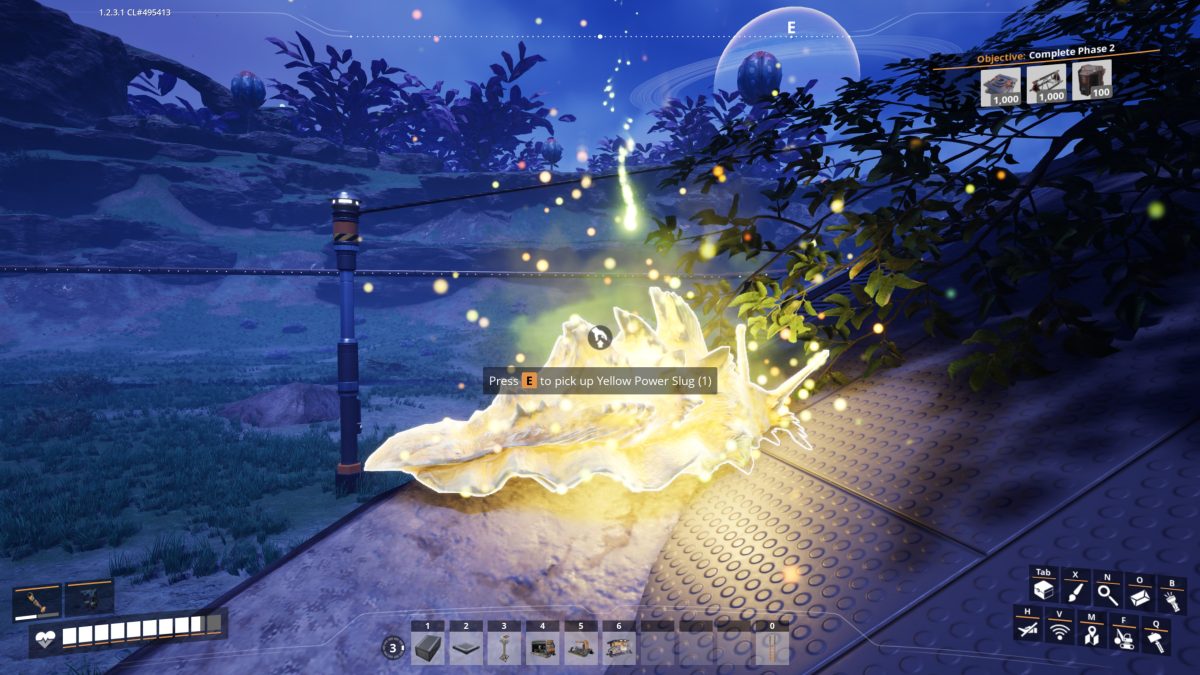
They come in better grades, too. This glowing gold one is a Yellow Power Slug, the middle tier of the three (Blue, then Yellow, then Purple), and it’s worth more Power Shards than a Blue. The higher tiers are rarer and tend to sit in awkward, out-of-the-way spots.
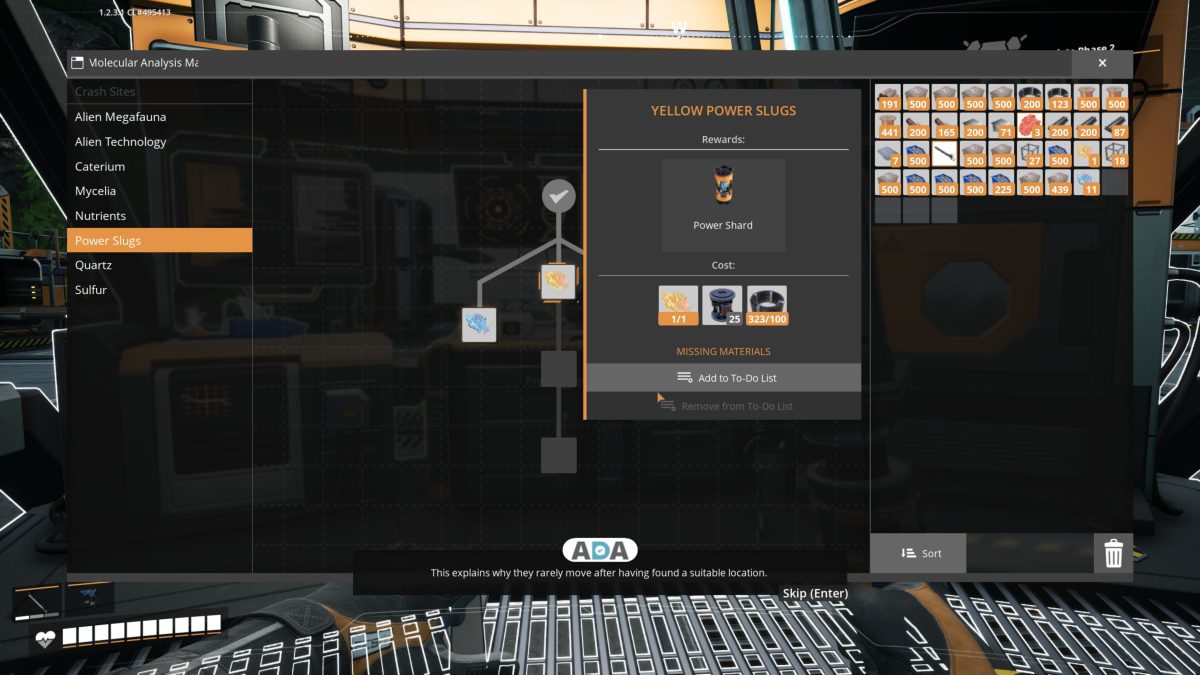
Each slug color gets its own node in the Power Slugs tree, and they climb in price as you go down it. The Blue node earlier wanted a single slug and nothing else; the Yellow Power Slugs node asks for 25 Rotor and 100 Cable alongside the slug. It unlocks turning your Yellow slugs into Power Shards, which is what puts the rarer slugs to use.
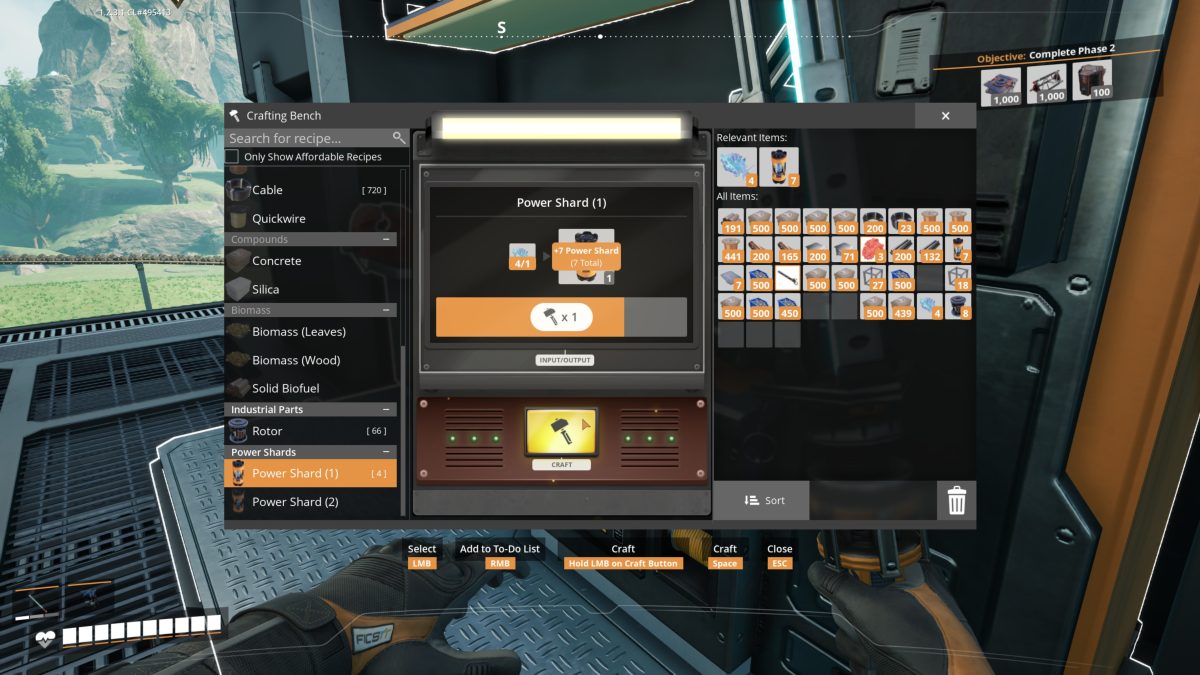
Turning slugs into shards happens at the Crafting Bench, under Power Shards. The base recipe, Power Shard (1), turns a single Blue Power Slug into one Power Shard; the higher-tier slugs use their own recipes, Power Shard (2) and (5), for more shards each. It’s a hand-craft, so a stack of banked slugs becomes a stack of shards in one sitting.
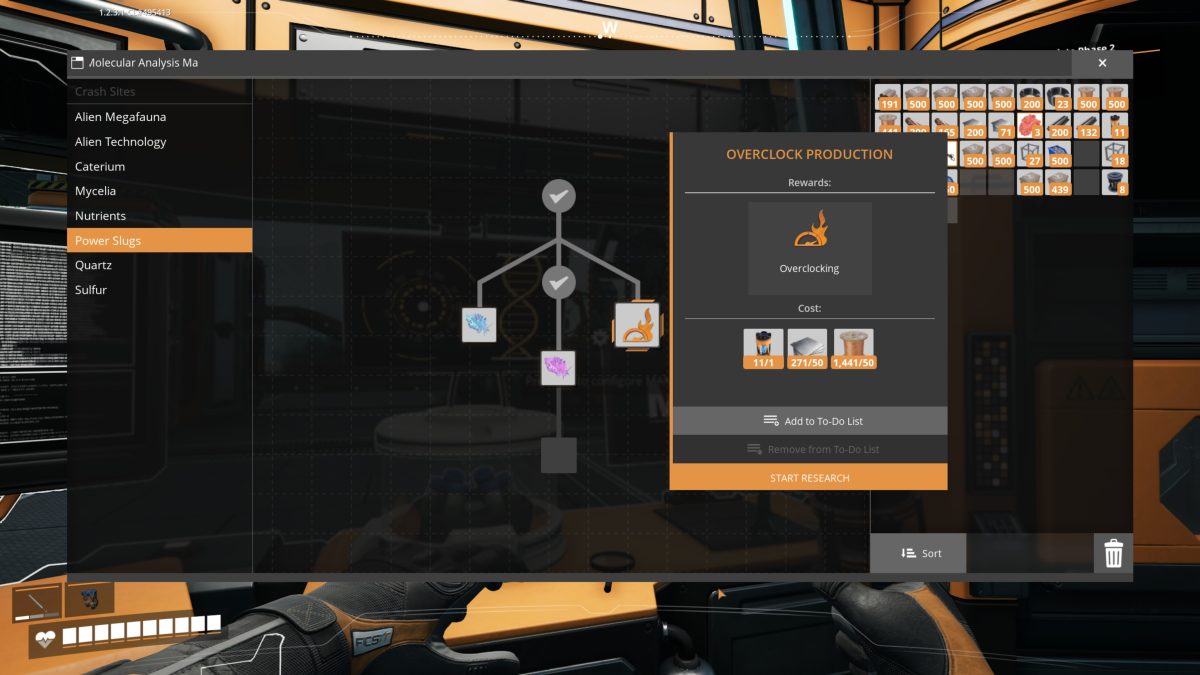
There’s one more node in this tree that actually switches the mechanic on: Overclock Production. Having Power Shards isn’t enough by itself; this node unlocks overclocking, the ability to slot a shard into a machine and run it past 100%. It costs 1 Power Shard, 50 Iron Plate, and 50 Wire.
Here’s overclocking on a real machine. Open a machine’s panel, drop Power Shards into the overclock slots, and the Clock Speed climbs in 50% steps: one shard takes it to 150%, two to 200%, three to the 250% cap. This Miner is running at 200% on a pair of shards, so it’s pulling 60 Iron Ore a minute, twice what it made at 100%. The trade is power draw, which climbs with the clock.

Later: making shards without slugs
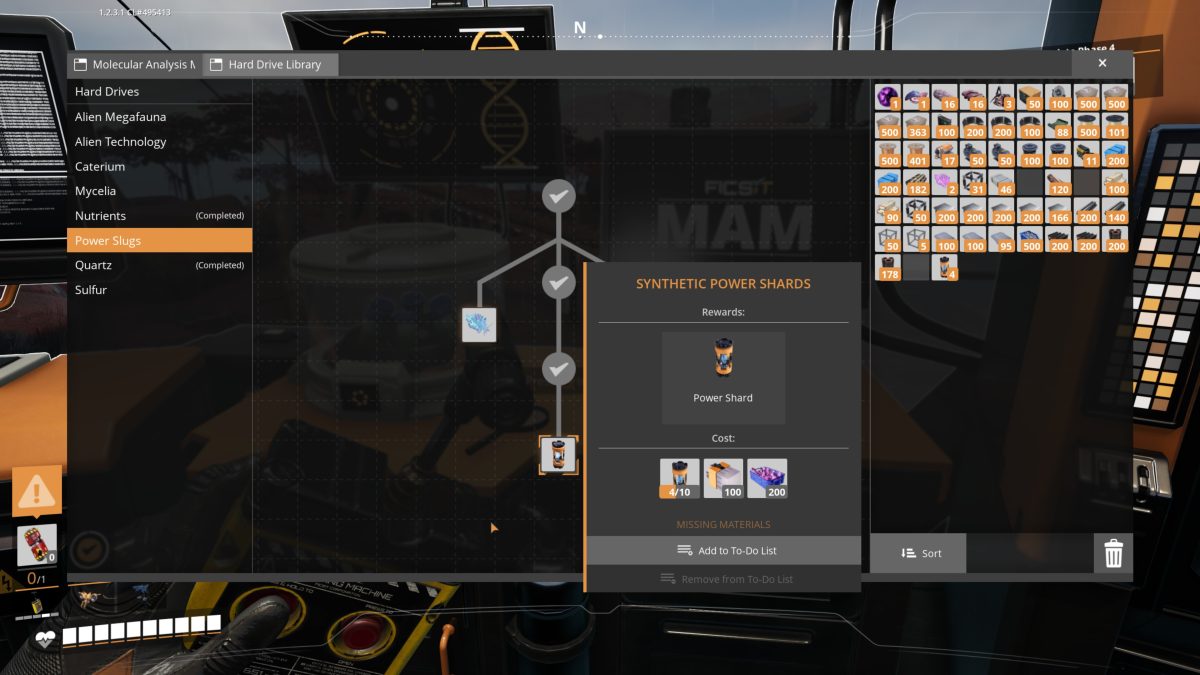
Slugs are finite, and once you’re overclocking a whole factory you’ll burn through your stockpile. The Power Slugs tree has an answer near the bottom, the Synthetic Power Shards node, which unlocks a recipe that manufactures Power Shards from late-game quantum materials (Time Crystals, Dark Matter, and Quartz Crystal) in a Quantum Encoder rather than from raw slugs. It’s a deep endgame unlock, so it’s a long way off.
The walkthrough overview has the rest of the series in order.
Keep going: the walkthrough overview lists every part of the series in order.