
Subnautica: Exploring the Large Wreck Near Lifepod 17
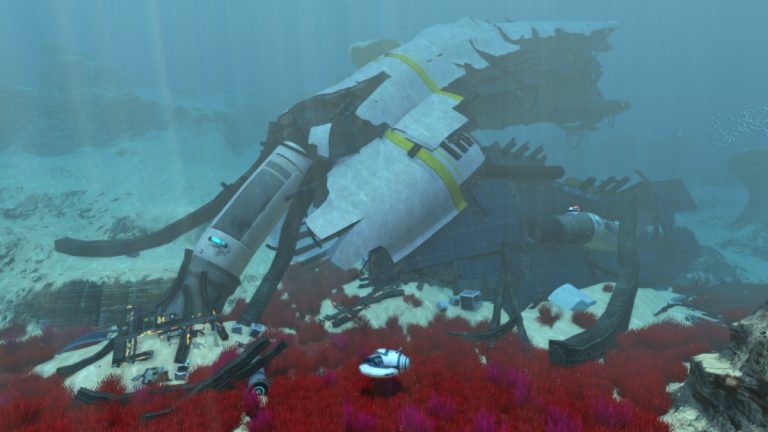
The visit to Lifepod 17 leads the player to a massive piece of nearby wreckage from the Aurora. This large wreck can be a challenge to explore but yields a number of important new blueprints.
The visit to Lifepod 17 leads the player to a massive piece of nearby wreckage from the Aurora. This large wreck can be a challenge to explore but yields a number of important new blueprints.
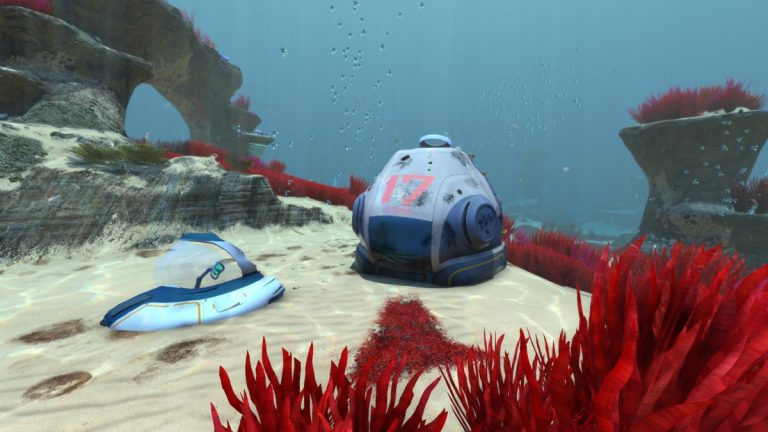
After Lifepod 3, Lifepod 17 is the next shallowest one at 100m. It sits in a Grassy Plateaus biome, not far from a large piece of wreckage from the Aurora.
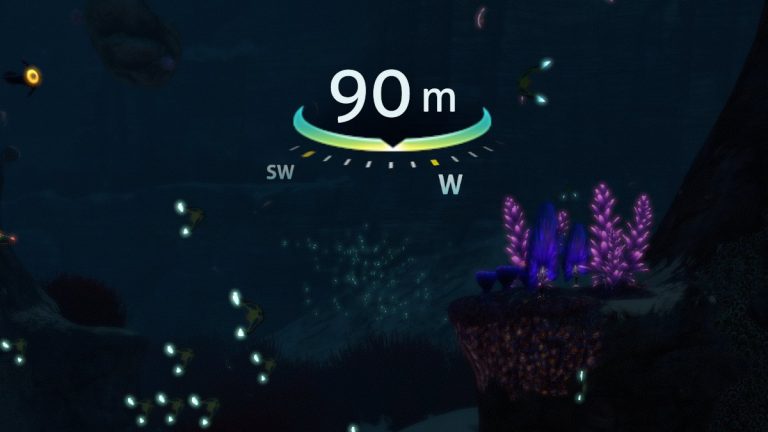
In addition to aiding in navigation around the map, the Compass is helpful for making use of the in-game clues that mention cardinal directions, including the location of Lifepod 4, Lifepod 6, and Lifepod 7.
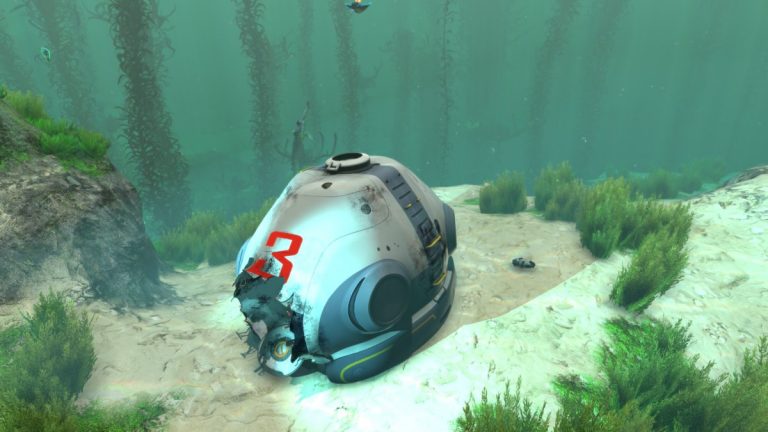
Of the sunken lifepods, Lifepod 3 is at the shallowest location, just 18m deep. Notable rewards for visiting it are the Compass blueprint and the Seaglide and Mobile Vehicle Bay fragments scattered around the area.

In Subnautica, the player is guided to important discoveries through story line cues. One of the earliest examples of this is the task of seeking out the other lifepods, as prompted by radio messages.
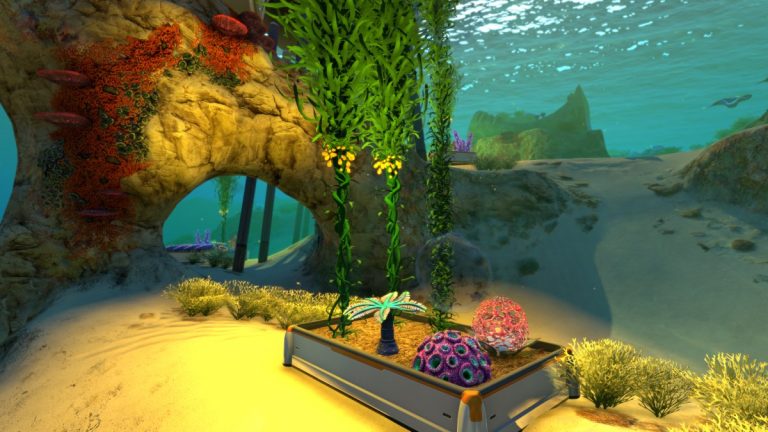
Since most of the Subnautica map is underwater, the Exterior Growbed will most often be used for farming aquatic plants – but it can also be placed on any surface above the water to grow terrestrial plants.
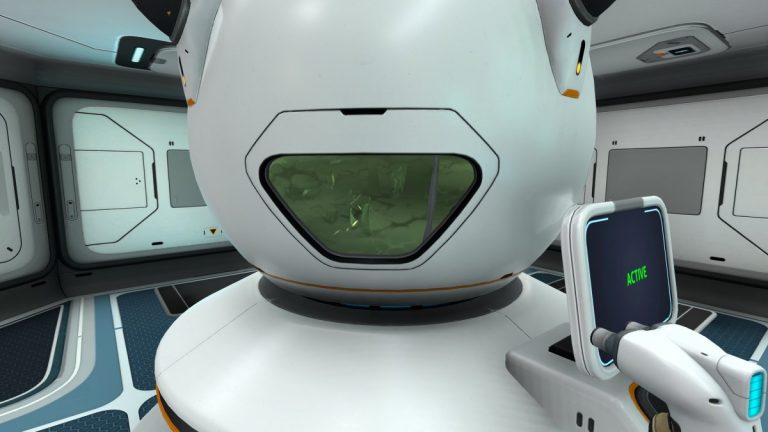
The Bioreactor converts any biological material into power for your Seabase, providing an endless source of free power as long as someone is around to keep feeding it material occasionally.
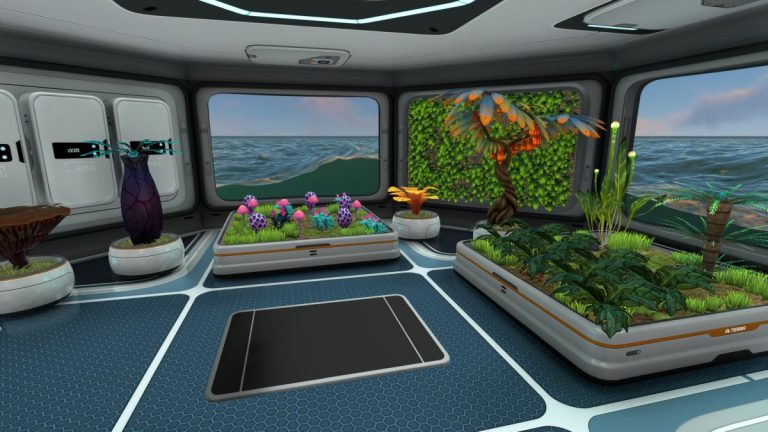
The big payoff from venturing out to the Floating Island is that we now have the pieces needed to start farming food in the Seabase. Edible plants also provide a source of H2O, meaning that as long as you’re in…
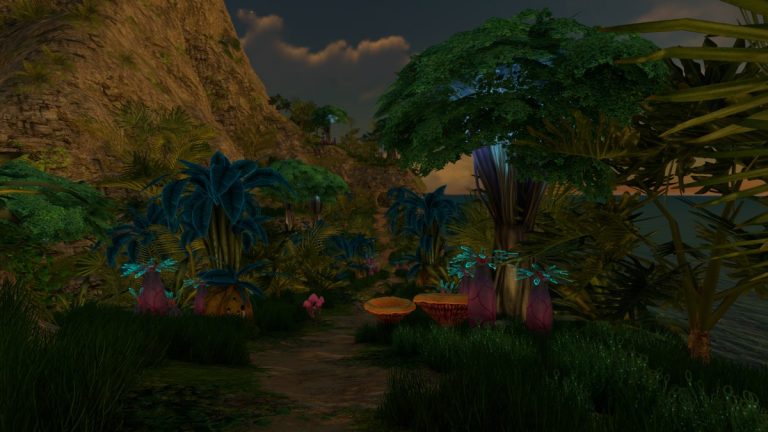
Now that you’ve reached the Floating Island, it’s time to start exploring it. There a lot to see and do on the island, but this guide will focus on basic goals for your first visit that will enable you to…
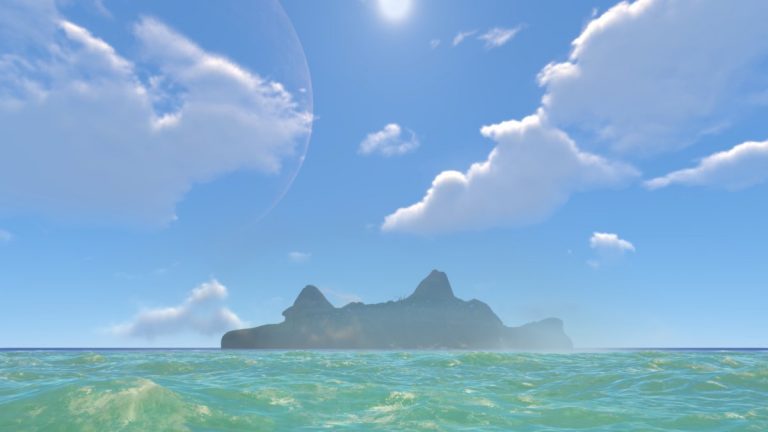
Once you’ve acquired the Seamoth, a run to the Floating Island should be your first road trip as it is key to unlocking your ability to farm your own food, which also helps reduce your need to drink bottled water.
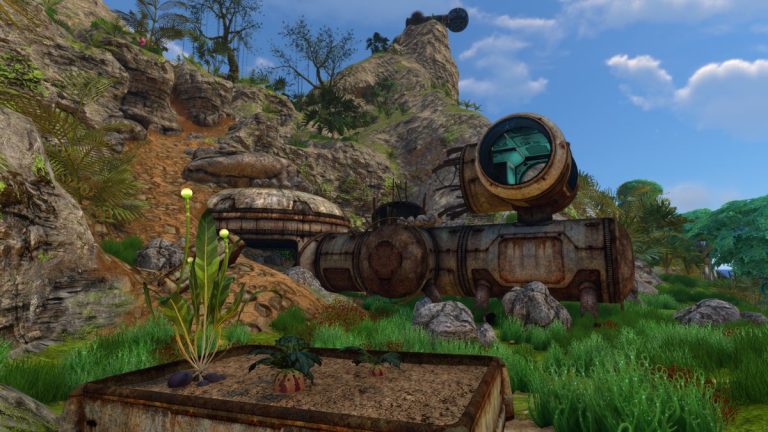
This tutorial picks up where the early game tutorial ends – right after acquisition of the Seamoth. Early game was mostly focused on close-range exploration, getting basic tools built and basic survival needs met. Mid-game, enabled by the use of…
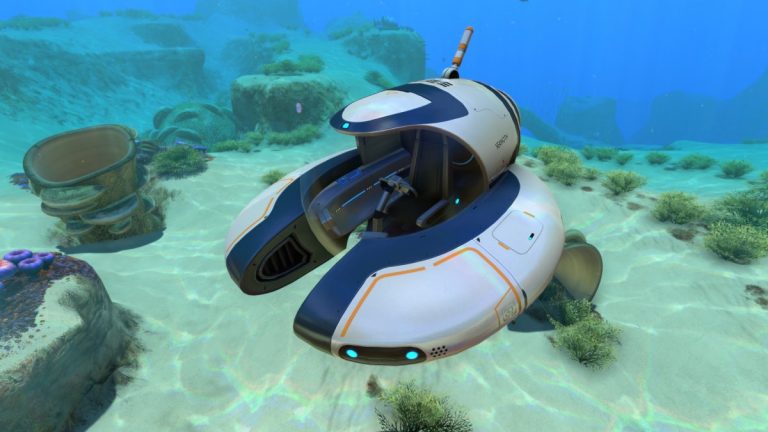
The Seamoth submersible vehicle is one of the most game-changing items that can be acquired in Subnautica. It allows the player to quickly reach and return from distant parts of the map, and to explore deep underwater without ever worrying…
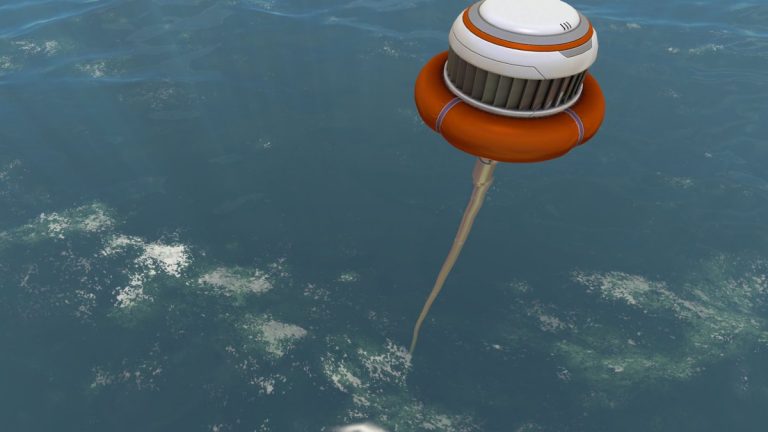
Exploring the Grassy Plateaus presents some new challenges because of the depth of the seabed. The Floating Air Pump and Pipes can be very helpful in this early stage of the game where you don’t yet have more convenient options…
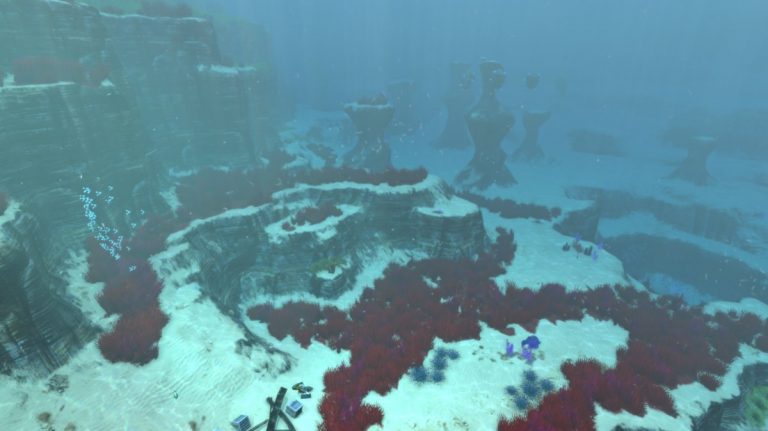
Up to this point in the tutorial, everything that’s been covered can be accomplished within a 300 meter radius of your Lifepod. During this early game exploration we’ve come across the first two biomes of Subnautica: The Safe Shallows and…
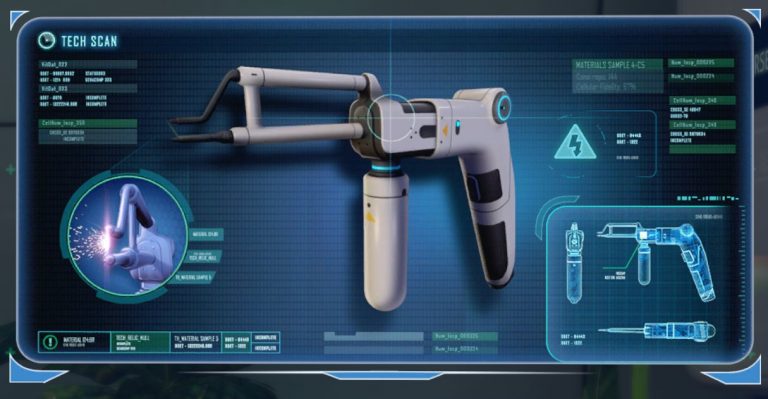
The Repair Tool and Radiation Suit are two items that I’ve deliberately put off until later in the tutorial, despite being somewhat early-game items in terms of the materials needed in order to fabricate them.