

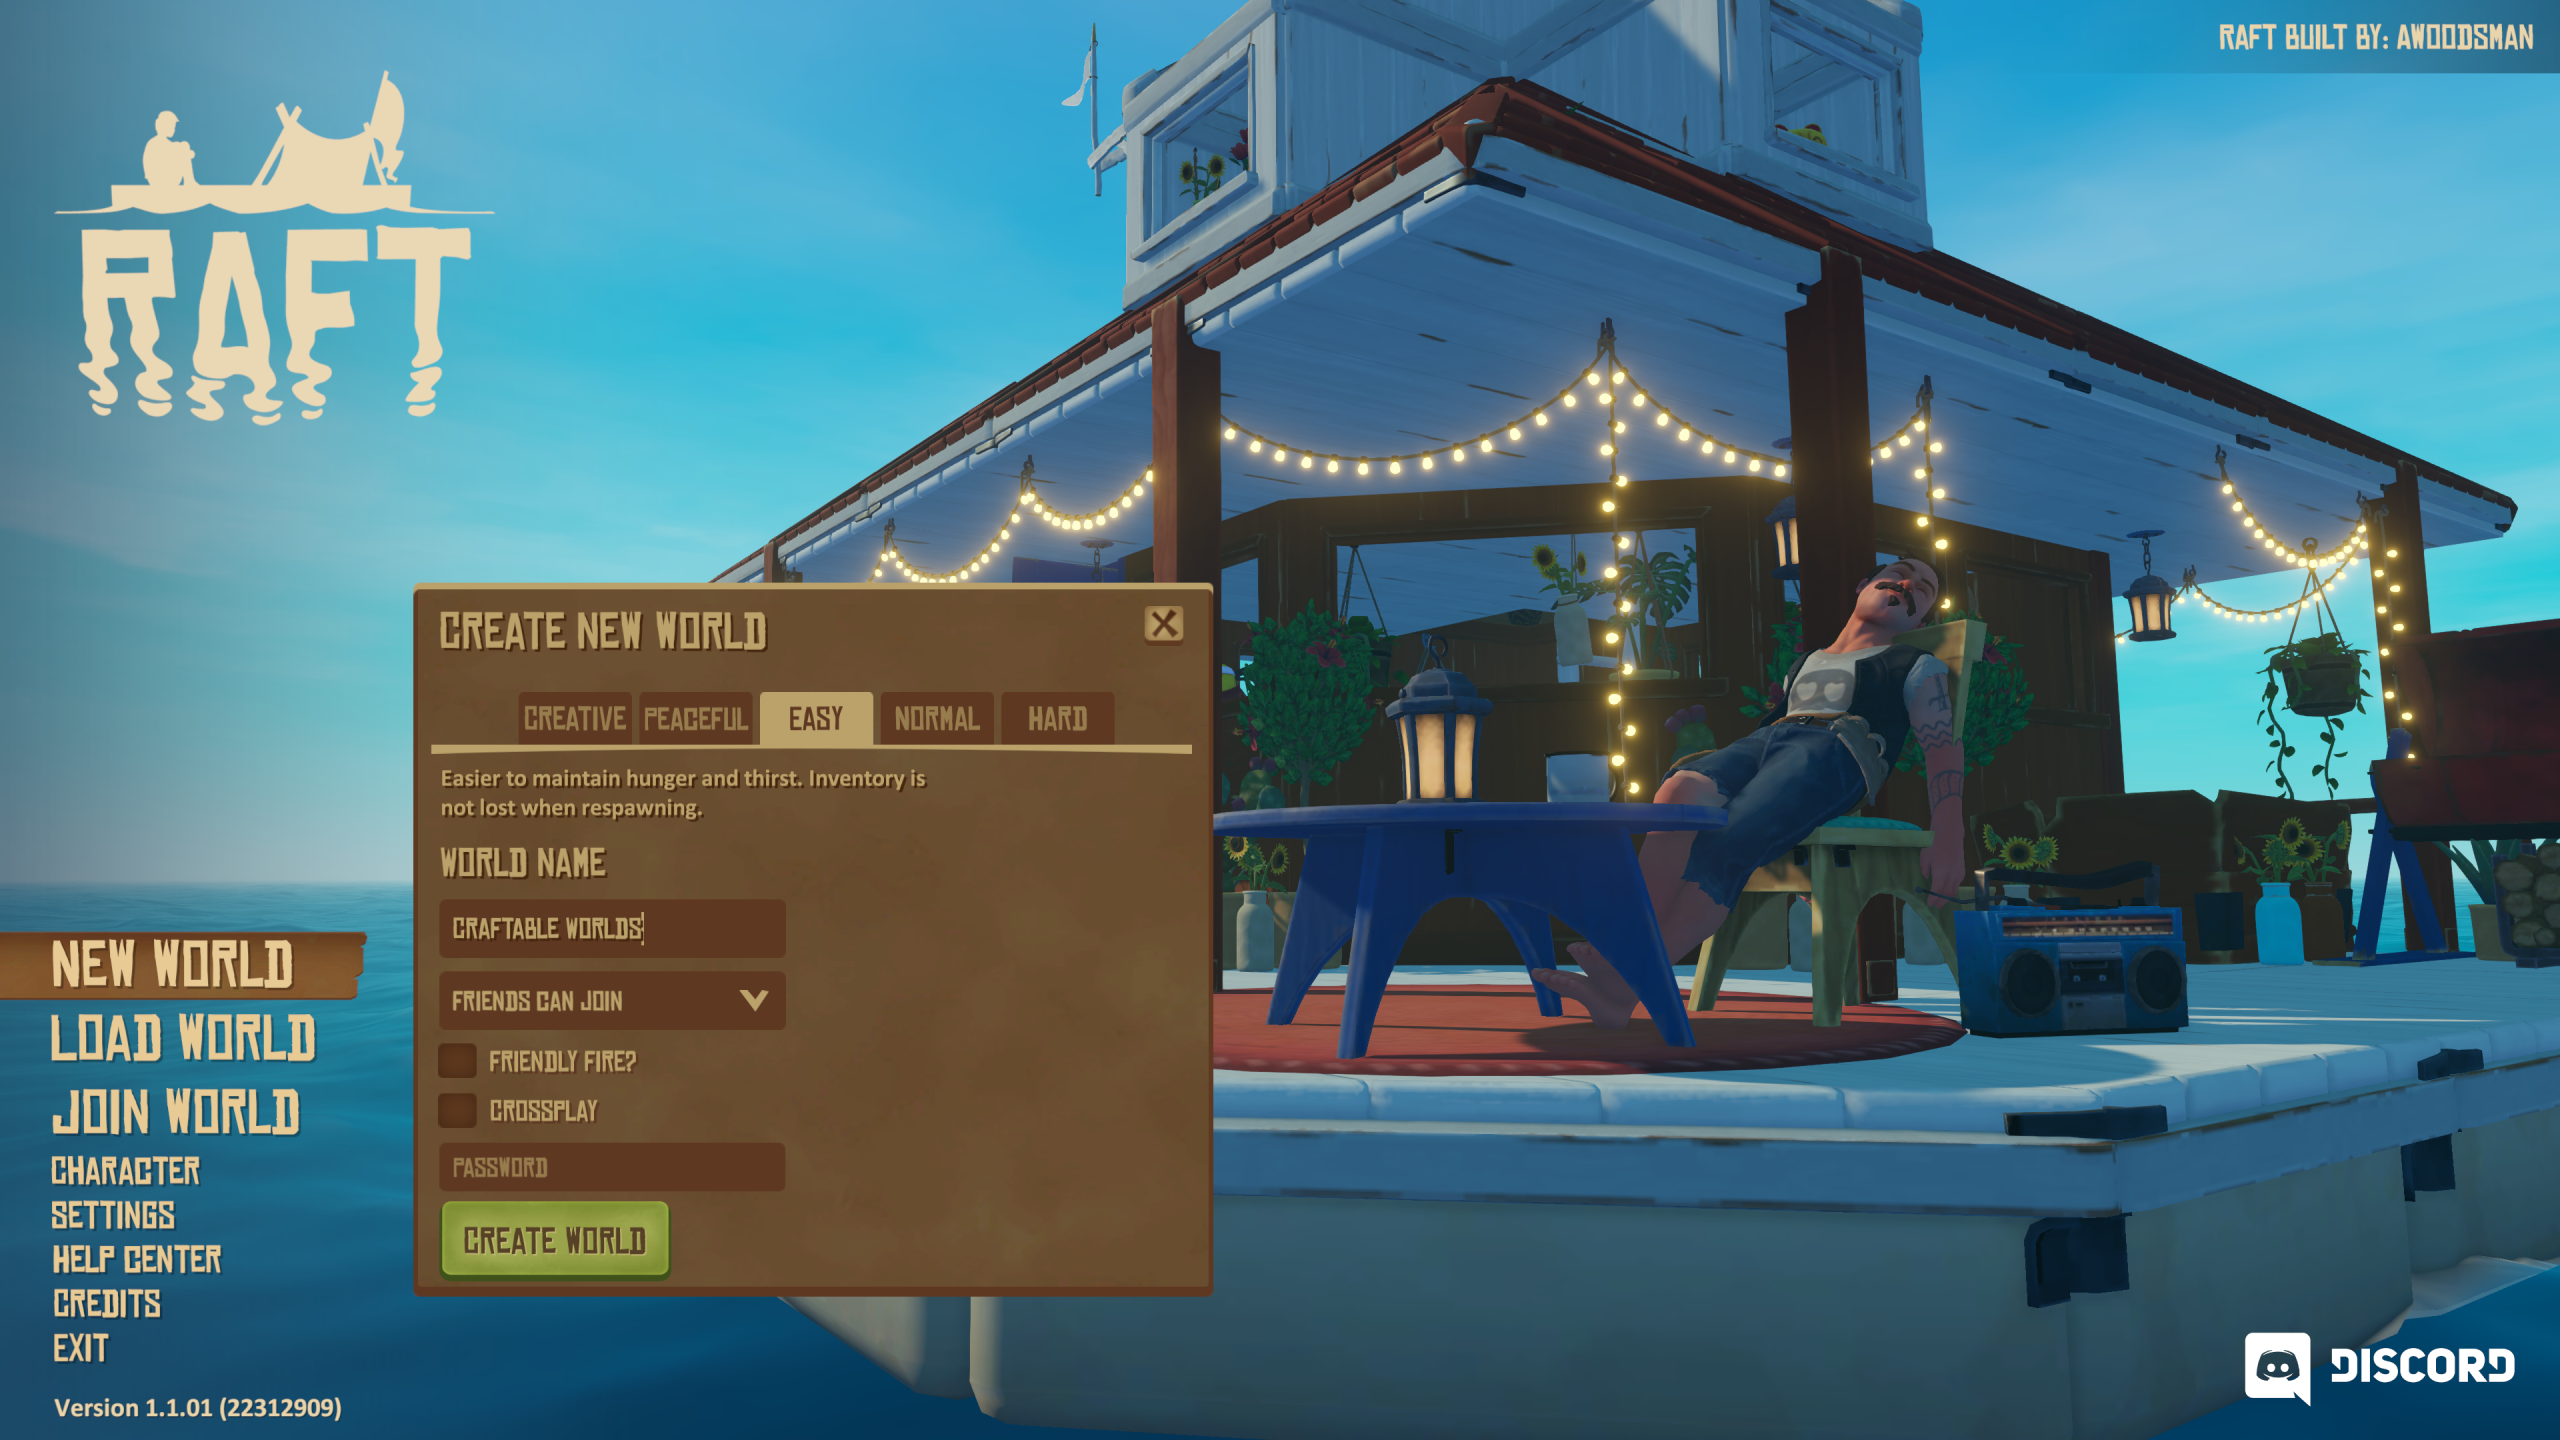
We started a fresh world for this series. Two of the setup choices are worth getting right.
Choose Easy mode. Raft has five modes: Creative, Peaceful, Easy, Normal, and Hard. On Normal, hunger and thirst drain aggressively, which makes the opening rough while you’re still scrambling for your first food and water. It stays a risk later, too: get absorbed in a big raft build and it’s easy to starve or run dry without noticing. Easy eases off both meters and lets you keep your inventory when you respawn, so we used it for the whole series to keep the guides about building rather than managing the meters.
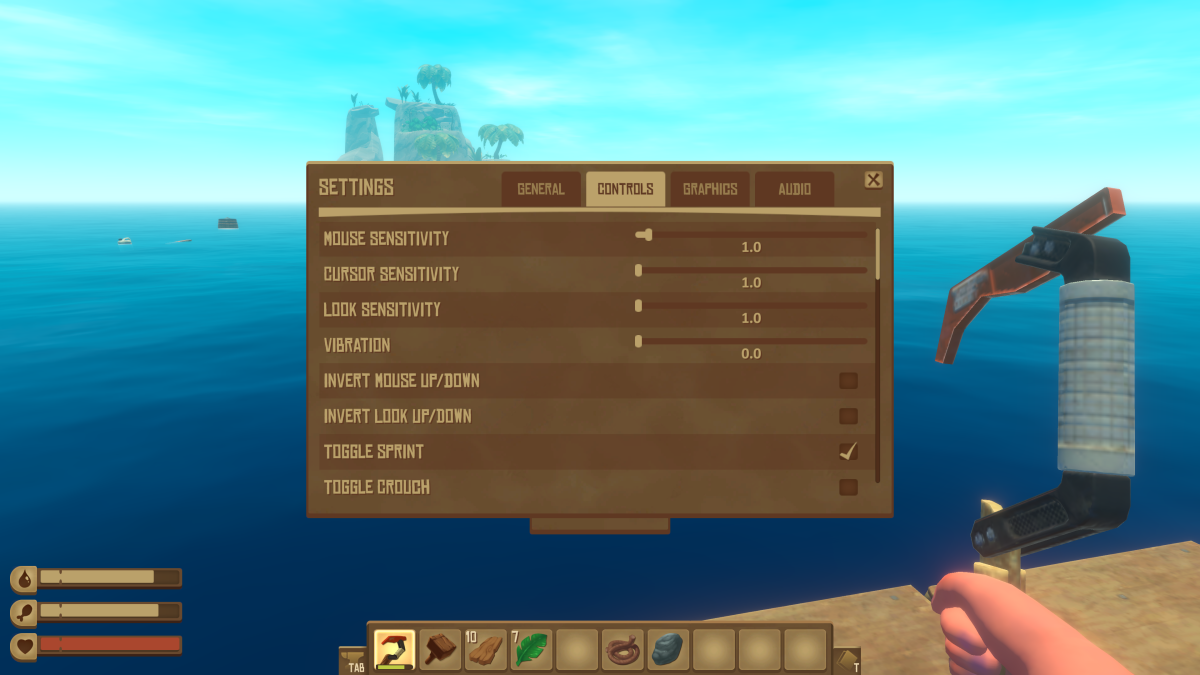
Change one control setting first: Toggle Sprint
Before you get moving, open Settings and go to the Controls tab. Find Toggle Sprint and check it on. Out of the box, sprinting means holding Shift down the entire time you want to run. With Toggle Sprint enabled, you tap Shift once to switch sprinting on and tap it again to switch it off, so you’re not holding a key down the whole time you move around the raft.
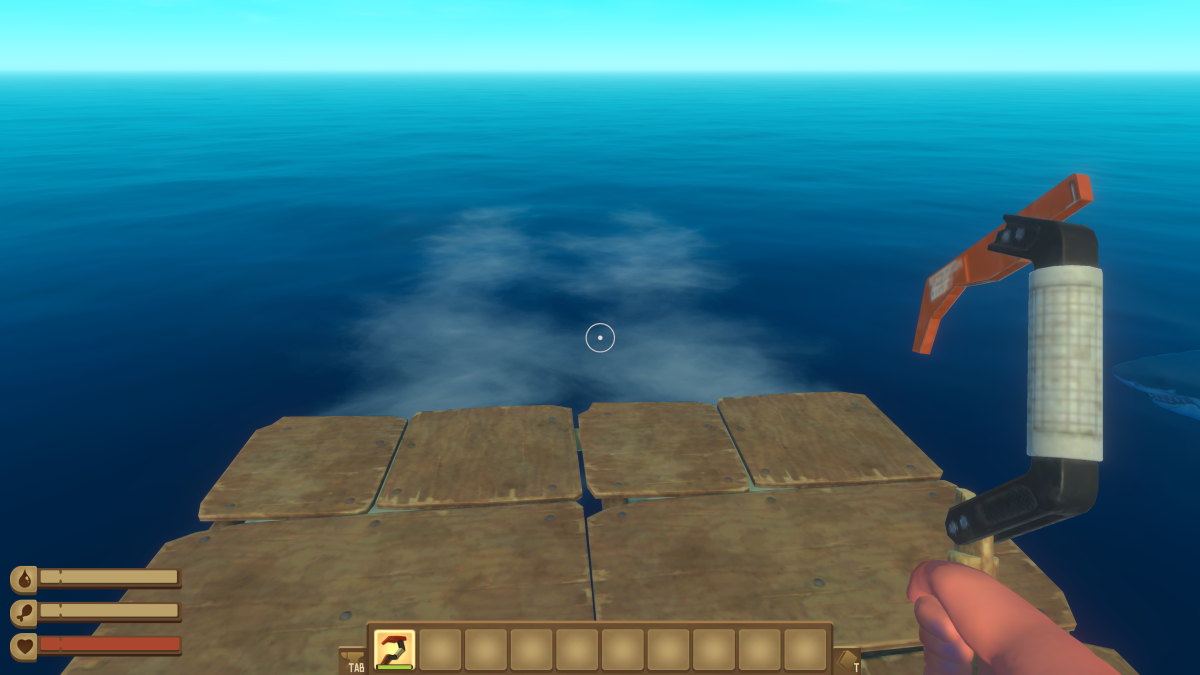
Which way are you drifting? Watch the wake
Your raft is never really still. It’s always creeping along with the current, which is how new debris keeps arriving. If you ever lose your bearings, look off the back edge: the foamy white trail in the water is your wake, and it points back the way you came. Whatever lies ahead of that trail is the direction you’re heading, which is also where fresh debris and the first islands will show up.
Your first minutes: hook everything that floats
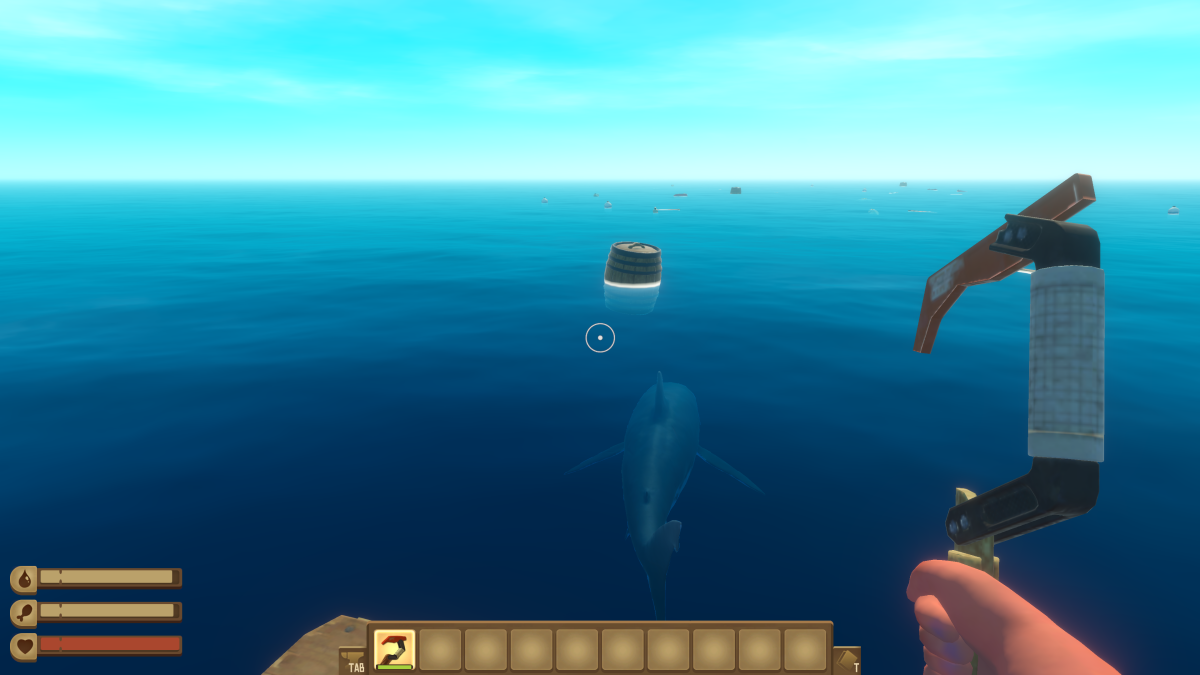
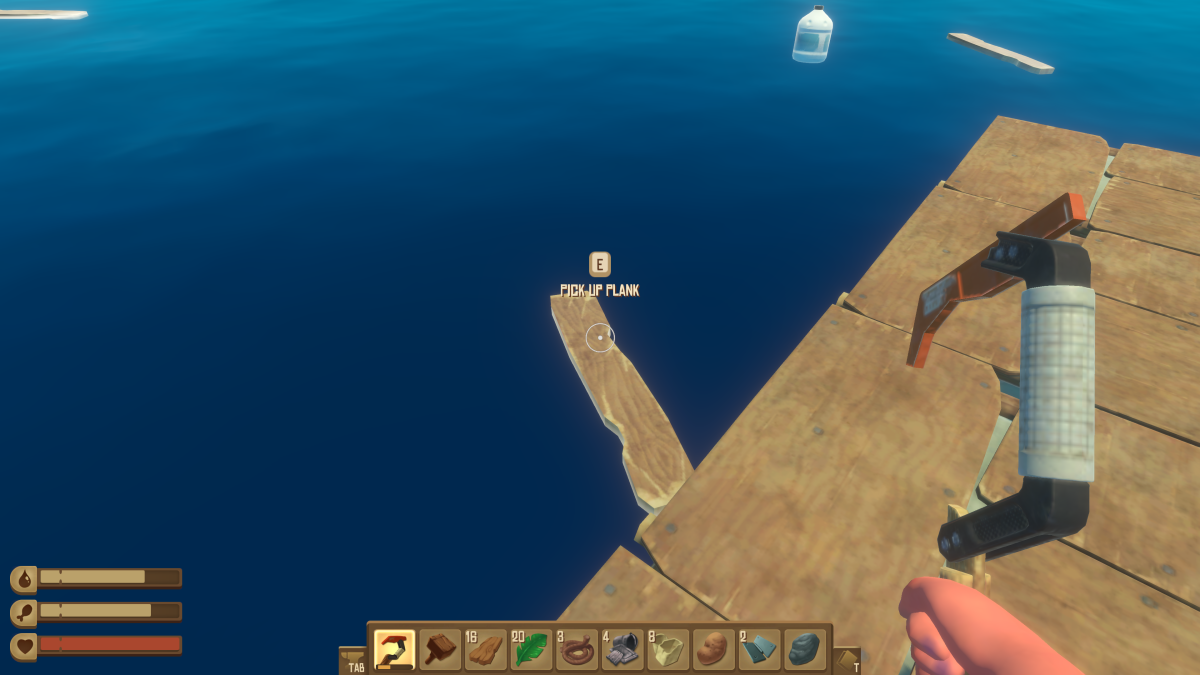
You wake up on the 2×2 starting raft with a Plastic Hook and nothing else. The current constantly pushes debris your way, and all of it is raw material. There are two ways to bring it in: point at a floating item and throw the hook to reel it back to you, or, once something has drifted within arm’s reach, look right at it and press E to grab it directly.
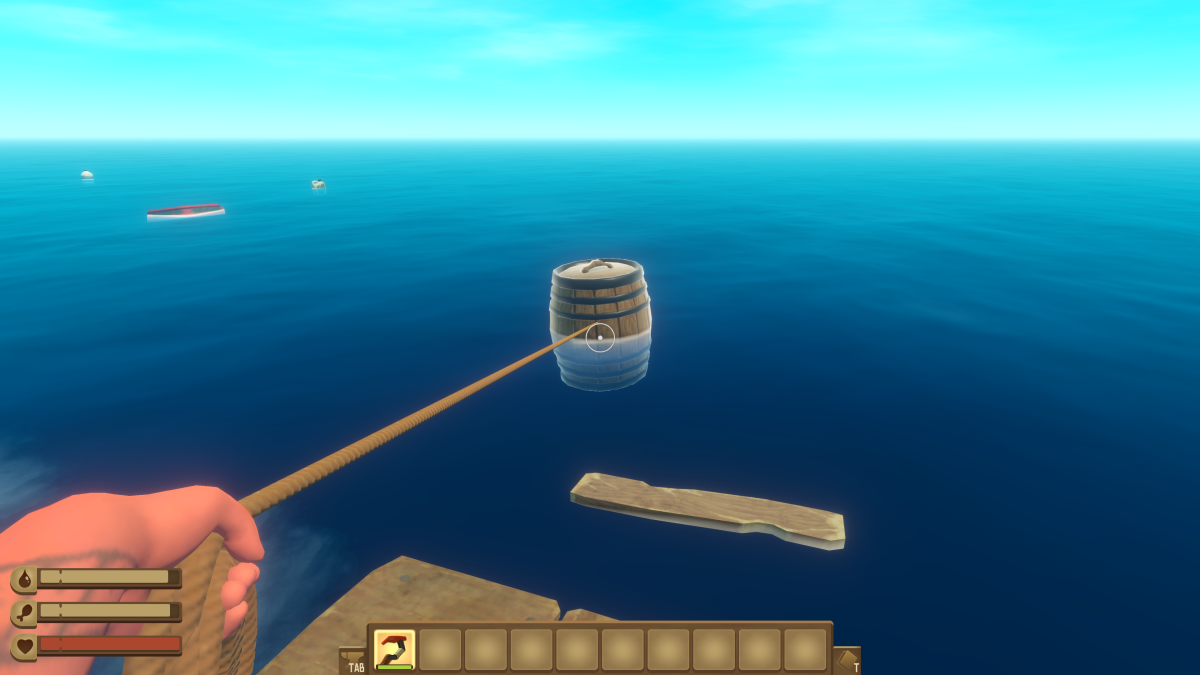
Grab all of it. In the earliest game, flotsam is your entire supply chain. This is what you’re collecting and what each piece is for:
- Wood / Planks – used in almost every build and tool.
- Plastic – needed for a huge range of recipes, so never pass it up.
- Palm Leaves – a few recipes use them directly, but they’re mostly turned into Rope, which you’ll never seem to have enough of.
Make sure to prioritize barrels and crates as they carry items you won’t find floating on their own: Raw Beet, Raw Potato, Scrap, Rope, Stone, Decoration Package, and Blueprint: Receiver. Scrap is used directly and also crafted into Nails, which makes Rope and Nails together your early essentials. Raw Potato and Raw Beet are near-interchangeable vegetables and your easiest early food: grill them on a Simple Grill and you can often defer building a Fishing Rod for a while, saving your leaves and rope for more important uses like crafting Simple Collection Nets.
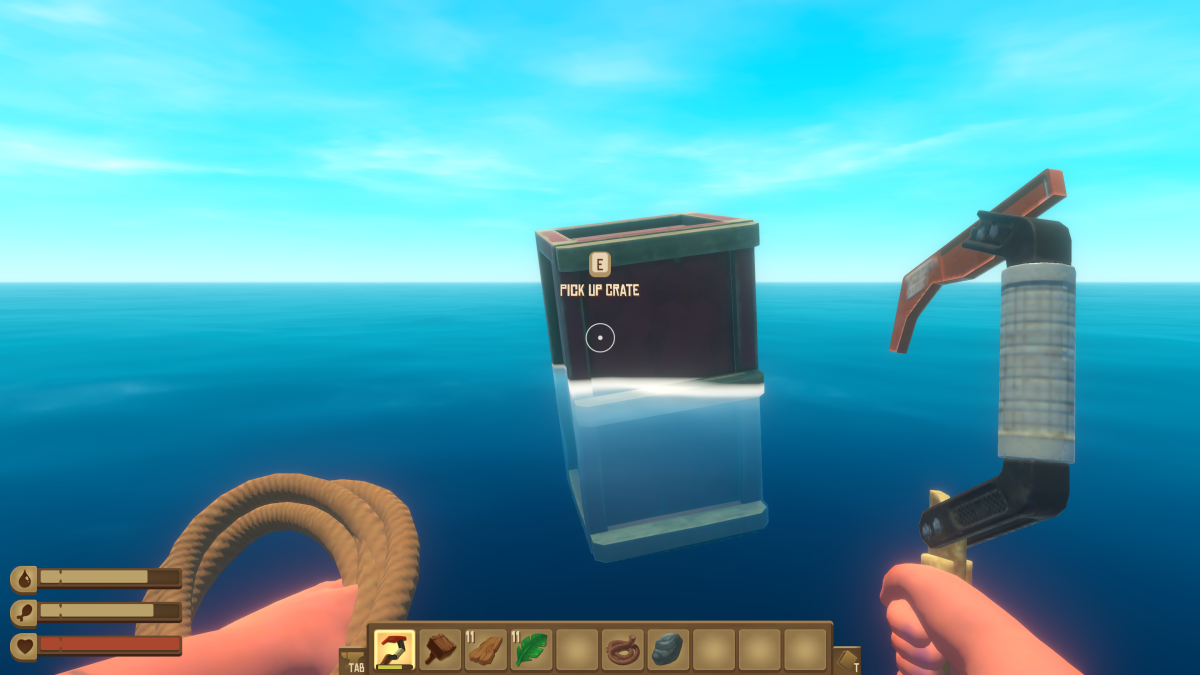
The hook keeps you safe on deck, and for most flotsam that’s all you need. Every so often, though, something useful drifts just out of hook range, and it’s perfectly fine to jump in and swim for it. The shark will take a bite out of you, yes, but your health regenerates on its own over time as long as you stay fed and hydrated (hunger and thirst above zero), so a bite or two is a fair trade. Let those meters bottom out, though, and the regen stops. Don’t get greedy, though: getting bitten several times in a single swim is how a quick dive ends in a respawn.
Debris doesn’t wait, so hook it as it passes or watch it drift out of reach. And the shark doesn’t only bother swimmers: it’ll start biting chunks out of the raft itself.
There’s a reason to be a little stingy with your Rope and Nails rather than pouring every scrap into foundations: they’re the limiting ingredients for Simple Collection Nets, and Rope especially is the bottleneck while you build the nets out. Once they’re running, the leaves and crates they haul in keep you in rope, so the crunch is temporary. A Collection Net can be placed anywhere on the raft and pulls in flotsam automatically, holding up to ten items before you need to empty it. Build a few and the ocean starts doing the collecting for you, and we like to keep ours tucked behind a row of foundation blocks so the shark chews the foundation blocks instead of the nets. Getting nets running is the first real goal.
First tool to craft: the Building Hammer
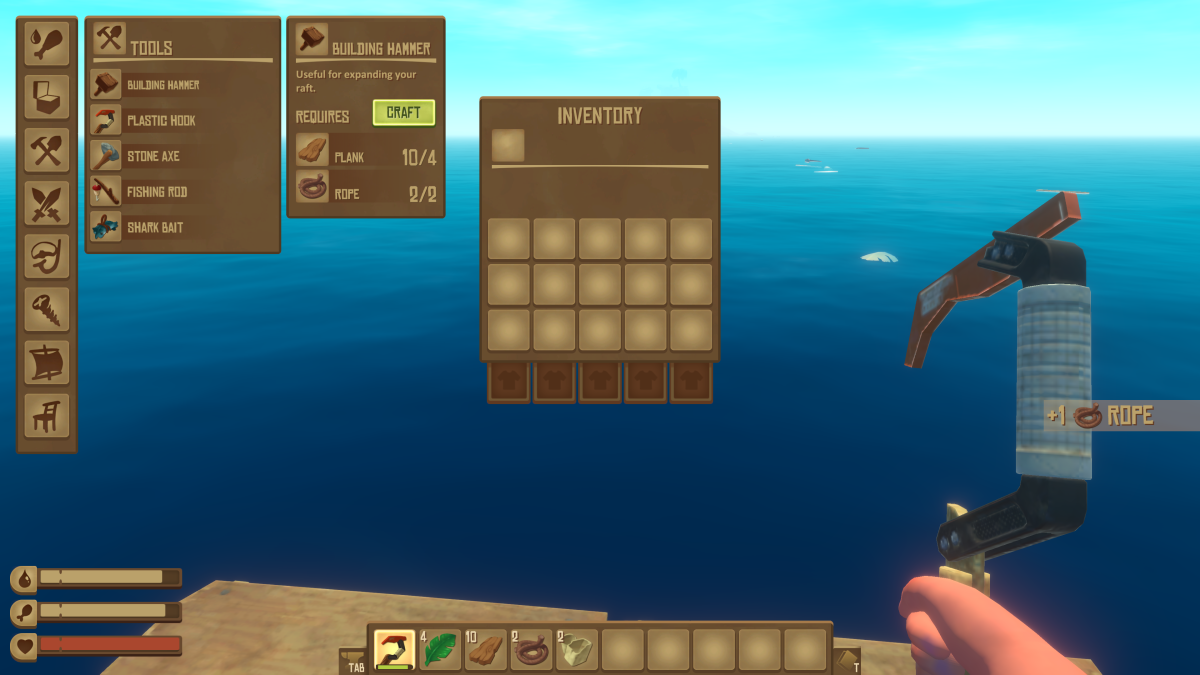
Press Tab to open your inventory and the crafting menu, then look under the Tools tab. The first thing to make is the Building Hammer, described in-game as “useful for expanding your raft.” It costs four Planks and two Rope. You craft Rope from Palm Leaves, which is why you never pass up a palm leaf. Build the hammer and you can finally start expanding the raft.
Expand the raft
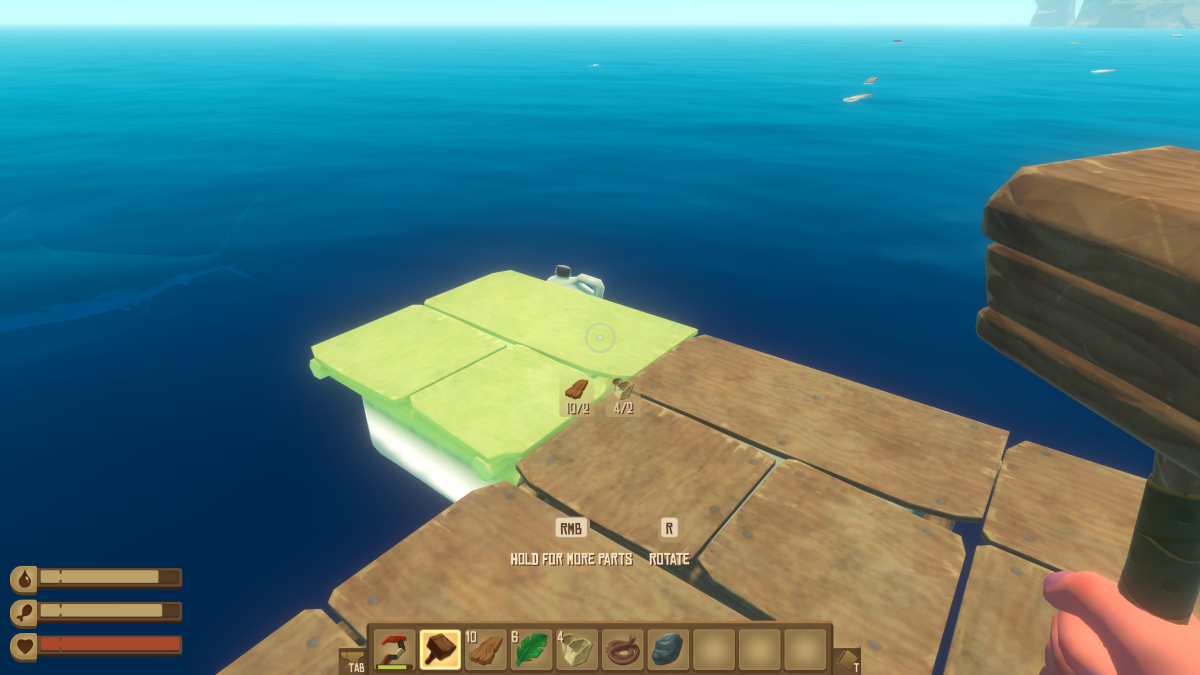
You use the Building Hammer to place foundations, so this is where the raft starts to grow. Equip it and you get a green ghost preview showing where the next foundation tile will snap into place. Each foundation costs two planks and two plastic. Hold right mouse to cycle through the other parts you can place, and press R to rotate a piece before you set it down. Lay out a few foundation squares to give yourself elbow room, then start planning what goes on top: a Research Table to learn more recipes, a Simple Grill to cook food, and a Purifier to turn seawater into something you can drink. Those are the next milestones, and we’ll get to each of them.
Build wide, and build wide early
The habit to pick up right away is to build the raft out to both sides, as wide as you can, as early as you can. Spend your gathered wood and plastic on foundations running left and right instead of hoarding the materials. The reason is the current. Flotsam streams toward the front of your raft in a broad band, and a narrow raft only catches the thin sliver of it directly ahead of you. A wide raft gives you a long front edge to work: you run back and forth along it, hooking planks, plastic, and barrels as they arrive. Every pass hauls in more material to build even wider, which catches even more flotsam, which builds it wider still. It snowballs quickly, so a raft you build wide early never runs short on materials.
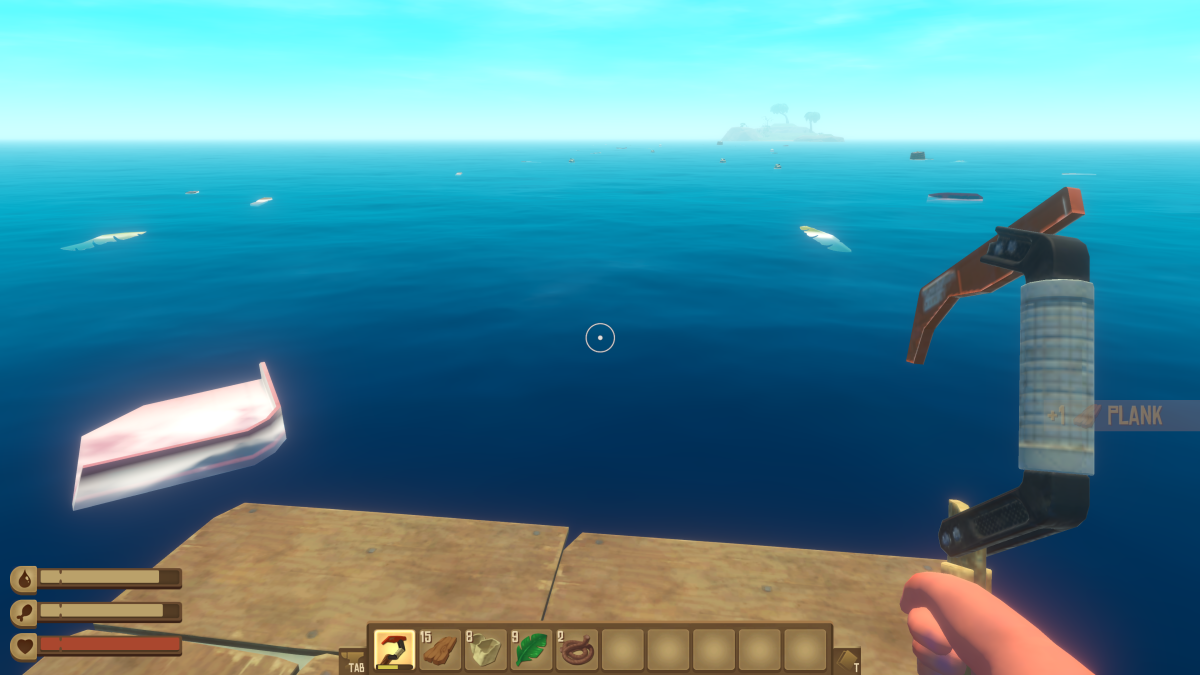
There’s a simple shape that works. Your raft starts as a 2×2 block of four foundation squares, and that original block is effectively the center of everything you build. Instead of stretching off in one direction, extend “wings” out to both sides of your front two squares, growing evenly left and right so the whole thing stays balanced around that original center. Keep feeding those wings and the raft gets wider without becoming lopsided and hard to manage.
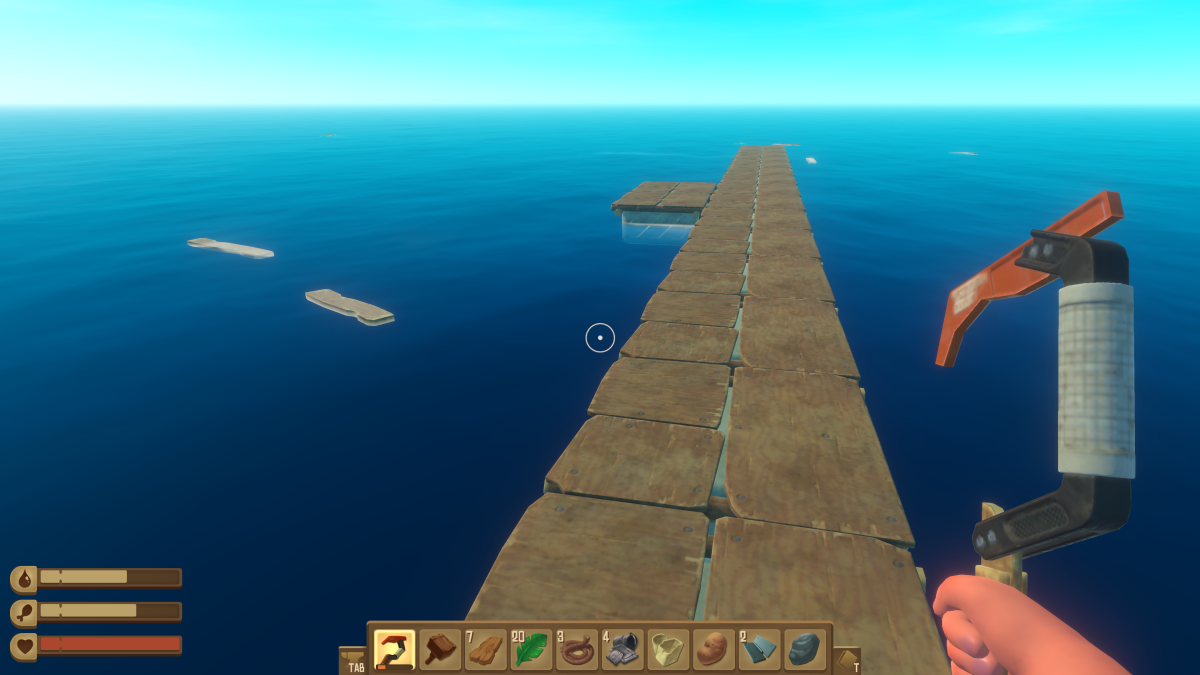
A wide raft also collects on its own. A lot of flotsam drifts straight into the edge, and anything within arm’s reach you can grab with a tap of E, no hook throw required.
Blueprints and packages: learn the recipe, drop the item
While you’re hauling in flotsam you’ll fish up a couple of Blueprints. The Receiver is the one functional blueprint you pull from the ocean (the Antenna it pairs with is a research unlock, not a blueprint), and the rest of the build blueprints come later from the quest islands. Cosmetic blueprints are the exception: they keep turning up in the Decoration Packages you fish out of the water. A blueprint is learned the instant you pick it up, but learning it and building from it are two separate steps: the recipe stays locked until you unlock it at the Research Table by pressing Learn. Either way, once it’s learned there’s nothing more to do with the blueprint item left sitting in your inventory (it’s technically a collectible, but it won’t help you build anything). Don’t hoard them. Drag one out of your inventory to throw it overboard and reclaim the space.
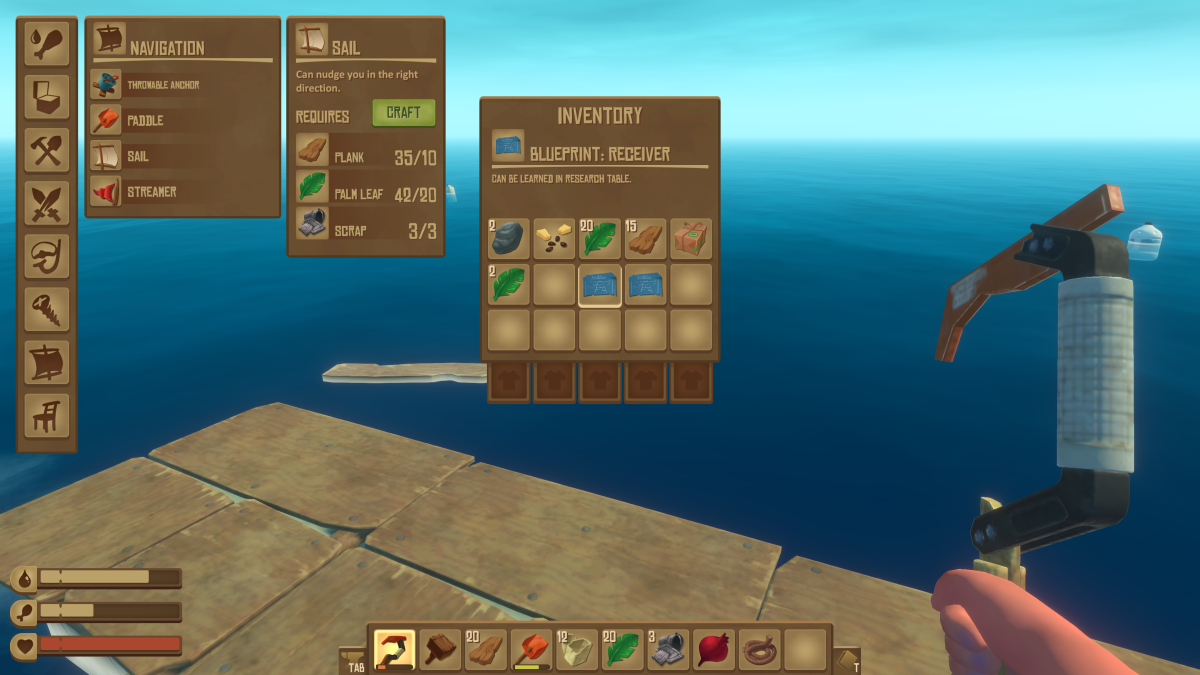
What they unlock doesn’t come into play yet, though. The Receiver and its Antennas are how you navigate to the game’s quest islands, the story destinations rather than the little rocks you drift past. Building and using them is a job for a later guide, but the free blueprints you grab today are teaching you the recipes you’ll use later.
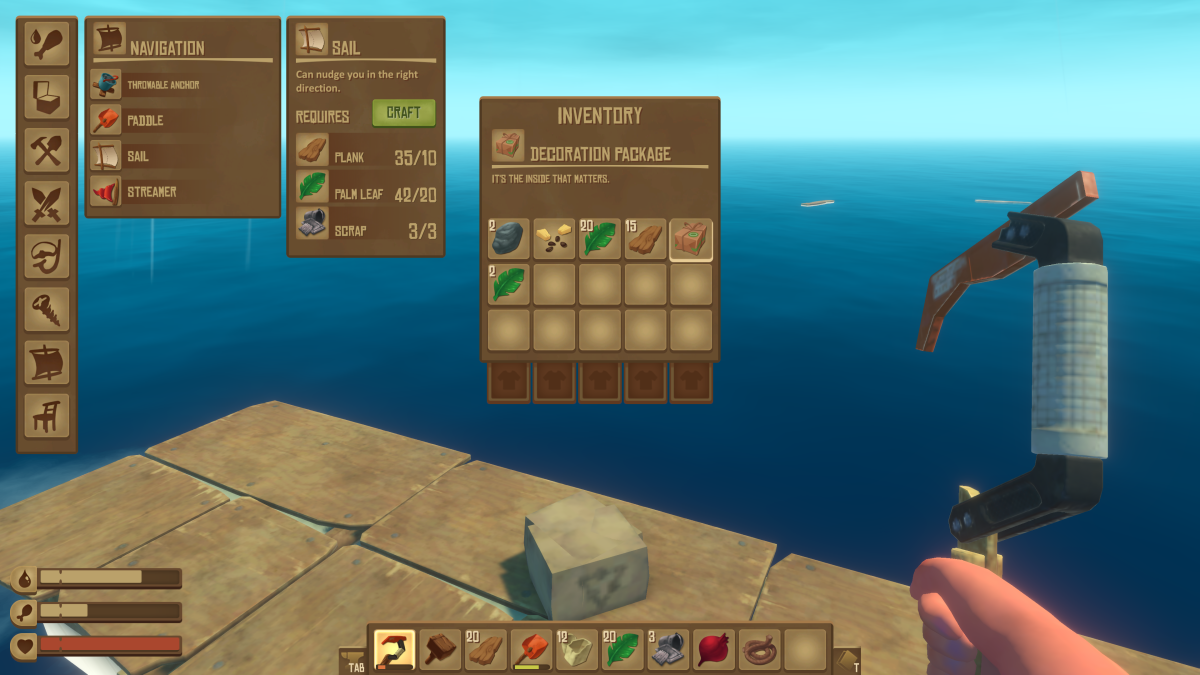
Decoration Packages work much the same way. Each one you fish up holds the recipe for a cosmetic item, and while plenty of those are purely for looks, a few do have real practical value. Open the package as soon as you get it: that learns the recipe inside and clears the package out of your bag, so there’s no reason to let them sit around taking up space.
The shark will chew your raft (and how to limit the damage)
At some point you’ll hear a crunch. That’s the shark clamped onto a foundation tile, chewing it clean off. Early on, the best response is not to fight it. You can craft a spear and jab the shark when it attacks, but that mostly wastes materials on a shark that respawns and comes right back.
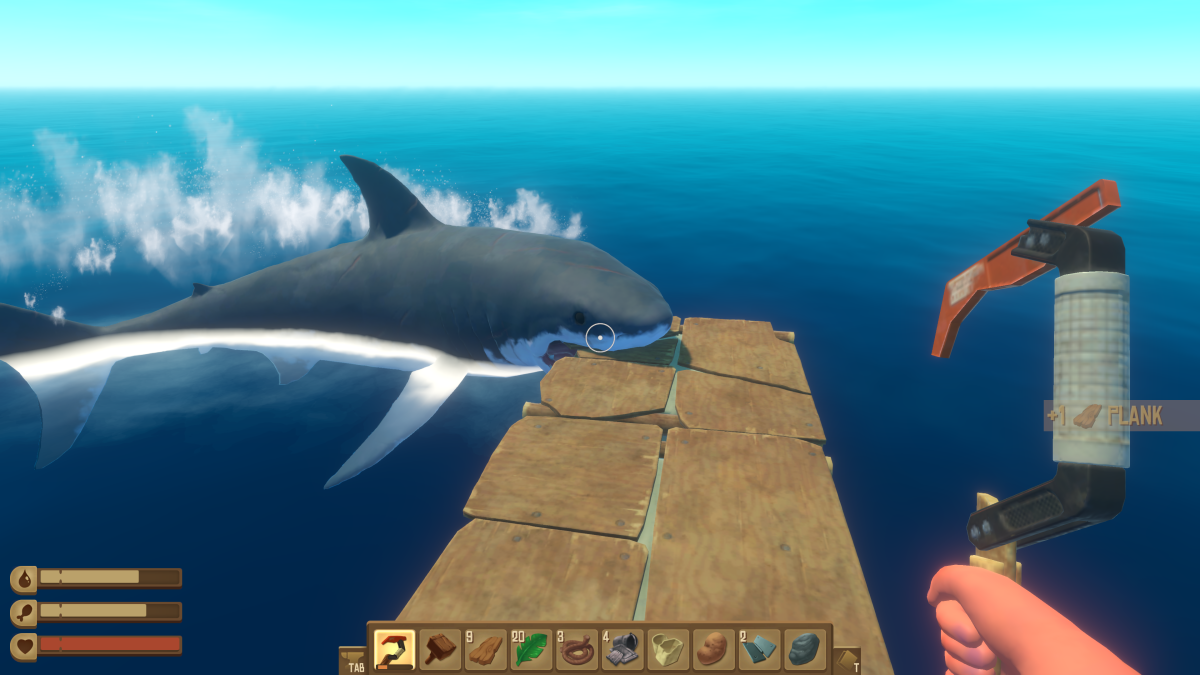
The practical response is to rebuild what it chews away. A tile the shark chews off is destroyed, not merely damaged, so putting it back means crafting a fresh foundation at the full recipe of two Planks and two Plastic, not planks alone. It only takes an edge piece every so often, so keep a few spare planks and some plastic on you and patch the hole when it happens. And one thing to get right early: don’t build anything important near the outer edge of the raft. A Research Table, a grill, or a full chest sitting on an edge tile can drop into the sea along with the tile the shark bites off. Keep your valuable builds a row or two in from the edge, and the shark’s biting stays a minor annoyance instead of a real setback.