

Part of the Satisfactory beginner walkthrough. Series overview.
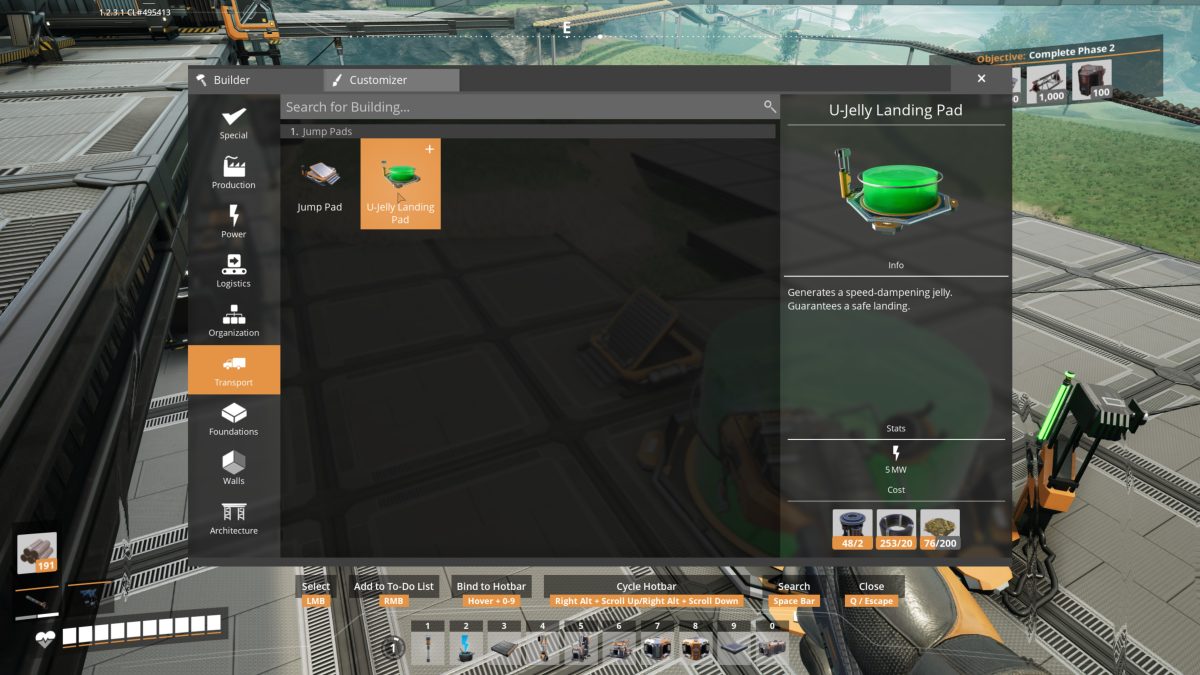
The Jump Pads milestone is a Tier 2 unlock that gives you two buildings that make getting around vertically a lot easier: the Jump Pad, which launches you up or across a gap, and the U-Jelly Landing Pad, which catches you at the other end.
The U-Jelly Landing Pad
Both buildings live in the Build Menu under Transport, in a Jump Pads category of their own. The U-Jelly Landing Pad is the round one. Its whole job, per the in-game description, is to generate a speed-dampening jelly that “guarantees a safe landing,” so it’s what you drop wherever you expect to come down from a height. It draws 5 MW and costs 2 Rotor, 20 Cable, and 200 Biomass. The only line item worth planning around is the Biomass; you’ll have Rotors and Cable to spare by this point.
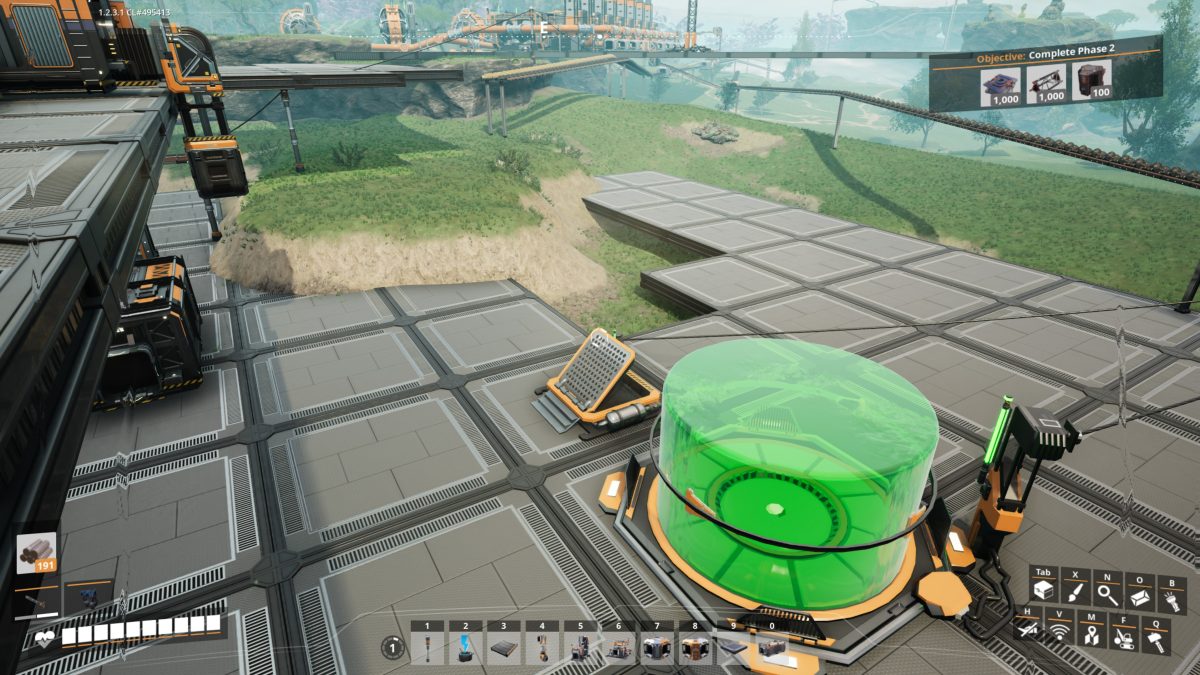
Placed, it’s a wide green pad on a hexagonal base. Here’s one going down next to a Jump Pad, which gives a sense of the footprint: the landing pad is the big round target, and the Jump Pad is the smaller launcher beside it.
The Jump Pad
The Jump Pad is the other half. Step on it and it fires you up and forward, and it’s meant to be aimed at a landing pad so the trip finishes soft instead of costing you health.
You can take the milestone and not build either until you’ve got a route that actually needs them.
Keep going: the walkthrough overview lists every part of the series in order.