

Part 6 of the Satisfactory beginner walkthrough. Previous: Building the Space Elevator. Series overview.
Completing Phase 1 at the Space Elevator opened Tiers 3 and 4. This guide starts working through Tier 3 with Coal Power, the first generator you can leave running on its own.
Tier 3: Coal Power
With Tiers 3 and 4 open, you’ve got a fresh spread of milestones, and the first one to take is Coal Power. It’s what finally gets you off Biomass and the constant hand-feeding that comes with it.
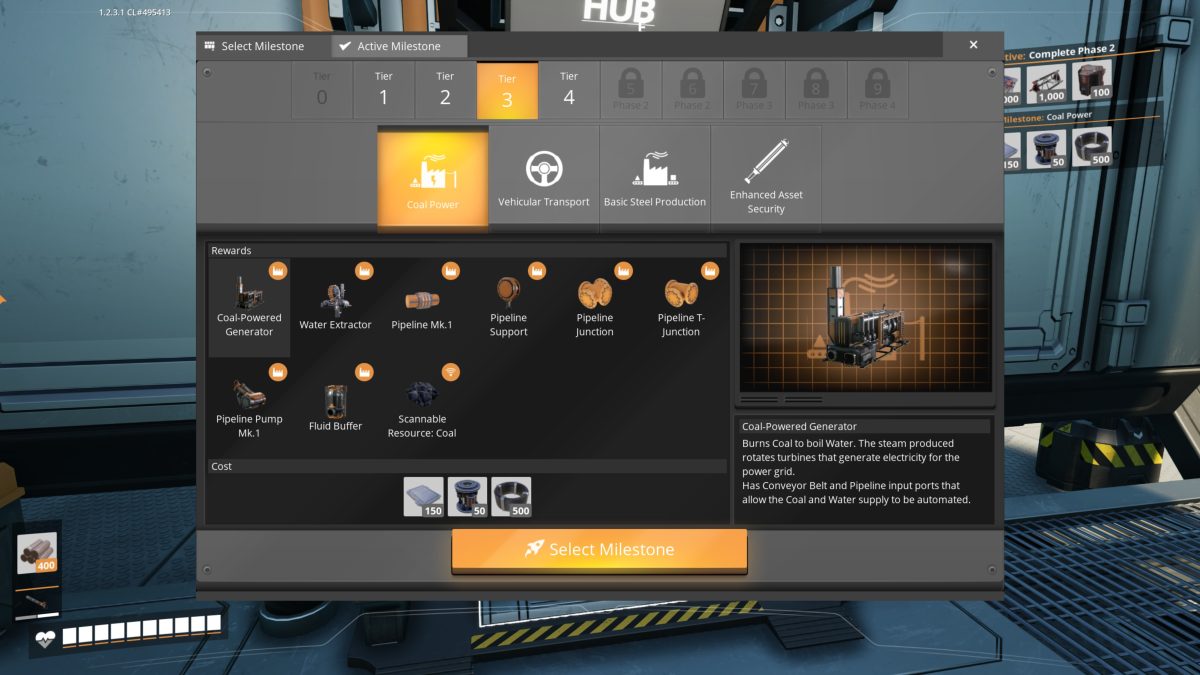
The main reward is the Coal-Powered Generator. It burns Coal to boil Water, and the steam drives turbines that put electricity on the grid. It takes Coal on a Conveyor Belt and Water through a Pipeline, so once it’s fed, it runs on its own. That’s the whole difference from the Biomass Burner you’ve been hand-loading since Tier 0.
Getting Water to it is why the rest of the milestone comes bundled in. Coal Power is also the game’s introduction to fluids, and it unlocks the parts to move them: the Water Extractor (pulls Water from a lake or ocean), Pipeline Mk.1 and its fittings (Pipeline Support, Pipeline Junction, Pipeline T-Junction), the Pipeline Pump Mk.1 (pushes fluid uphill, since it won’t climb on its own), and the Fluid Buffer (a holding tank that smooths out the supply). It also adds Scannable Resource: Coal, so you can find Coal nodes with the Resource Scanner the same way you found iron at the start.
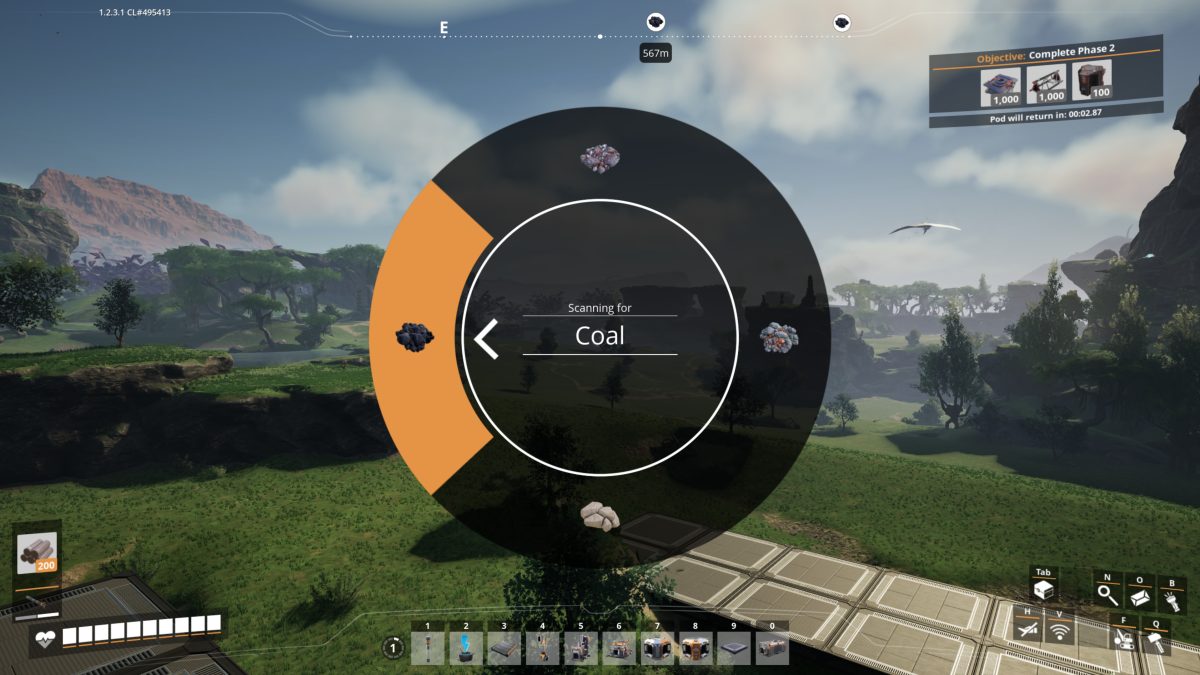
So the first job after taking the milestone is to go find Coal. Hold V, pick Coal off the Resource Scanner wheel (it’s on there now that the milestone added it), and release. Scanned nodes show up on the compass with their distance, the same move as the iron scan back in Tier 0.
Building the Coal Power Setup
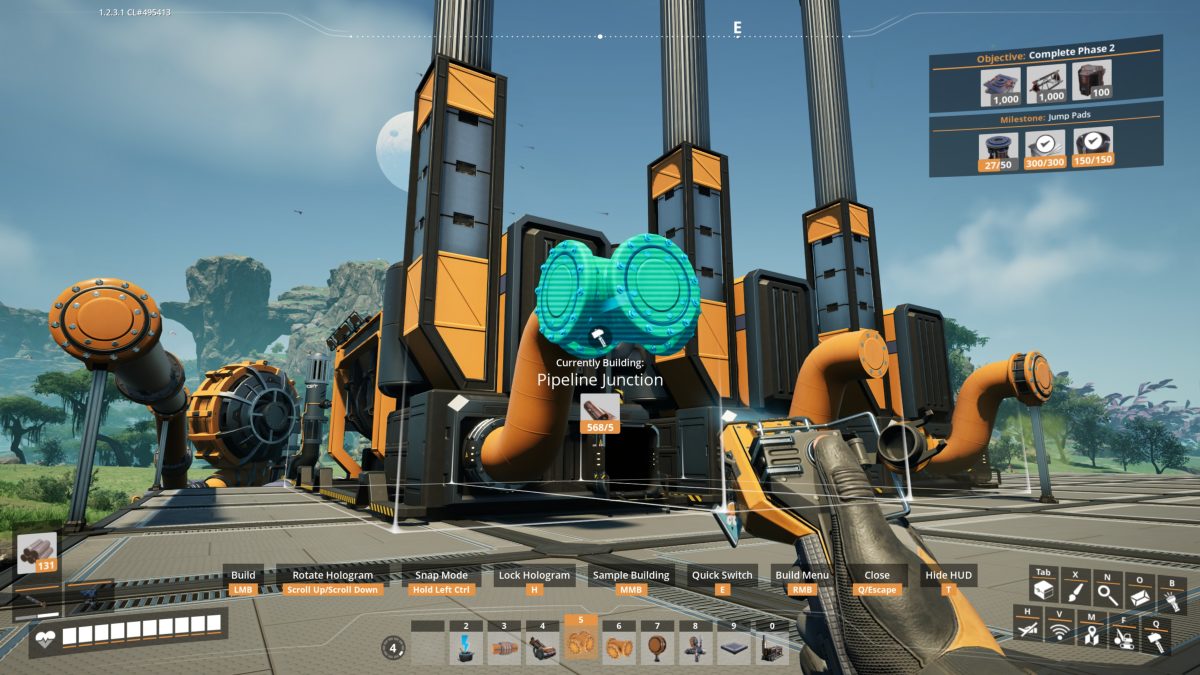
With a Coal node scanned, the setup itself is the next big job: a Water Extractor down on a lake or the ocean, a Pipeline run up from it, and a row of Coal-Powered Generators fed Coal on a belt and Water through the pipe. It’s the first time you’re routing a fluid rather than items on a belt, so expect to spend a while on pipe fittings: Pipeline Junctions to branch Water out to each generator, and a Pipeline Pump wherever it has to climb (fluid won’t run uphill on its own).
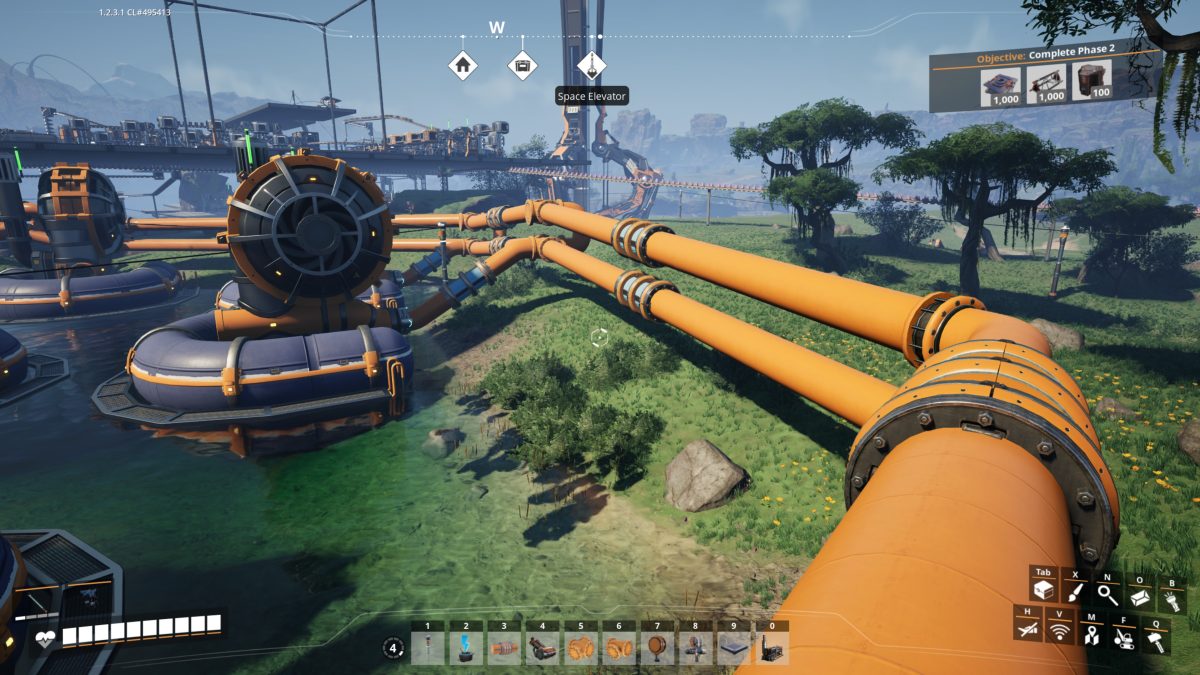
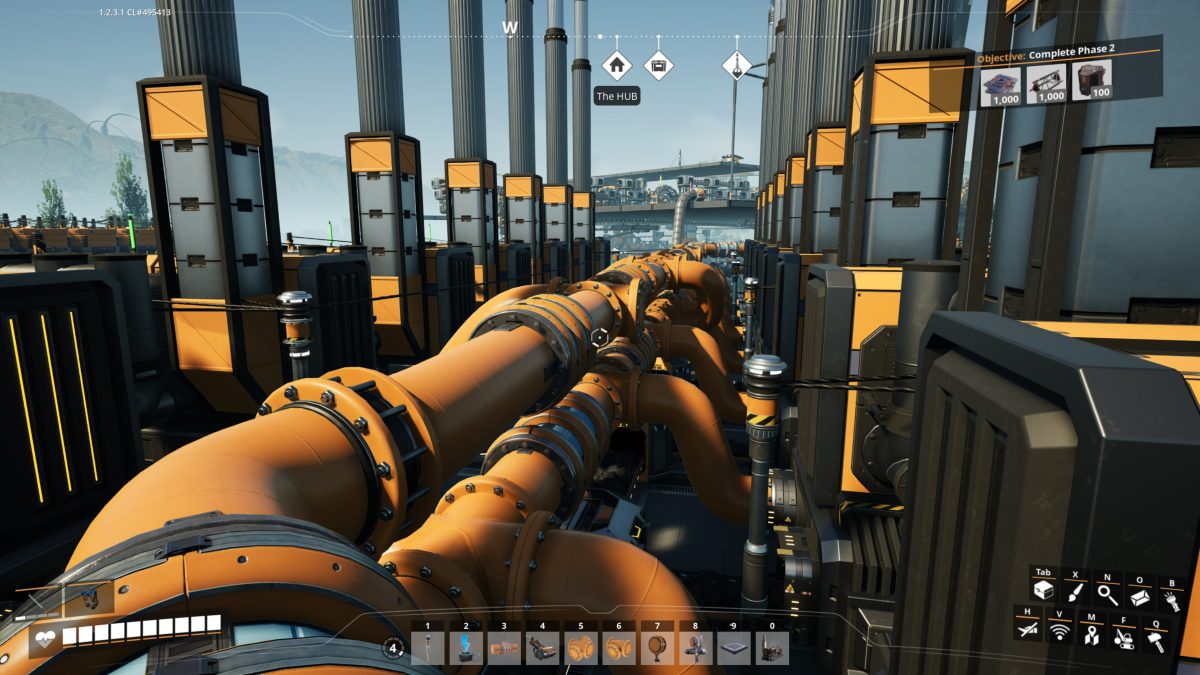
A Coal-Powered Generator won’t run on Coal alone. It also needs Water, and at this stage there’s exactly one way to get it: the Water Extractor, a pump you set down on a lake or the ocean. Drop a couple on the nearest water, run Pipeline up off their output ports, and they pull Water out and push it toward the plant. The fat orange pipes here are that Water on its way to the generators; the Space Elevator on the horizon is just the landmark the base grew up around.
Feed more than a couple of generators and the pipework becomes the biggest part of the build. Water comes off the extractors, up through a Pipeline Pump wherever it has to climb, and along a fat mainline that runs the length of the generator row, with a Pipeline Junction tapping Water off to each machine.
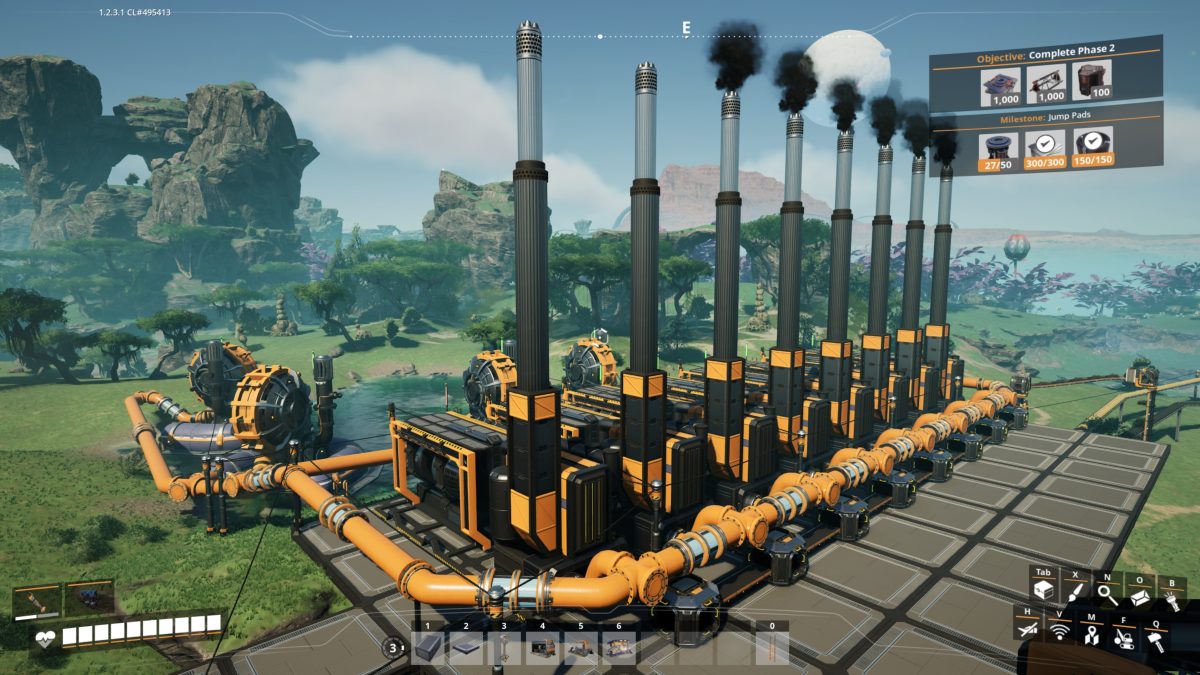
Built out, the plant is a full row of Coal-Powered Generators, Water Extractors pulling from the lake behind them, and the whole bank chugging away on its own while you go do something else.
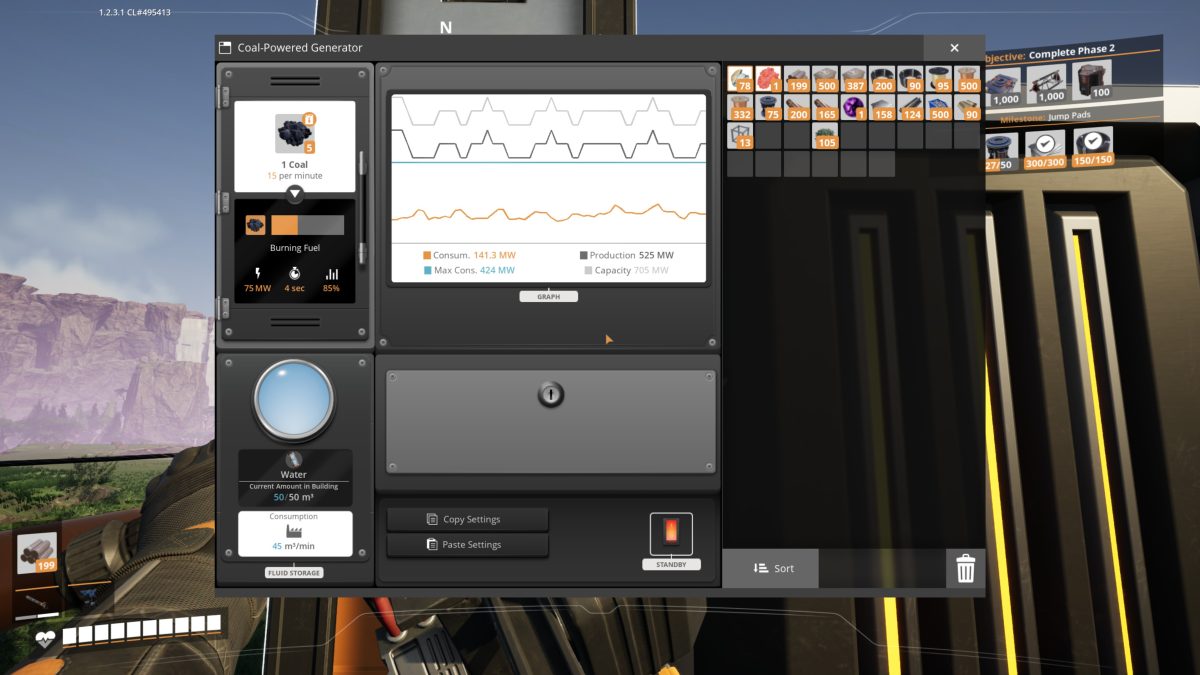
Open one up and the panel lays out exactly what it’s doing. Each Coal-Powered Generator puts out 75 MW, burning a single Coal every four seconds (15 a minute) and pulling 45 m³ of Water a minute, with a small 50 m³ tank inside so a brief stall in the pipe won’t shut it down. The graph across the top tracks the whole grid, production against demand, so a glance tells you whether there’s headroom or a brownout on the way. This is also the first machine panel where the Copy and Paste Settings buttons save real time: set one generator up the way you want, copy it, and paste that onto the rest of the row.
Scaling Up and Buffering with Power Storage
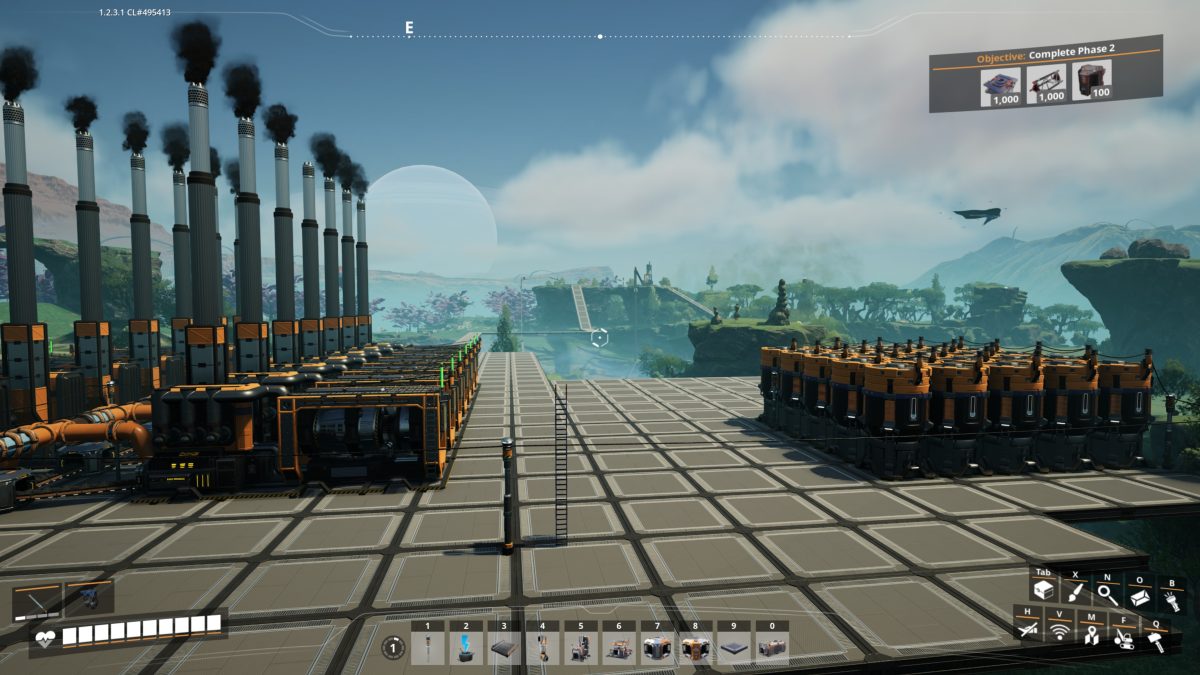
Scaled all the way up, this is the shape it takes: a long row of Coal-Powered Generators on one side, smokestacks going, and rows of Power Storage banks on the other. The generators make the power; the batteries across from them hold the surplus. Add generators as the grid grows.
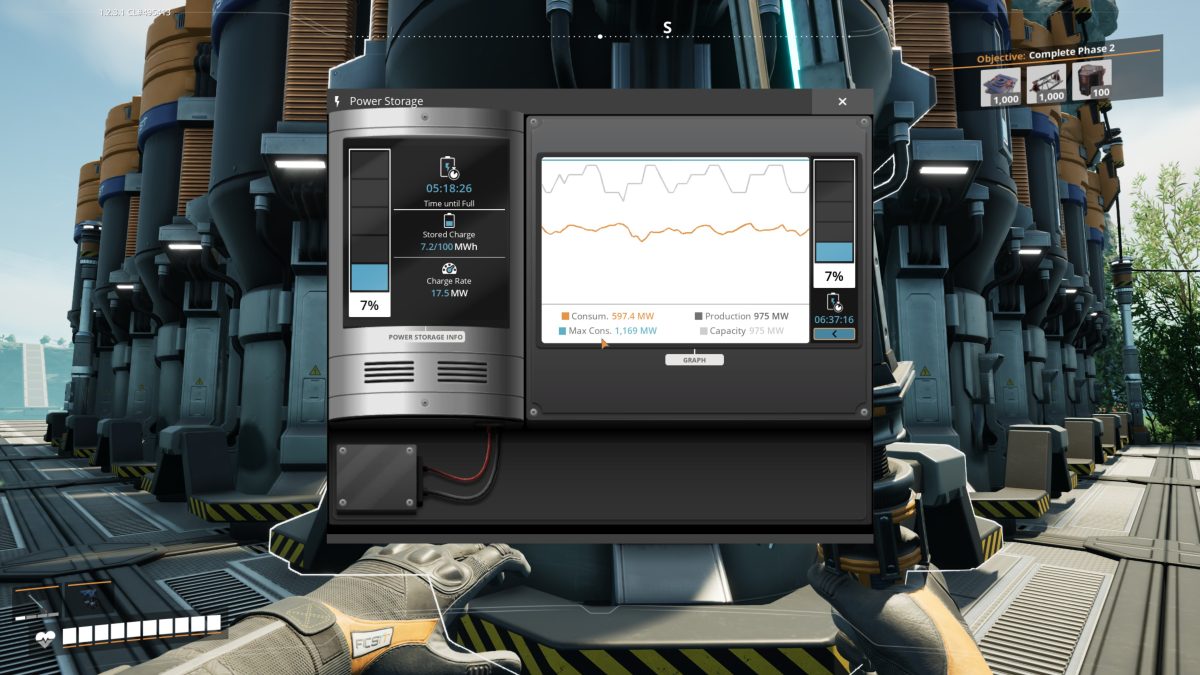
Power Storage is one to add once you’re a bit further along. It isn’t part of the Coal Power milestone (it’s a Tier 4 reward from Expanded Power Infrastructure), so it comes later, but it’s built for exactly this kind of grid. A Power Storage bank is a battery: it charges from whatever your generators make above what the factory is drawing, and it discharges when demand climbs past production. The panel shows why that helps. Production here is a flat 975 MW, but consumption swings around, and Max Consumption has already spiked to 1,169 MW, well over what the generators put out. In those brief spikes the battery covers the gap instead of the grid tripping a fuse. Each bank holds 100 MWh (this one’s about 7% full at 7.2 MWh, charging at 17.5 MW), so it’s a buffer for short surges, not a second power source.
No more foraging Leaves and felling trees to keep Biomass Burners fed. From here the next big Tier 3 job is steel (Basic Steel Production), which the Coal supply feeds straight into.
And the Coal you’re now mining also feeds the game’s first explosive, which is built half from Coal. If you want to start blowing the rock caps off those Caterium and Quartz nodes (and clearing the odd blocked cave or hostile creature along the way), that’s the next thing to set up. See how to get and use Nobelisk.