

Part 5 of the Satisfactory beginner walkthrough. Previous: Logistics, the Chainsaw and Base Building. Series overview.
With belts, fuel, and foundations sorted in Part 4, this last stretch covers scaling the factory up: the Assembler and real mass production, faster belts to carry it, and the Space Elevator that ends the getting-started run and opens the back half of the tech tree.
Part Assembly and the Assembler
Foundations give you the room to build big. Part Assembly unlocks the machines to fill it.
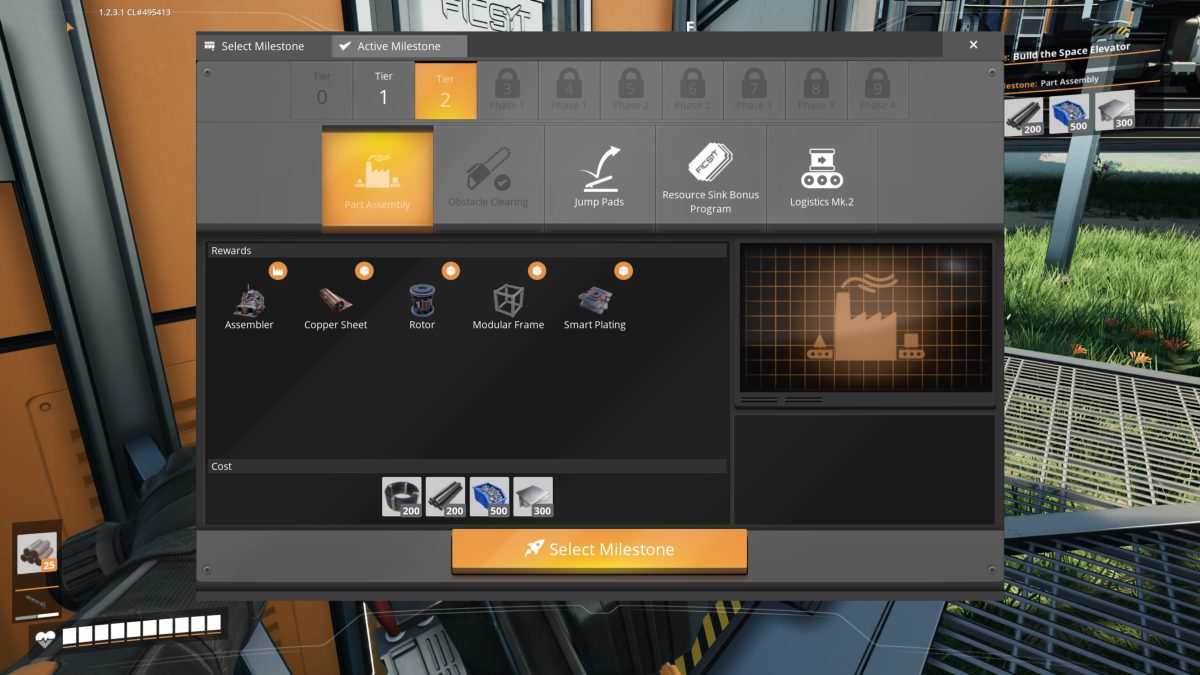
The main reward is the Assembler, the first machine that takes two ingredients at once. Up to now every machine has been one-in, one-out; the Assembler combines two inputs into one output, which is what lets you finally automate Reinforced Iron Plates (Iron Plates + Screws) instead of hand-crafting them. Reinforced Plates go into everything from here (Modular Frames, buildings, and the Space Elevator parts themselves), so automating them in volume keeps the whole build supplied. It’s also why you laid those foundations first: now you’ve got somewhere to put the array that makes them.
With the Assembler running, that part makes itself. Iron Plates and Screws feed in one side; finished Reinforced Iron Plates ride out the other on a belt, straight into storage.
Logistics Mk.2 and Faster Belts
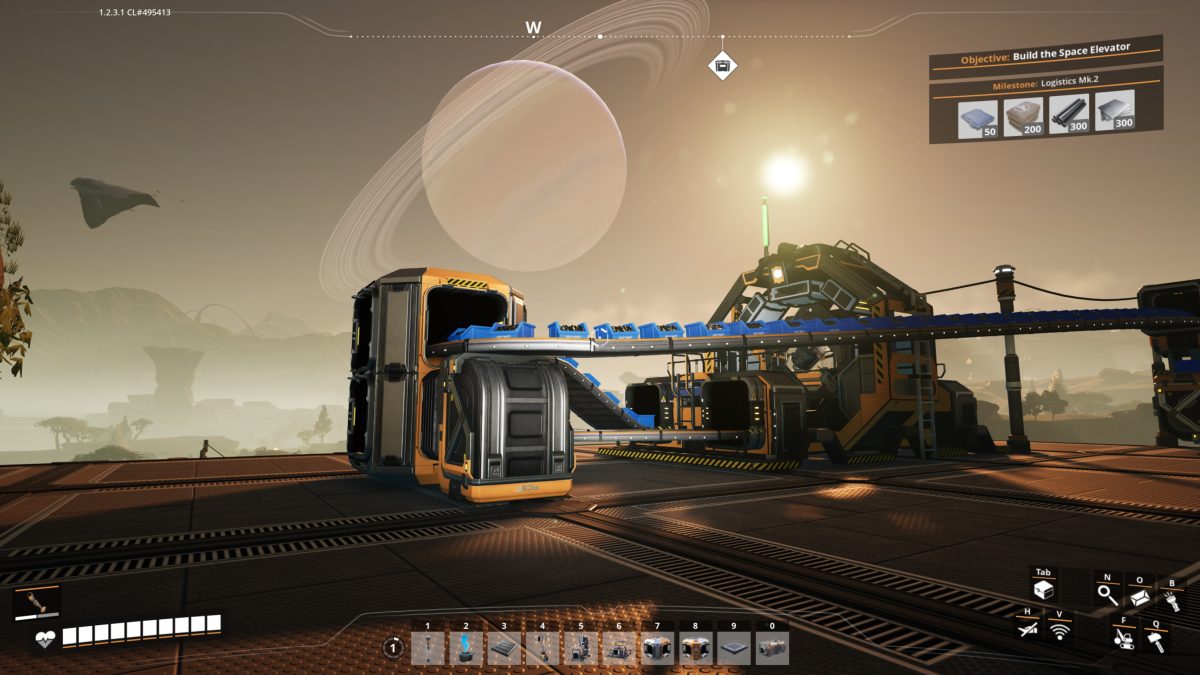
Once the Assembler and its feeders are running full tilt, the belts themselves become the bottleneck. A Mk.1 belt moves 60 items a minute, and a busy line will outrun that fast. Logistics Mk.2 is the throughput upgrade that clears it.
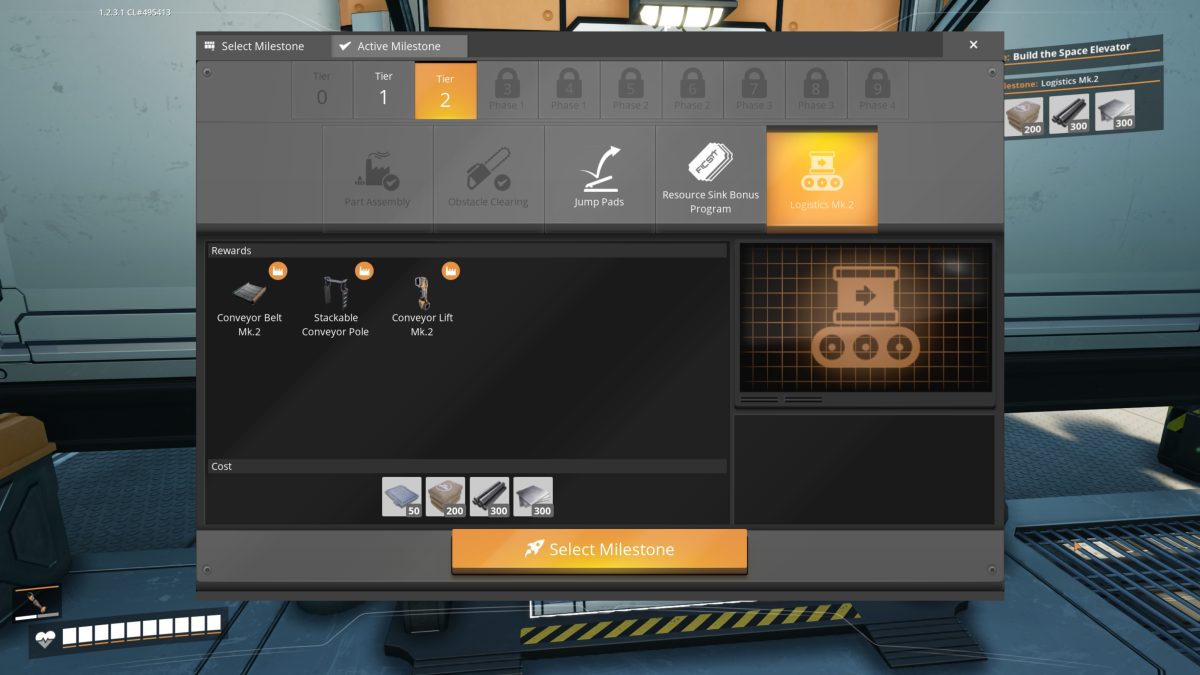
The three rewards are all logistics upgrades: Conveyor Belt Mk.2 doubles belt speed to 120 items a minute, the Stackable Conveyor Pole lets you stack belt supports so lines route cleanly through a crowded factory, and the Conveyor Lift Mk.2 carries that faster flow between floors. Reinforced Iron Plates are both this milestone’s cost and what Conveyor Belt Mk.2 is built from, so every stretch of faster belt you lay pulls from the same supply the Assembler is already turning out.
Building the Space Elevator
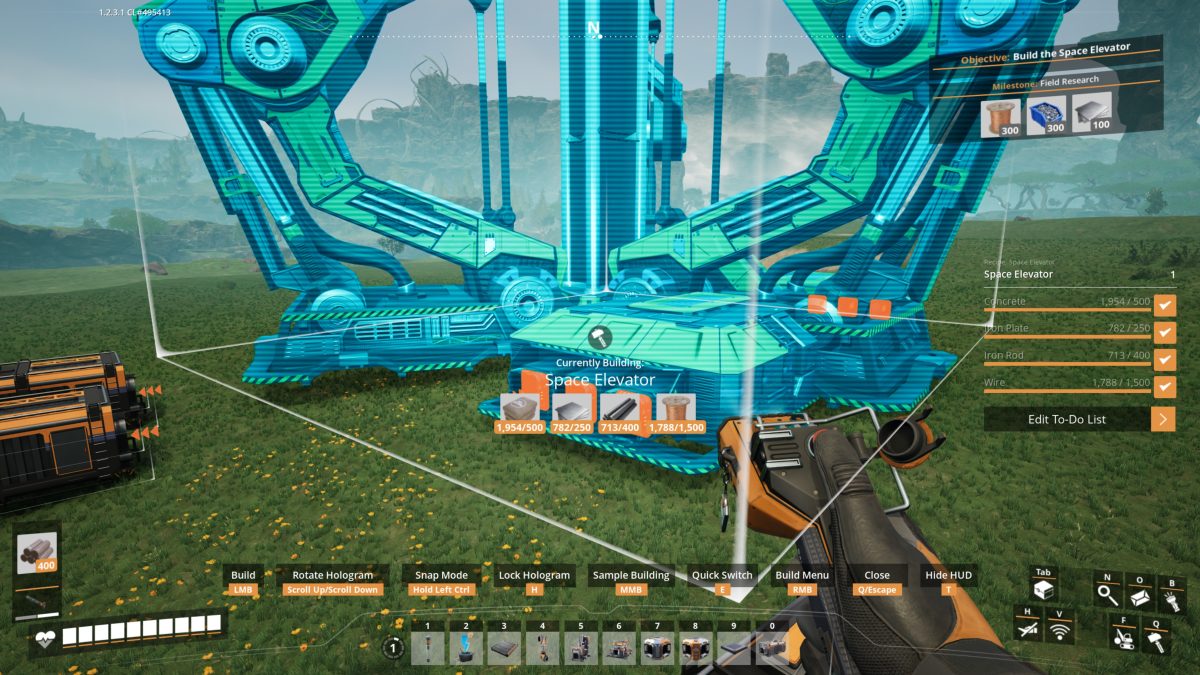
The belts, the foundations, and the Assembler line are all in place now, and the objective marker has pointed at the Space Elevator since you landed. You don’t have to finish every milestone first: the three still open in Tiers 1 and 2 (Field Research, Jump Pads, and the Resource Sink Bonus Program) are useful but not essential, so it’s fine to leave them and push ahead. With production running and materials banked, you can finally afford the elevator, and you place it from the Progression tab of the Build Menu (the same tab the HUB came from).
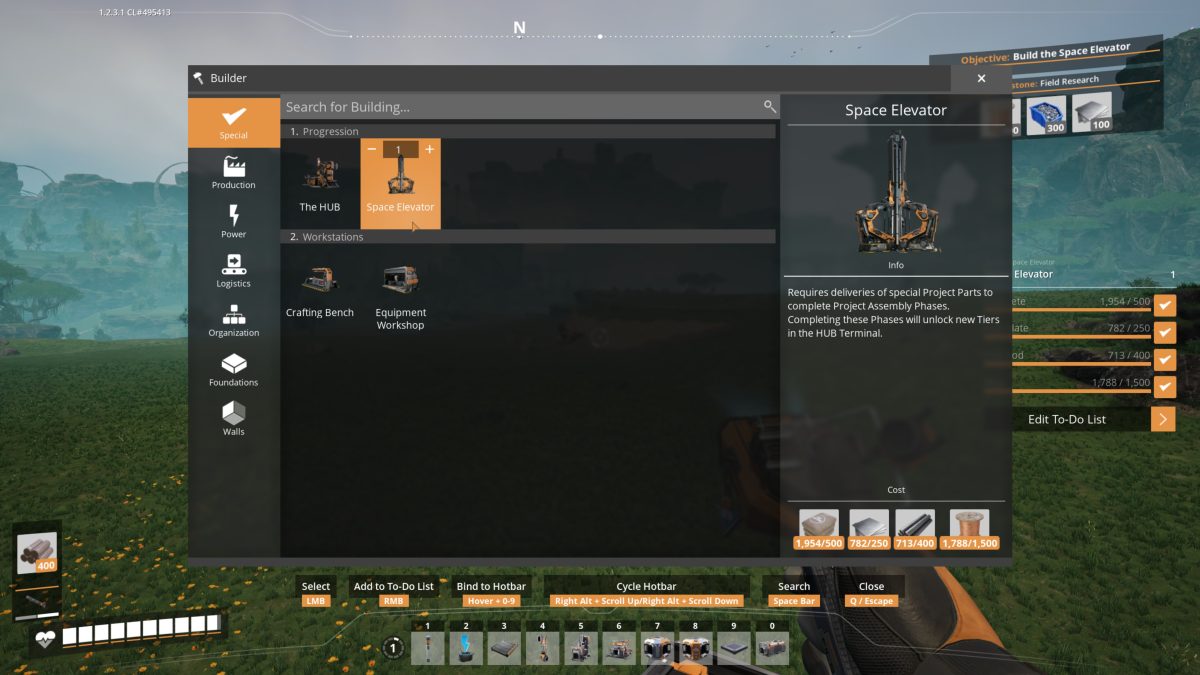
Line it up and drop it.
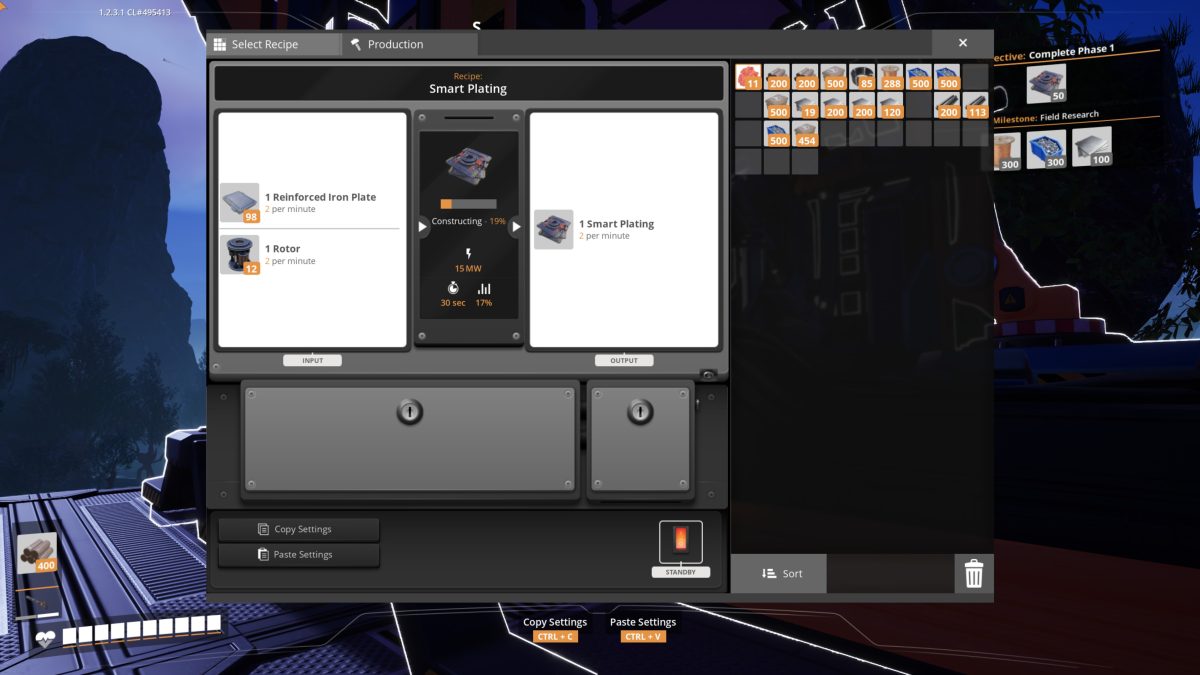
Once it’s up, the Space Elevator consumes parts instead of producing them. Its first phase asks for 50 Smart Plating (the part Part Assembly unlocked), and it’s why everything you just set up is required: Space Elevator parts can only be machine-made. You can’t hand-craft Smart Plating at the Crafting Bench the way you did with rods and plates; it has to come off an Assembler.
With Smart Plating piling up in storage, the last step is to feed the elevator itself. Open the Space Elevator and the delivery runs in one motion: it pulls the parts from your inventory, seals them into a shipping container, and sends them up (LOAD, SEAL, SEND). This is Phase 1, the Distribution Platform, and off to the side it tells you what completing it buys: Tiers 3 and 4.
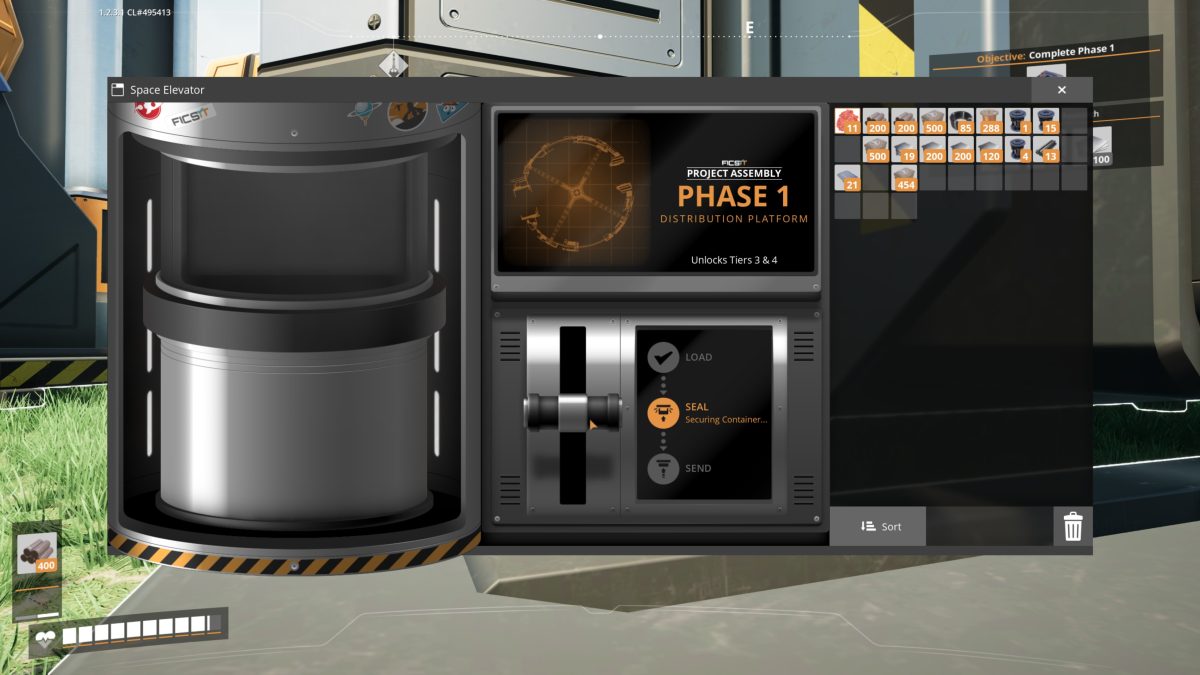
That delivery completes Phase 1 and opens the next two Tiers of milestones, Tier 3 and Tier 4. Those two Tiers hold most of the rest of the game’s milestones, so it’s a clean place to stop: your starting factory now runs on its own. The next guide picks up in Tier 3 with Coal Power, the first generator you can leave running on its own. (Coming soon.)
Keep going: the walkthrough overview lists every part of the series in order.