

Part 1 of the Satisfactory beginner walkthrough. Start from the series overview.
This is the first part of a beginner’s walkthrough of Satisfactory. It covers the opening stretch of the game: choosing a starting area, working through the onboarding objectives, and hand-mining your first Iron Ore. Everything here is current to the 1.2 update, though this opening plays the same as it did at launch.
Picking a Starting Area
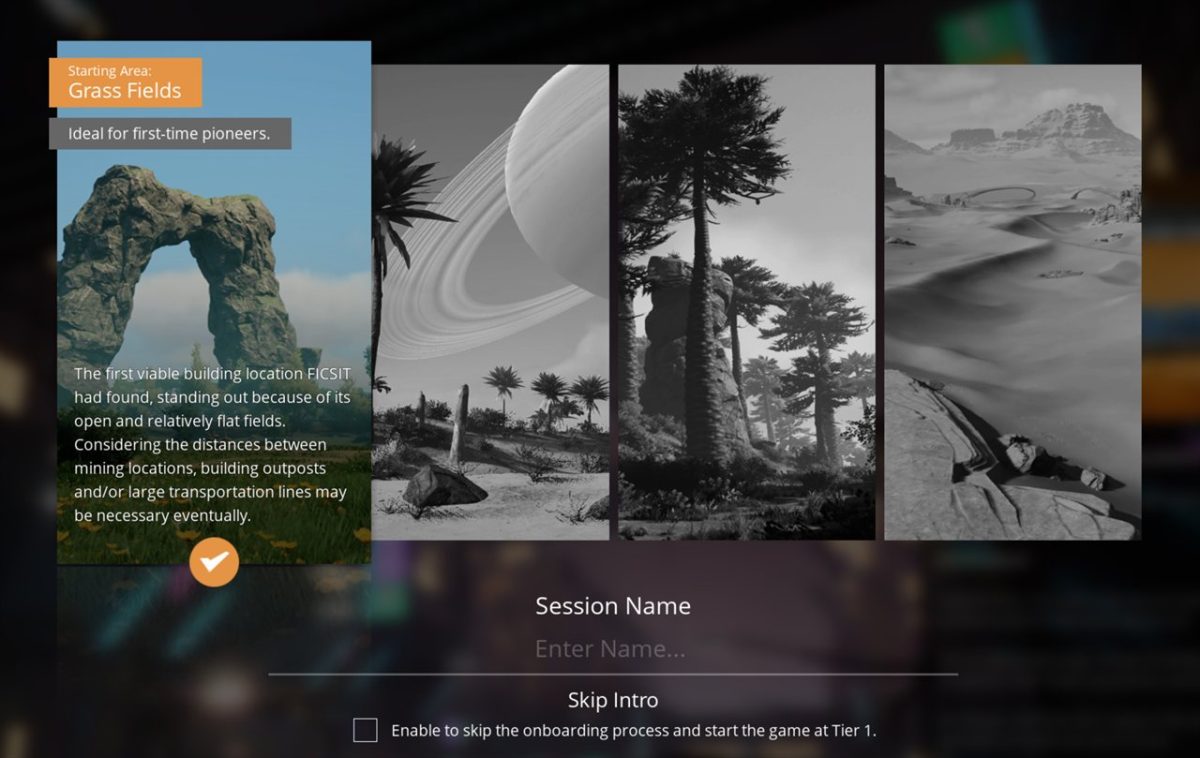
Before you land you choose one of four starting zones: Grass Fields, Rocky Desert, Northern Forest, and Dune Desert. The choice isn’t permanent (the whole map opens up to you later), but it sets the difficulty of your first few hours.
For a first save, choose Grass Fields. The game labels it “Ideal for first-time pioneers,” and that’s accurate: it’s flat and open, the resource nodes are close together, and there are few dangerous creatures. Rocky Desert is a reasonable alternative with good early ore, but it’s more exposed. Northern Forest and Dune Desert are both harder starts, so leave them for a later save.
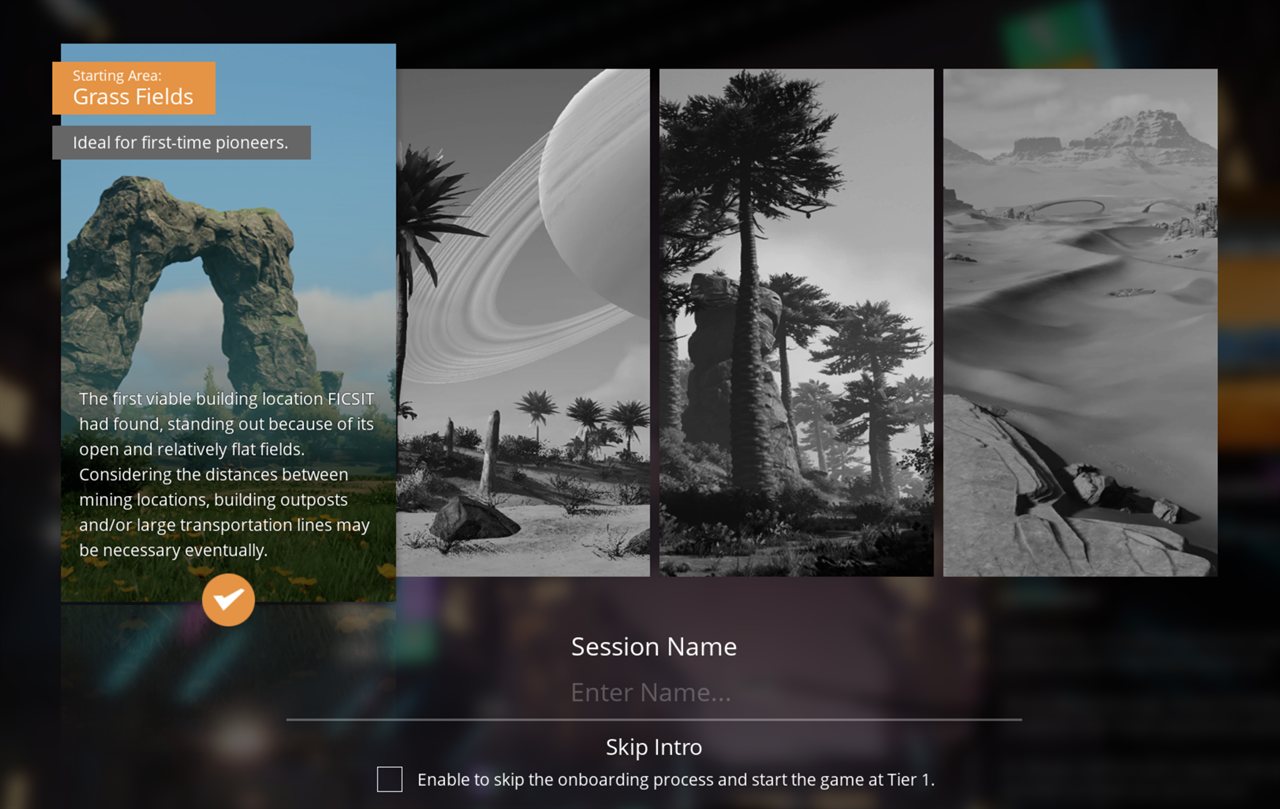
One setting on this screen is worth noting: Skip Intro, near the Session Name box, drops you straight into Tier 1 and skips the onboarding. Leave it unchecked. The Tier 0 sequence this series covers is that onboarding, and skipping it starts you in a world without the tools it unlocks.
Equip the Xeno-Zapper
The first objective is to equip the Xeno-Zapper before you leave the drop zone. This is Onboarding Objective 1, the game’s inventory tutorial.
Press Tab to open your inventory. You start with one item, the Xeno-Zapper, in your item list. Drag it onto the HANDS slot on the Pioneer panel to the right, and the objective clears.
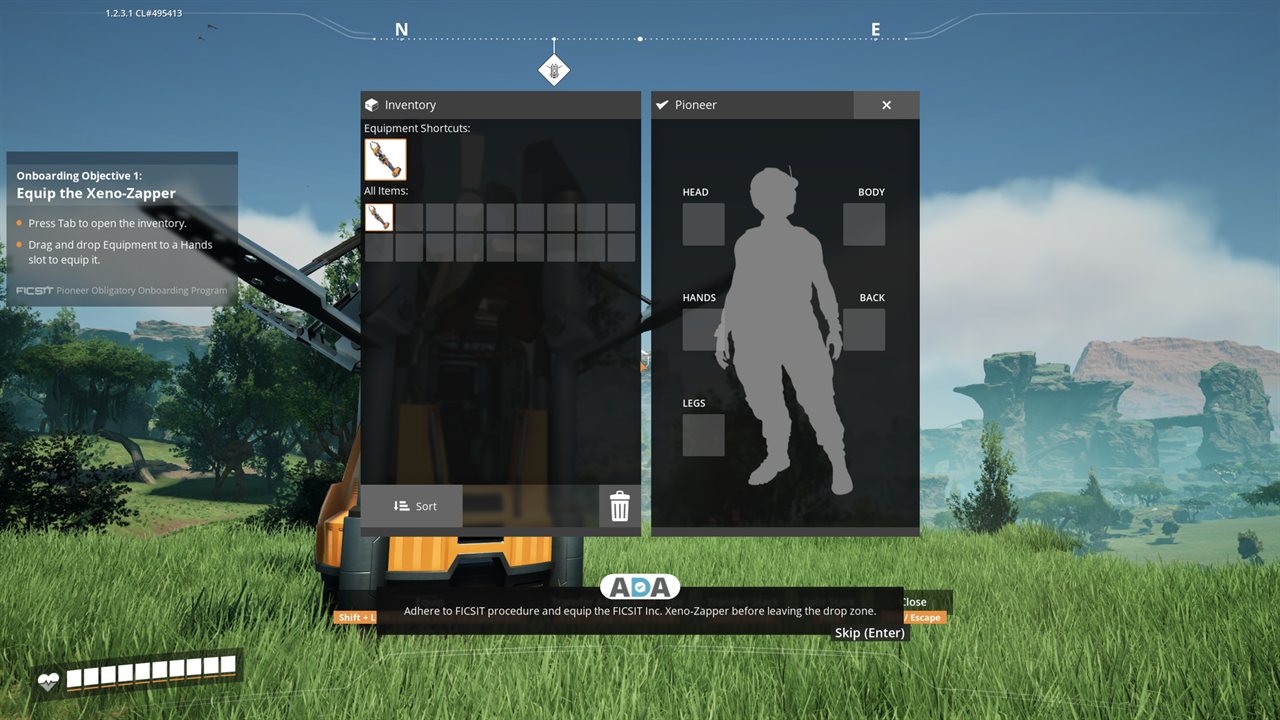
The Xeno-Zapper is a close-range stun baton for the local wildlife, and what you’ll use on the Fluffy-tailed Hogs early on before you have anything better. Drag-to-equip is how every tool and piece of equipment goes on from here.
Dismantle the Drop Pod
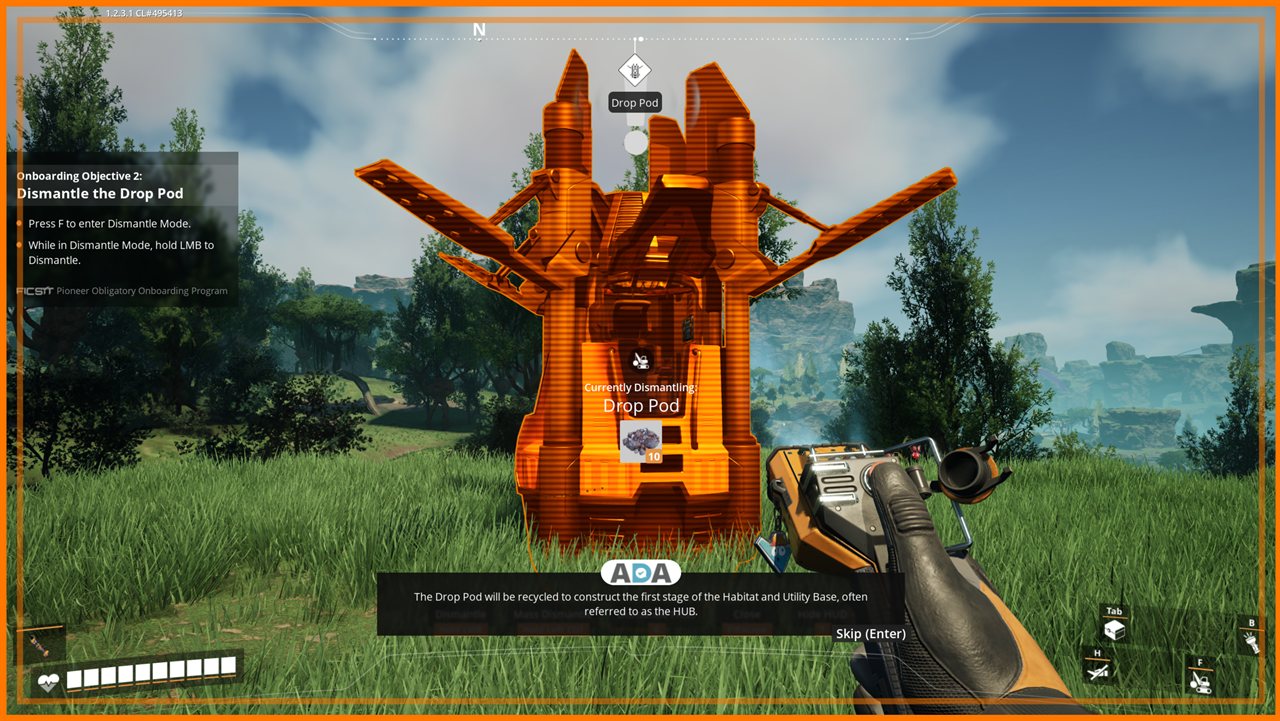
Objective 2 covers Dismantle Mode, which you’ll use throughout the game. Press F to enter it, look at the drop pod until it highlights orange, and hold the left mouse button until it comes apart.
The pod isn’t wasted. As ADA explains, it’s recycled into the first stage of your HUB (the base everything else attaches to), so dismantling it is the first step toward building your factory.
Dismantle Mode refunds the full cost of anything you take down, so a misplaced building isn’t a loss. If you place a machine facing the wrong way or run a belt into a rock, dismantle it, collect the returned materials, and rebuild.
Your First Iron
Objective 3 sends you after Iron Ore, which feeds nearly everything you build early on.
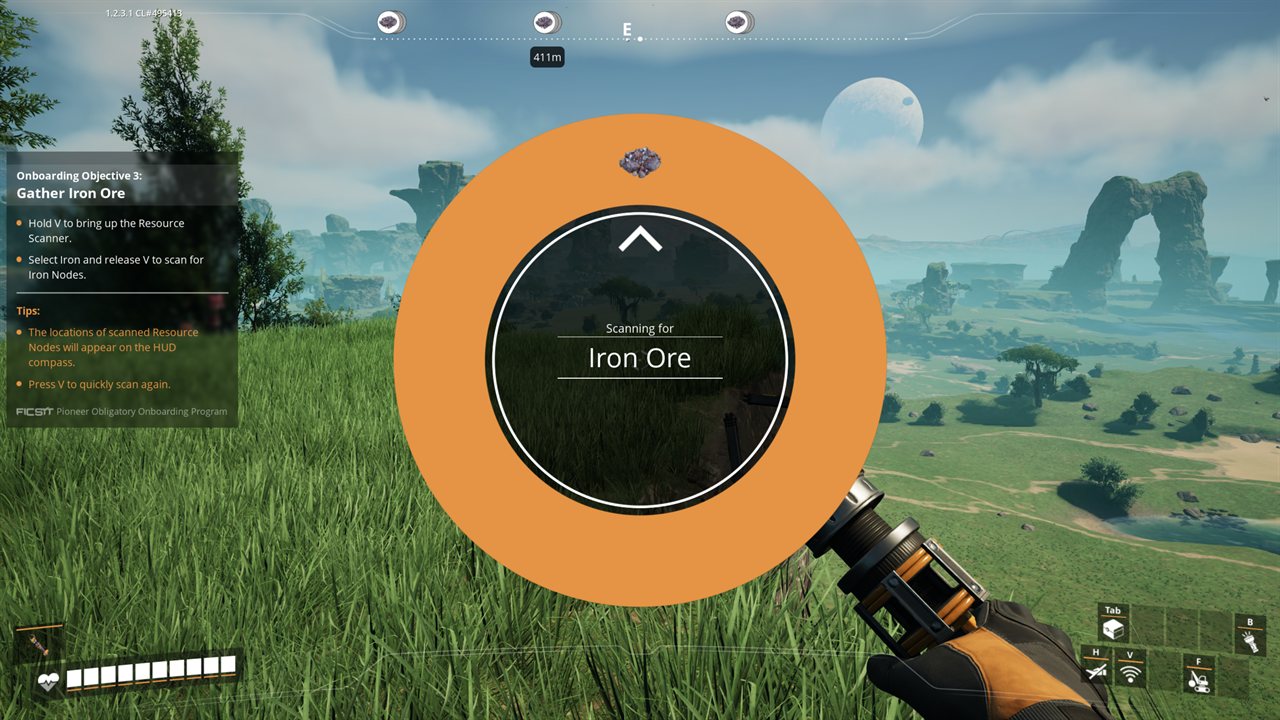
Hold V to bring up the Resource Scanner, highlight Iron Ore, and release V to scan. The nearest nodes are marked on your HUD compass with a distance readout (the closest in this save was about 400m). Pick the closest marker and walk to it, then hold E on the node to hand-mine a stack. This is the only extended hand-mining you’ll do.
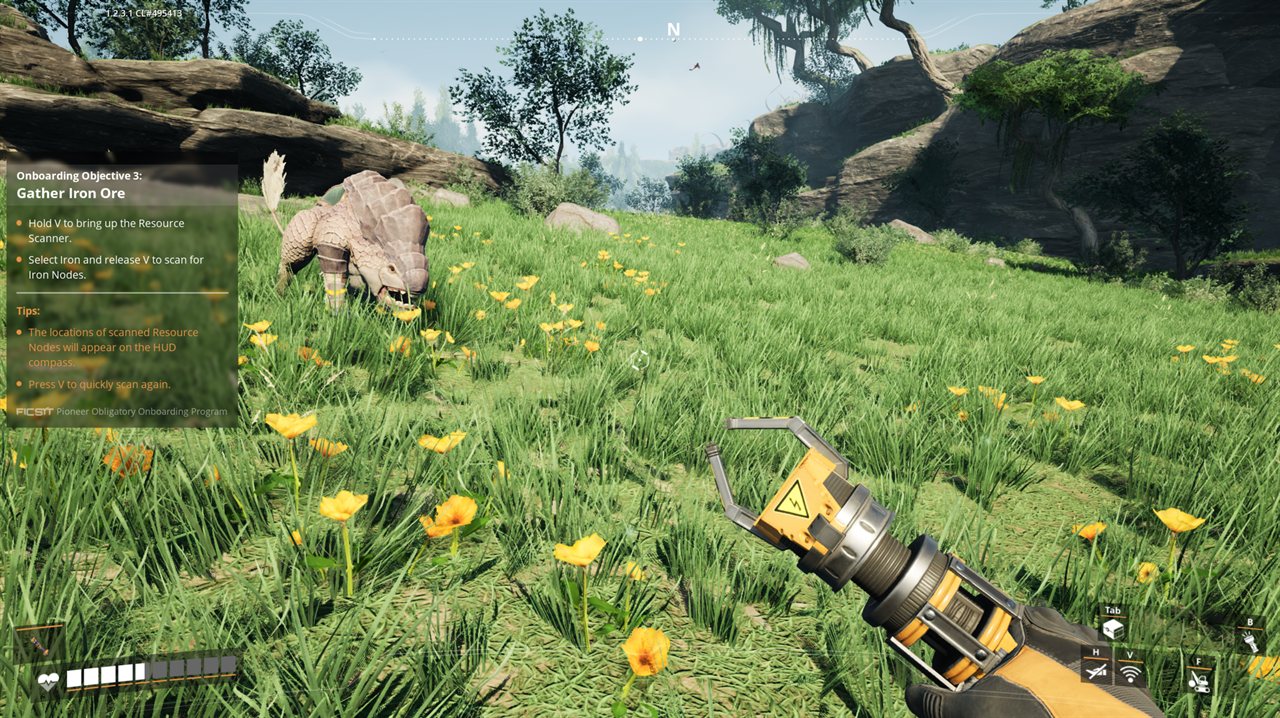
You’ll usually find a Fluffy-tailed Hog guarding each starter-area resource node. This armored creature will become aggressive and charge if it notices you, and since it’s parked on the node you came for, the simplest fix is to kill it: two hits from the Xeno-Zapper does it. If you’d rather not fight, dodge the charge and slip past to mine.
Healing Up with Paleberries
If the Hog hit you, your health dropped. Early healing in Satisfactory is done by eating berries. Look along the grass and rock edges for a Paleberry plant (pink flowers with clusters of orange berries) and hold E to pick them, three per plant here.
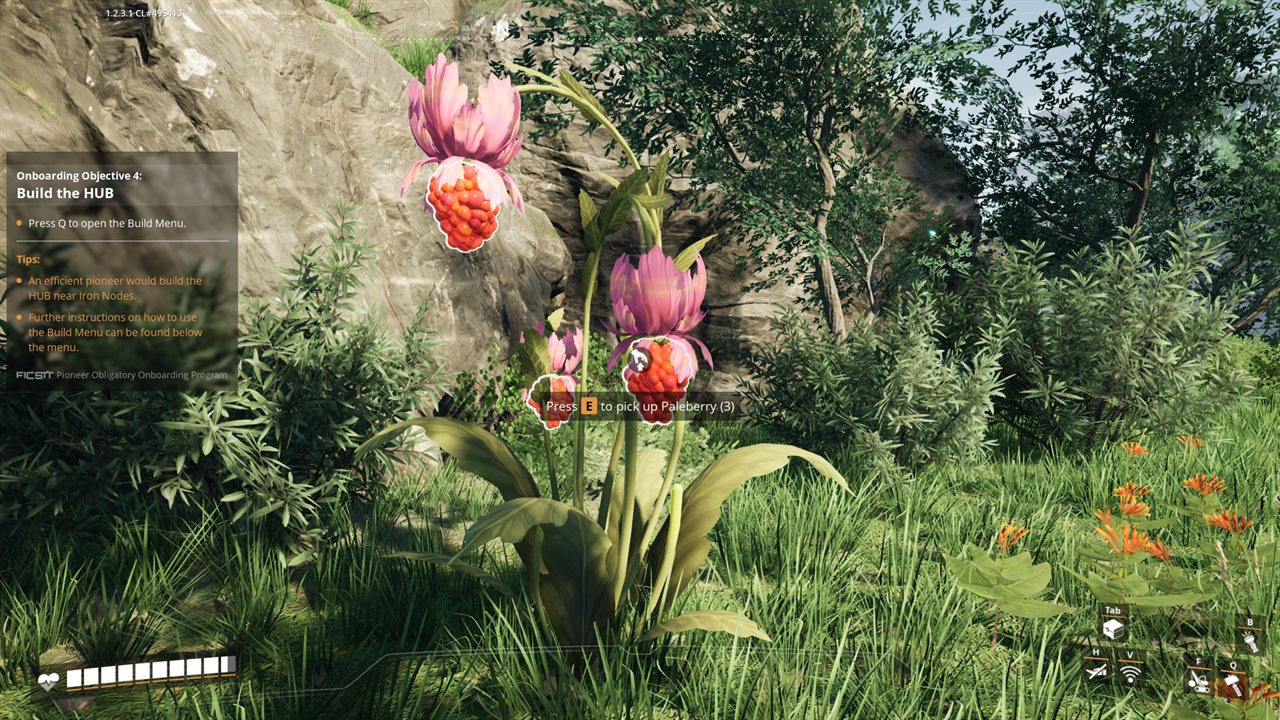
Open your inventory with Tab and click a Paleberry to eat it and restore some health. There’s no hunger meter in Satisfactory; food exists only to heal you, so you eat when your health is low and ignore it otherwise. Beryl Nuts and Bacon Agaric do the same job.
Next comes the HUB, the structure everything else attaches to, and the upgrade that gives you your first machine.
Keep going: the walkthrough overview lists every part of the series in order.